Einleitung
-
-
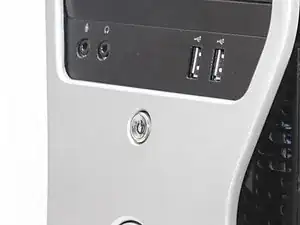
If your PC is on, shut it down.
-
Unplug the PC from the wall.
-
Disconnect the power cable from the tower, unplug keyboards, monitors, or any other devices, and remove any USB devices.
-
-
-
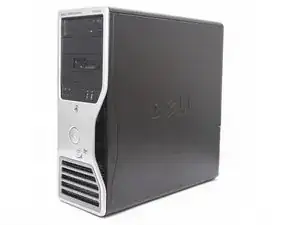
Lay the computer on its side so the panel faces up.
-
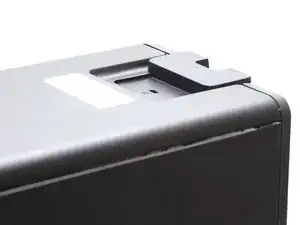
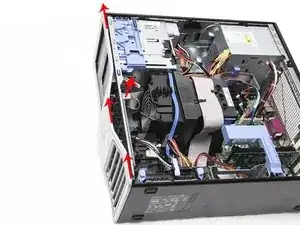
Push the cover release latch at the back of the computer's case. The cover should pop off and away from the computer.
-
-
-
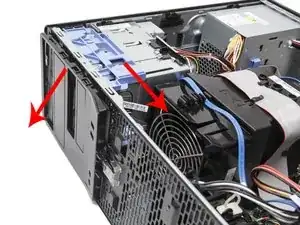
Lift the front plate release lever, located toward the front of the PC.
-
While holding the front plate release lever up, slide the front plate towards the top of the case and remove it.
-
-
-
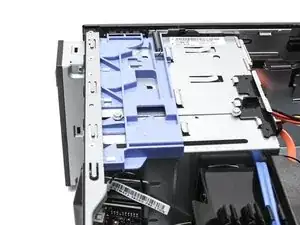
Remove the drive faceplate by pulling down on the blue plate latch. The faceplate will pop off.
-
-
-
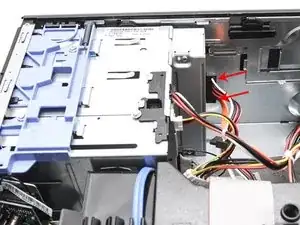
Slide the plate latch down again to release the screw
-
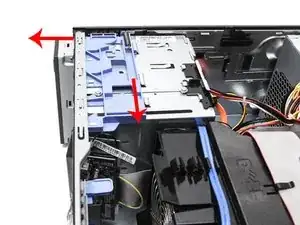
While holding the plate latch down, push the drive out from behind, then pull it out of the bay
-
-
-
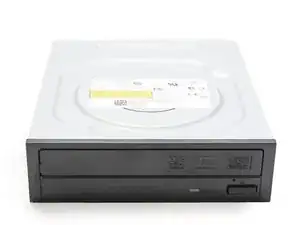
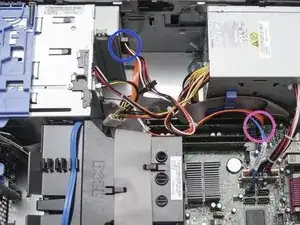
Connect both the power and the system board cables to the optical drive.
-
Don't forget to plug the system board cable into the system board!
-
To reassemble your device, follow these instructions in reverse order.
6 Kommentare
That's a great help.
I didn't realize I need to remove the front panel first. I spent 15 minutes still could not remove the drive. After I read this guide, I got it done in less than a minute!
sfacp2 -
Thanks for the help !!!
Alig0r
alig0r -
I have a dell optiplex gx 270 and parts from a demension 2400 ..... Change component or drive
