Einleitung

  1. 3WhfGDoprCuRGC3P
    3WhfGDoprCuRGC3P
    aNXrCiZMGtILoXJZ
    • Ensure the laptop is turned off and unplugged before attempting to remove any piece.

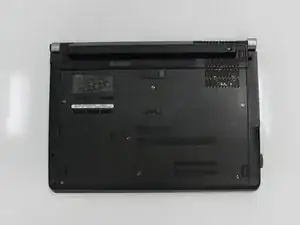
    • Place the laptop lid down so the underside is visible.

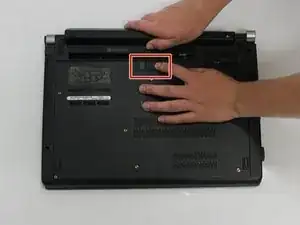
    • Pull battery release switch and gently pull the battery directly away from the switch.

  2. 6nGygDCtk3aDalYJ
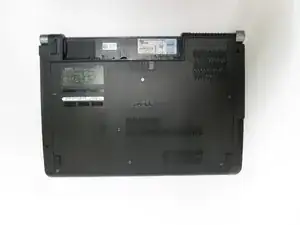
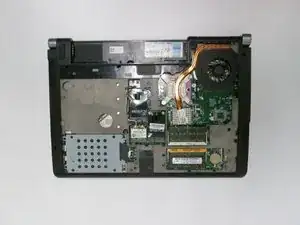
    • Identify the back cover of the laptop.

  3. DPNX2EtHNyWD25JV
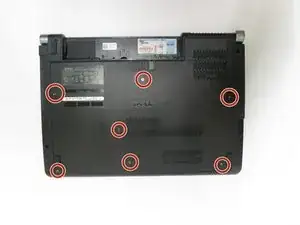
    • Unscrew and remove all of the 6.0mm screws with a Phillips #1 screwdriver.

  4. QhAQ1XYdYuCKe5BT
    • Lift the back cover off of the laptop.

  5. pZ2bb2JA33tvhV4H
    pZ2bb2JA33tvhV4H
    sOepDURyX3kctDon
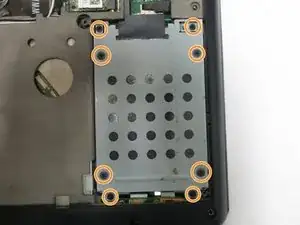
    • Unscrew all of the 6.0 mm screws with a Phillips #1 screwdriver holding the hard drive cage on the computer.

  6. MFXM4Y3onTiRk14V
    MFXM4Y3onTiRk14V
    h2rLMtExpyibhR6o
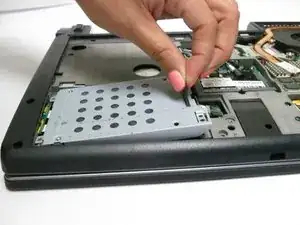
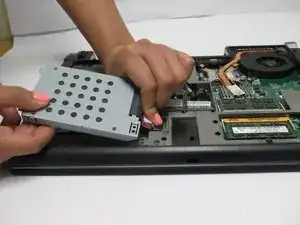
    • Lift the hard drive cage out of the laptop.

  7. FyAkSZOcZXrbfPej
    FyAkSZOcZXrbfPej
    QTEAhqfYIGTjvN22
    Hg6IKqLMkdFCXQ4F
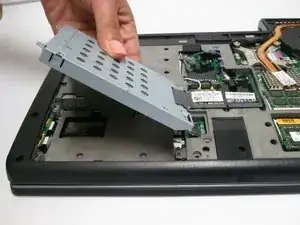
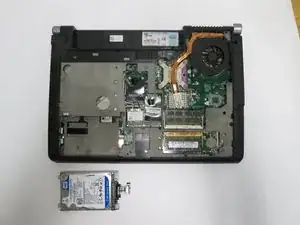
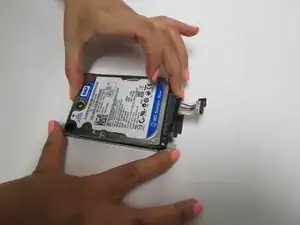
    • Pull tab to unplug the drive from the computer

    • Pull the hard drive out of the hard drive tray.

Abschluss

To reassemble your device, follow these instructions in reverse order.

Zach Dylag

Mitglied seit: 24/03/15

575 Reputation

Ein Kommentar

Straightforward process with step by step guide. Thank you Zach.
Katharine Church -