Einleitung

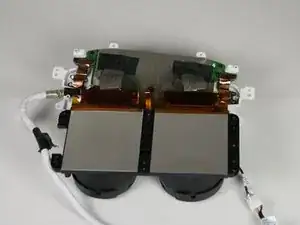
The internal screen should be replaced is if there is no display showing. The screen may be damaged from cracks or scratches. You should be cautious when reassembling the headset, as to not damage the new screen.

  1. YNXjLFGrCPbffdOJ
    YNXjLFGrCPbffdOJ
    IeXtAMNY26WttYYN
    hnXawvmUY6vKH2FM
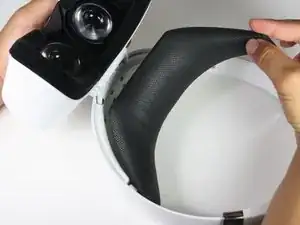
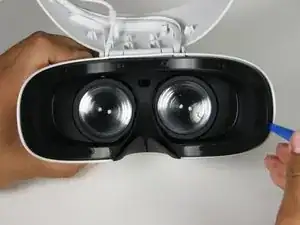
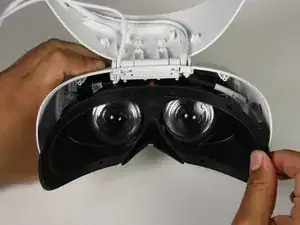
    • Remove the black foam padding by peeling away slowly.

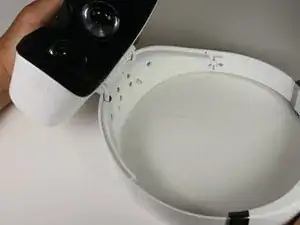
    • Remove the front and back padding from the headset by peeling away slowly.

    Parallel structure

    Andres Ikaika Elzaurdia -

  2. wQGMnqkj1sDDJQM2
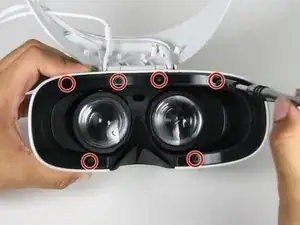
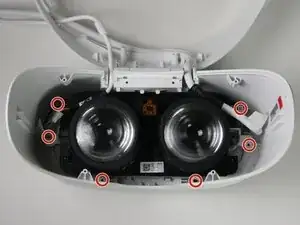
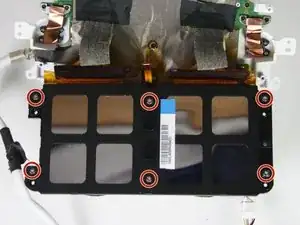
    • Remove the six 5.5mm PH000 screws from the cover by rotating counter-clockwise.

    • Cover panel may need to be pushed in before inserting screws.

  3. 6osulcooBfOyRFWr
    6osulcooBfOyRFWr
    ylmgLIvKIw2XYaBD
    T5kdWDWNUXGYnNoU
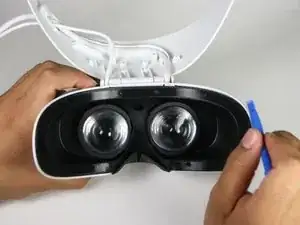
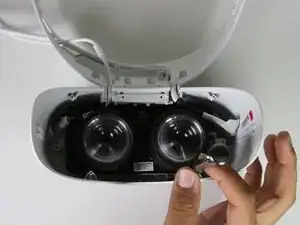
    • Remove the cover using one of the plastic opening tools, and then carefully pull it from the casing.

    Break one bullet into two

    Andres Ikaika Elzaurdia -

  4. wfd34mshg5DdTjSR
    wfd34mshg5DdTjSR
    Nrm6H1s1iNxPMHTO
    HBPBZOnu4SnRBpQ1
    • Remove the six 5.5mm PH000 screws from the cover by rotating counter-clockwise.

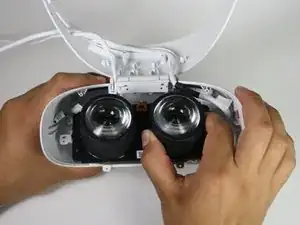
    • Carefully remove the lens and motherboard assembly from the white casing.

    add ‘How’ to second bullet point.

    Andres Ikaika Elzaurdia -

    The “carefully” part should be moved so that the sentence starts with a verb

    Clayton Lipping -

  5. E1chLd3FkVZwg1rc
    E1chLd3FkVZwg1rc
    GsEHXdVCJRkydTfH
    HhQVRgEdlFQfvRVH
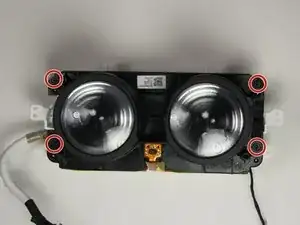
    • Remove the four 2.5 mm PH000 screws by rotating counter-clockwise.

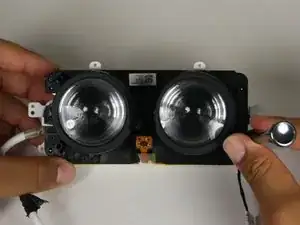
    • Separate the lenses from the motherboard panel.

  6. ykXXaUPVWQnVLlxi
    ykXXaUPVWQnVLlxi
    AWeQDFSOrhHUrTUj
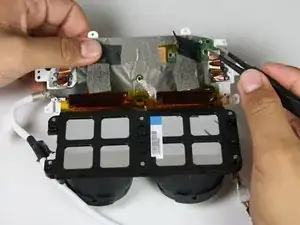
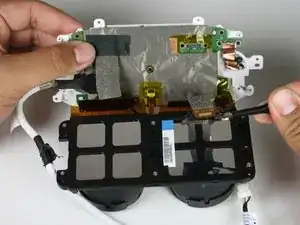
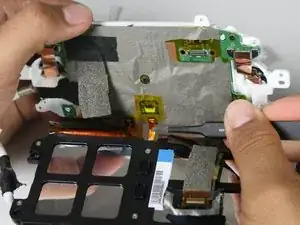
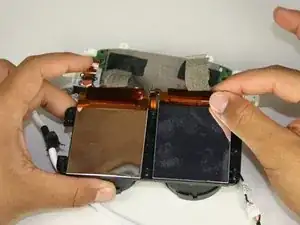
    • Take off the tape using the blunt nosed tweezers to disconnect the flat-topped connector from the motherboard.

    • The screen is attached to the motherboard using an adhesive.

  7. A13tIZt4ZpO1sTGO
    A13tIZt4ZpO1sTGO
    lDDWx1lTKTuFKFuO
    ITyqEHmWFWvLqDoG
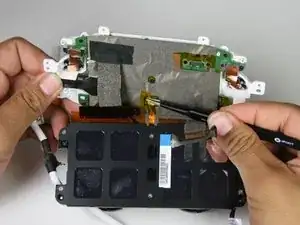
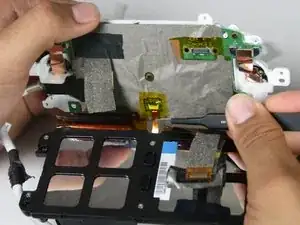
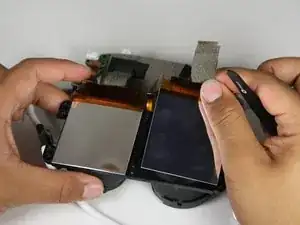
    • Lift the yellow tape with tweezers.

    • Remove the ribbon cable from the screen to the motherboard with tweezers.

  8. cyQvhqoUUaC2OK3P
    cyQvhqoUUaC2OK3P
    VLFwYeXH6pHKJoYm
    D4RFJHDhAdNYJQ2N
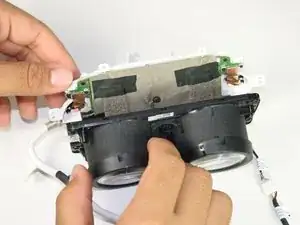
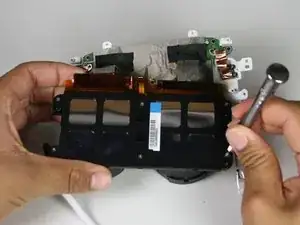
    • Remove the six 3.4mm PH000 screws by rotating counter-clockwise connecting the back panel to the screen.

    • Remove the back panel from the screen by carefully pulling apart the two.

  9. 1TkQcfxsuhw2oEmw
    1TkQcfxsuhw2oEmw
    LVbbnXD3BpfPiUUD
    s1PHZQBSAGQxDQhT
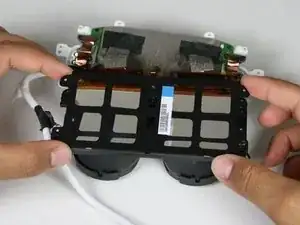
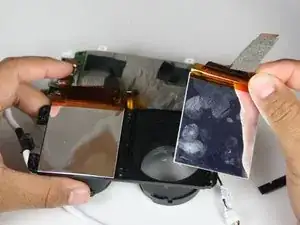
    • Peel away the screen with both hands.

    • A plastic opening tool may be required for removing the screen.

    • Adhesive may need to be reapplied during the rebuild.

Abschluss

To reassemble your device, follow these instructions in reverse order.
Lauren Monzon

Mitglied seit: 08/10/18

217 Reputation

0 Kommentare