Einleitung
Careful not to mix the screw sizes, some may be too shallow or too deep if inserted into the wrong holes upon reassembly. The keyboard is a single unit and is removed as one piece at the appropriate step.
Werkzeuge
-
-
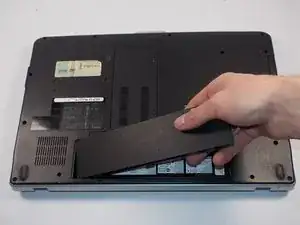
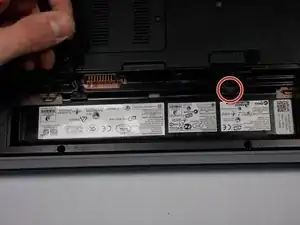
Remove the battery and set it aside, there is a small clip that slides to free the battery.
-
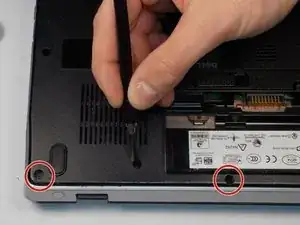
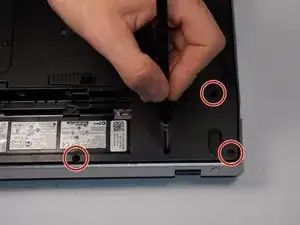
Unscrew the two 4.7mm screws below the battery.
-
-
-
Flip the laptop over and open it up.
-
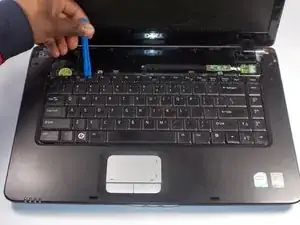
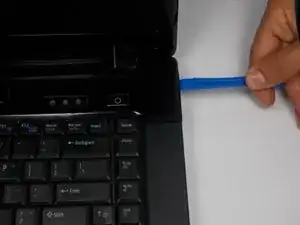
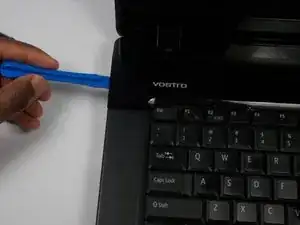
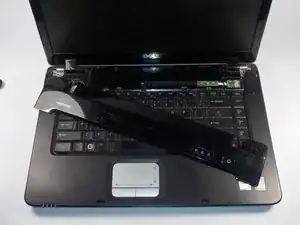
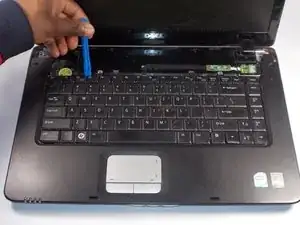
Using a plastic opening tool carefully pry up along the edge of the plastic bezel at the top of the keyboard.
-
-
-
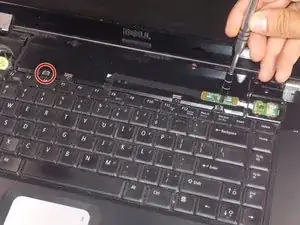
Remove two 5.5mm screws from the top of the keyboard
-
Using a plastic opening tool push inward along the edges of the keyboard to release the holding clips
-
-
-
Lift the keyboard upwards
-
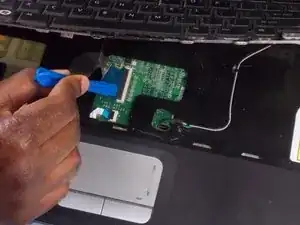
Using the plastic opening tool push up on the black clip holding the connector ribbon.
-
Pull out the ribbon connector to remove the keyboard.
-
To reassemble your device, follow these instructions in reverse order.
