Einleitung
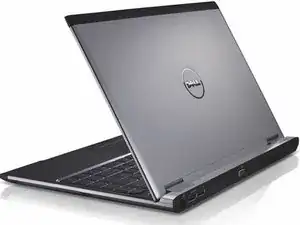
This guide explains how to remove/replace any part on a Dell Vostro V13 laptop by describing a complete tear-down. Any screwdriver of size PH00 to PH1 will work with the screws on this laptop.
Werkzeuge
-
-
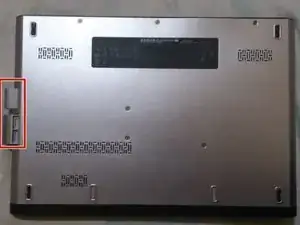
Remove the two plastic dummy cards from the laptop.
-
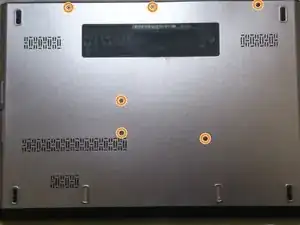
Unscrew the six PH00 screws from the bottom of the laptop.
-
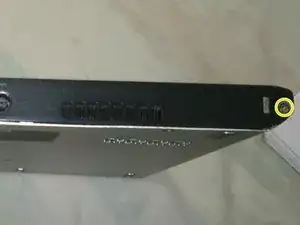
Unscrew the two PH00 screws from the back of the laptop, located at the extreme left and right of the back panel.
-
Slide the bottom cover forward and lift it upwards to remove.
-
-
-
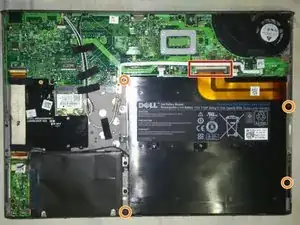
Carefully remove the battery connector. It is a ribbon cable that is clamped down. Flick the black clamp up using the edge nearest the battery. The ribbon cable is now free to move for the next step.
-
Unscrew the four PH00 screws from the battery.
-
Lift the battery upwards to remove it.
-
-
-
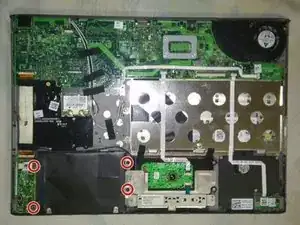
Unscrew the four PH00 screws from the hard drive enclosure.
-
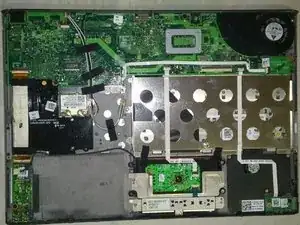
To remove the hard drive, gently lift the drive to a shallow upward angle and carefully slide it to the right.
-
-
-
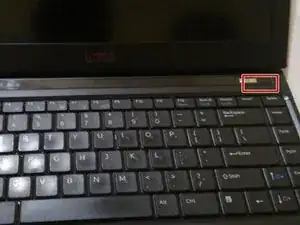
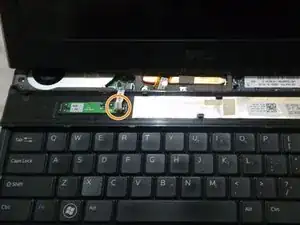
Using a plastic opening tool, pry open the top panel containing the power switch. Start with the bottom-right edge closest to the keyboard.
-
Unclip and remove the ribbon from the panel.
-
-
-
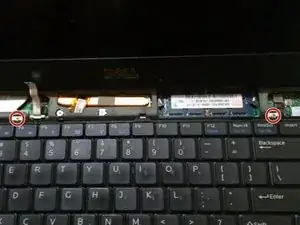
Remove the two PH00 screws from the keyboard.
-
Gently lift the keyboard upwards and push it towards the screen to remove.
-
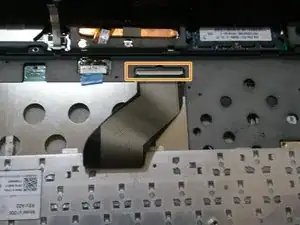
Remove the ribbon cable from underneath the keyboard.
-
-
-
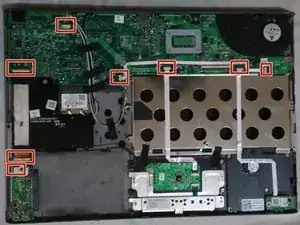
Remove all of the ribbon cables from the motherboard.
-
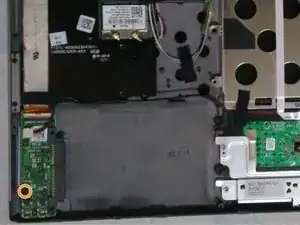
Take out the one screw from the audio card and then lift upward to remove.
-
-
-
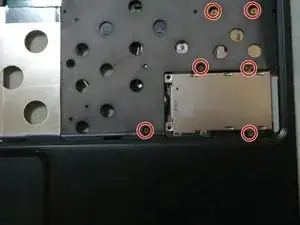
Unscrew the six PH00 screws from the memory card reader.
-
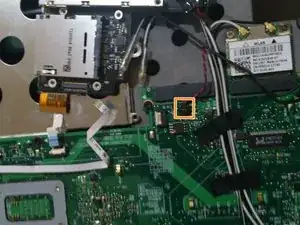
Remove the CMOS battery cable from the motherboard.
-
-
-
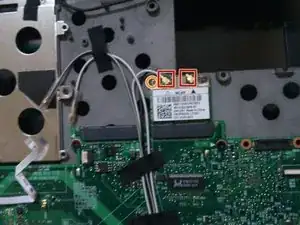
Using a small plastic opening tool, gently lift and remove the two antenna cables from the wireless card.
-
Unscrew the one tiny screw securing the wireless card.
-
Gently slide the card forward to remove it.
-
-
-
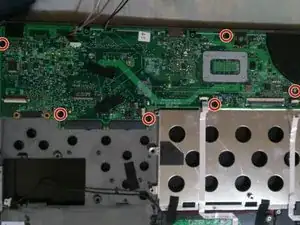
Remove all six screws from the motherboard.
-
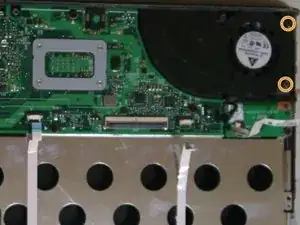
Unscrew the two PH00 screws from the cooling fan.
-
Gently lift the motherboard upward and then slide it forward to remove.
-
-
-
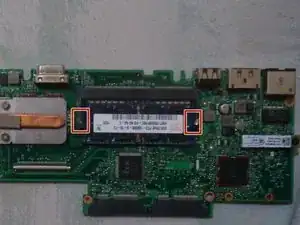
Push the two metal clips on either side of the RAM outward; the memory chip will pop up.
-
Pull the memory down from the slot to remove it.
-
-
-
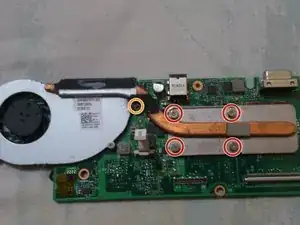
Unscrew the four PH1 screws from the heatsink.
-
You may also need to remove the screw on the fan shroud.
-
Pull the heatsink and the fan upward to remove both.
-
To reassemble your device, follow these instructions in reverse order.
2 Kommentare
is the CPU removable?
No, it's not. All laptops have soldered ballpoint CPUs and GPUs.
