Einleitung
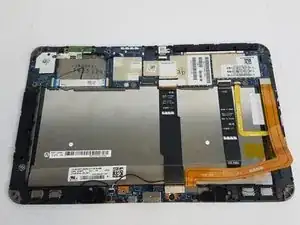
Even though this repair is not very difficult it will require a few special tools. The rest of the repair is easy enough and there are no hazards to be aware of. This repair might be needed if your cameras are cracked or internally damaged and are no longer being recognized.
Werkzeuge
-
-
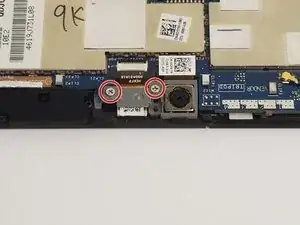
Unscrew the two screws shown circled in red in the picture.
-
Use a #0 Phillips screwdriver to remove the two 4 mm screws
-
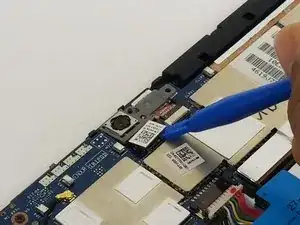
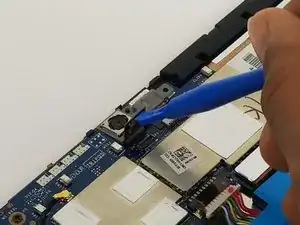
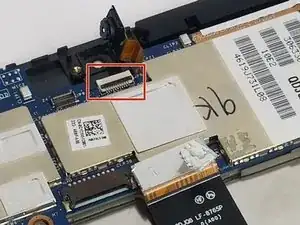
Lift up the plug that connects the camera to the motherboard using the plastic opening tool as shown in the pictures.
-
Abschluss
To reassemble your device, follow these instructions in reverse order.
