Einleitung
Hier wird der Austausch des Lüfters im Dell XPS 13 gezeigt.
Werkzeuge
Ersatzteile
-
-
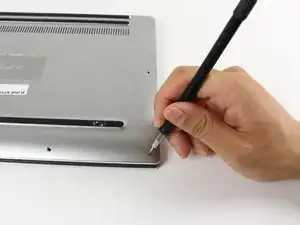
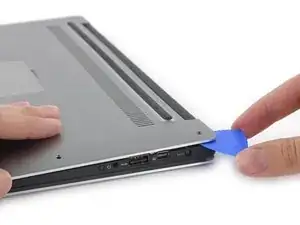
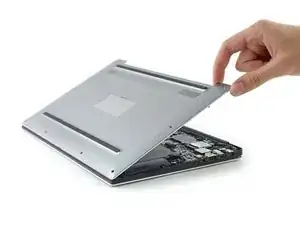
Heble mit Plektren oder einem Plastikwerkzeug die Gehäuseklammern auf. Beginne dabei an der hinteren Kante.
-
-
-
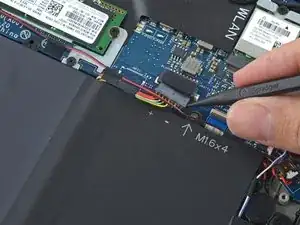
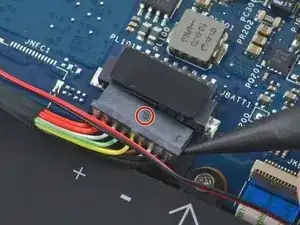
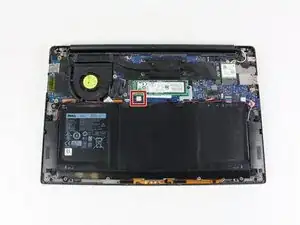
Ziehe den Akkukabelstecker zum Akku hin aus seinem Anschluss heraus.
-
Sollte der Stecker klemmen, dann drücke abwechselnd auf beiden Seiten, um ihn so aus dem Anschluss"herauswandern" zu lassen..
-
Wenn der Stecker nicht leicht aus dem Anschluss herauskommt, dann setze die Spudgerspitze in die Vertiefung am Stecker ein und drücke ihn vorsichtig heraus.
-
Öffne das Display und drücke fünf Sekunden den Einschaltknopf, um das System zu entladen.
-
-
-
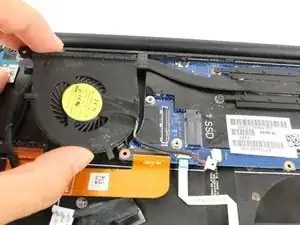
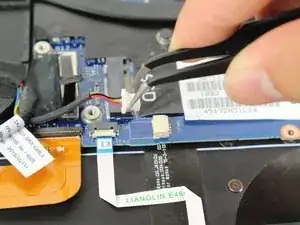
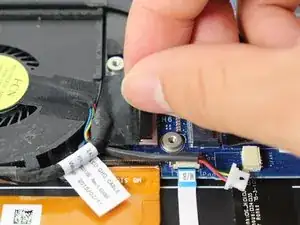
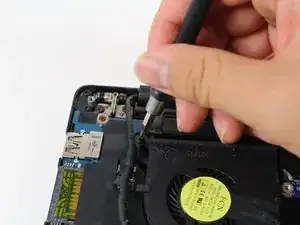
Entferne die 4 mm Kreuzschlitzschraube #0, welche den Lüfter an der Hauptplatine befestigt.
-
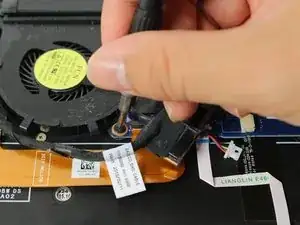
Entferne die 4 mm Kreuzschlitzschraube #0, welche den Lüfter am Gehäuseunterteil befestigt.
-
-
-
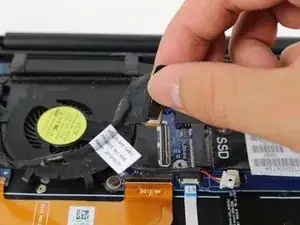
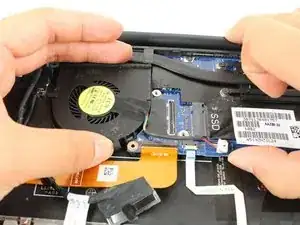
Hebe den etwas größeren Teil der Hauptplatine in der Nähe des Lüfters mit der rechten Hand hoch.
-
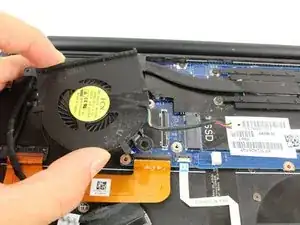
Ziehe den Lüfter mit der linken Hand unter einem 30° Winkel unter der Hauptplatine hervor.
-
Um dein Gerät wieder zusammenzusetzen, folge den Schritten in umgekehrter Reihenfolge.
3 Kommentare
Great guide! The two hardest parts were getting the back cover off, and lifting the motherboard to remove the fan. Took me about 30 minutes in total.
It would be really easier if you remove the battery screws first… there are some steps that were not clear…
This repair took me about 45 min for a complete novice. “Walking out” the battery connector was only way I could unplug it. There was a retaining bracket overlaying the flat connector (step 8) that I needed to unscrew (2 screws, phillips) before it could be removed. Take care to replace the wire in the wire guides along the fan’s housing prior to reinsertion of the replacement fan. It cannot be done afterwards and the back panel will not be flush. Otherwise, this was an excellent guide and an easy repair.
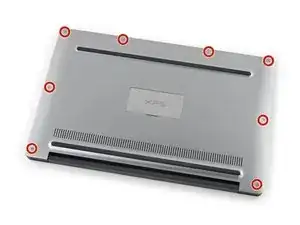
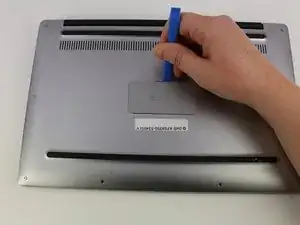
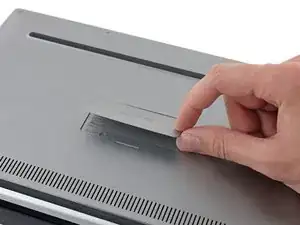
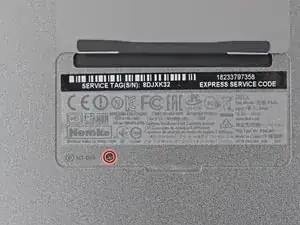
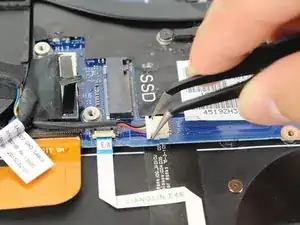
Missing a step about removing the tiny Phillips head screw under the XPS flip up cover in the middle. Also, there are hooks all the way around the cover so it doesn’t simply lift off.
curtis_p_brown -
What about step 3???
Peter Hecht -
Please dont hurry , take your Time to follow this procedure. It takes 20 min (not 5) and step 4 requires half of this Time. Good luck.
Peter Hecht -
+1 Peter Hecht is right - getting the little clips the back is snapped on with is time consuming and a bit fiddly for people not used to “spudging” off covers. Starting from the back is the key those come loose much easier and help with the rest
Doug Steinschneider -