Einleitung

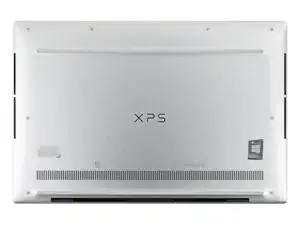
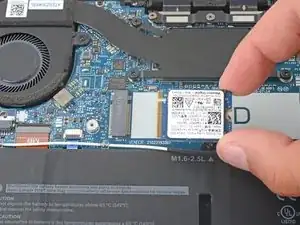
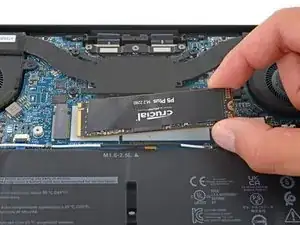
Use this guide to replace the SSD on your Dell XPS 13 9310.

Before you perform this repair, if at all possible, back up your existing SSD. If you are replacing the SSD where your operating system is installed, familiarize yourself with a disk cloning utility so you’ll be ready to migrate your data to the new SSD.

Be sure to completely power off and unplug your laptop. Make sure the laptop is not in standby, sleep, or hibernation mode.

  1. OxLDeiFsjBFbBKoH
    OxLDeiFsjBFbBKoH
    jdwmycAJutB4T63W
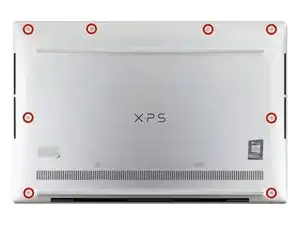
    • Use a T5 Torx screwdriver to remove the eight 3.3 mm screws securing the case.

  2. 2mxcXRONVqj1obFw
    2mxcXRONVqj1obFw
    OtfbFOXTWjlkayvf
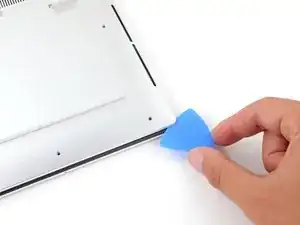
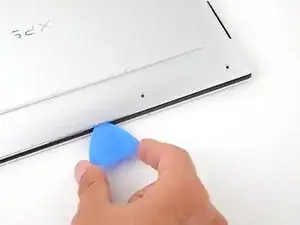
    • Insert an opening pick between the lower case and the chassis on the front right edge.

  3. DhyS4TSRF2n6fqCM
    DhyS4TSRF2n6fqCM
    T1oY25jIUOnMemGq
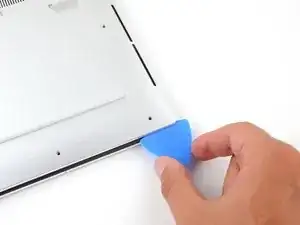
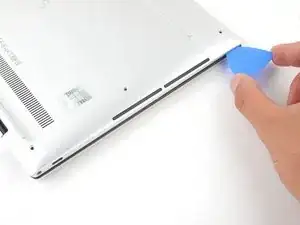
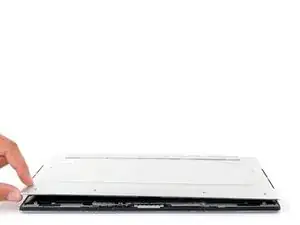
    • Slide the pick along the front edge to release the clips securing the lower case.

  4. jpLhHKjul5FnFWN3
    jpLhHKjul5FnFWN3
    rf6CFtmALfjIL5JQ
    HPLXSdfps6Olodks
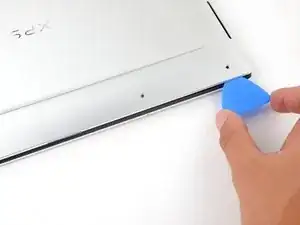
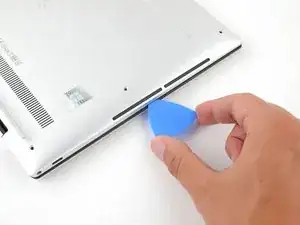
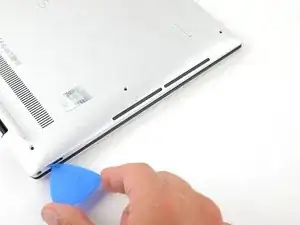
    • Continue sliding the opening pick along the perimeter of the lower case to release the remaining clips.

  5. UHNMXy31aWKlafXY
    UHNMXy31aWKlafXY
    IwU1YLUKe3KNBUDq
    cWDNn1XlE3Bts1Xd
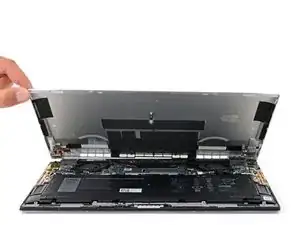
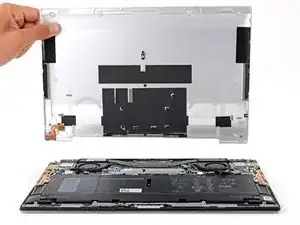
    • Lift the lower case from the chassis and remove it.

    • During reassembly, this is a good point to power on your laptop and test all functions before sealing it up. Be sure to power your laptop back down before you continue working.

  6. A2l3QaUT3CHB3XoF
    A2l3QaUT3CHB3XoF
    wNHFiQ5eNLm2uDHo
    yHReyLN2J6PUFNGh
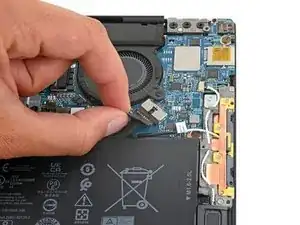
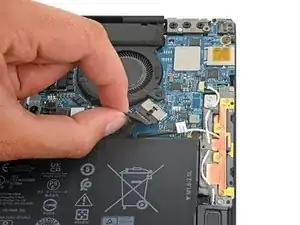
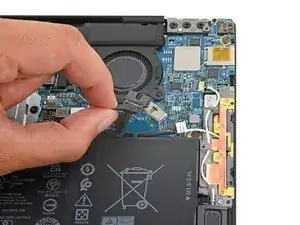
    • Grip the pull tab on the battery connector with your fingers and gently pull away from the socket to disconnect it.

  7. GfPpYgs3sL2ZpBxU
    GfPpYgs3sL2ZpBxU
    WZZXnj1shW4sbl1v
    2c426Twb6LbWb5EU
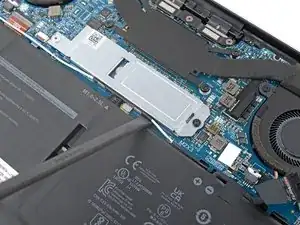
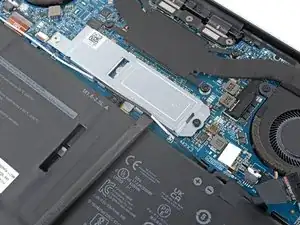
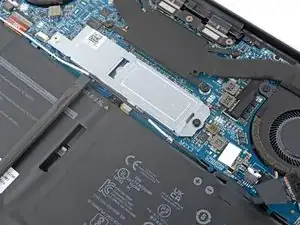
    • Use the flat end of a spudger to pry up and loosen the antenna wire from the SSD cover.

    • Repeat this process along the entire edge of the SSD cover.

  8. DvgwZm6lUoFxJhd3
    DvgwZm6lUoFxJhd3
    DkijfYrkvvpn5BcH
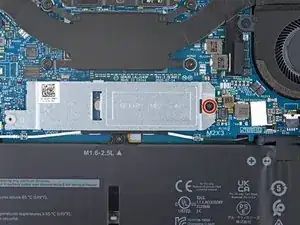
    • Use a Phillips screwdriver to remove the 3.6 mm screw securing the SSD cover

  9. wFJ2Ip6u4hAyaEIa
    wFJ2Ip6u4hAyaEIa
    K2JhTLboRJnbHbpa
    tmsCanHjwDL2hHJG
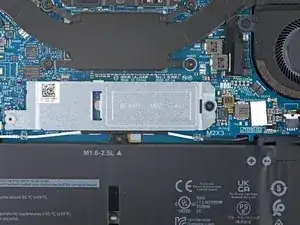
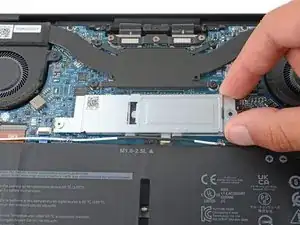
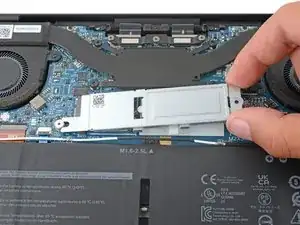
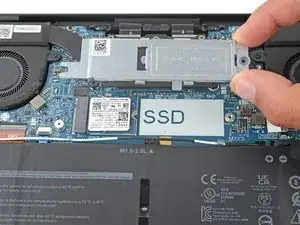
    • Pull the SSD cover away from its fastener to remove it.

  10. Yknu2xIGf6agnMVB
    Yknu2xIGf6agnMVB
    EtLaa1reBg12Sxlf
    PDcLxbBSNaWSHvWL
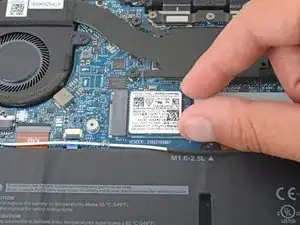
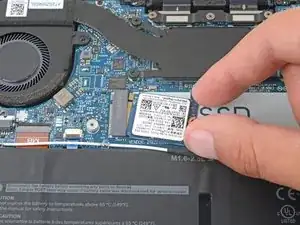
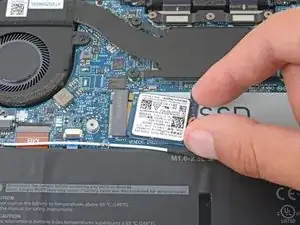
    • Pull the SSD out of its socket and remove it. Keep the SSD as parallel to the motherboard as possible when pulling on it.

    • Do not pull up at a sharp angle, as this could damage the SSD and the socket.

  11. XhjFPFwH3h2sHDXB
Abschluss

To reassemble your device, follow these instructions in reverse order.

Take your e-waste to an R2 or e-stewards certified recycler.

Repair didn't go as planned? Try some basic troubleshooting, or ask our Dell XPS answers community for help.
Spencer Day

Mitglied seit: 14/09/22

17445 Reputation

0 Kommentare