Einleitung
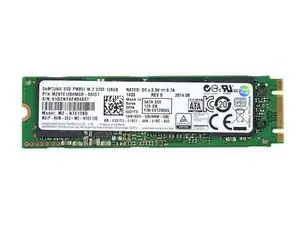
Hier wird der Austausch der SSD im Dell XPS 13 gezeigt. Wenn die alte SSD noch funktioniert, dann solltest du vor Reparaturbeginn ein vollständiges Backup oder einen Klon davon erzeugen. Du kannst diese Anleitung benutze, um auf einen größeren Speicher aufzurüsten, oder um ein defektes Laufwerk zu tauschen. Wenn du eine neue SSD einbaust, musst du nach der Reparatur Windows (oder ein anderes Betriebssystem deiner Wahl) installieren.
Werkzeuge
Ersatzteile
-
-
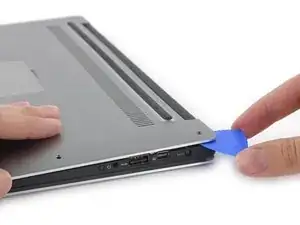
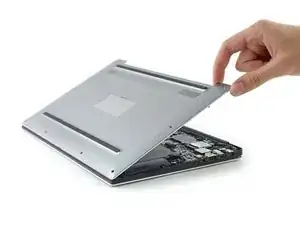
Heble mit Plektren oder einem Plastikwerkzeug die Gehäuseklammern auf. Beginne dabei an der hinteren Kante.
-
-
-
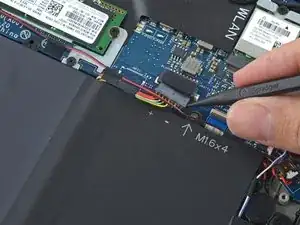
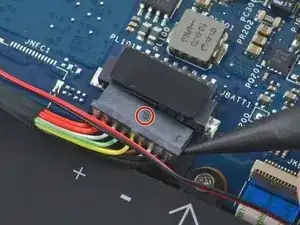
Ziehe den Akkukabelstecker zum Akku hin aus seinem Anschluss heraus.
-
Sollte der Stecker klemmen, dann drücke abwechselnd auf beiden Seiten, um ihn so aus dem Anschluss"herauswandern" zu lassen..
-
Wenn der Stecker nicht leicht aus dem Anschluss herauskommt, dann setze die Spudgerspitze in die Vertiefung am Stecker ein und drücke ihn vorsichtig heraus.
-
Öffne das Display und drücke fünf Sekunden den Einschaltknopf, um das System zu entladen.
-
Um dein Gerät wieder zusammenzusetzen, folge den Schritten in umgekehrter Reihenfolge.
10 Kommentare
I’m kinda new on pc upgrading. So once I install a new m.2 I’ll need to install a new window 10 right
Yes, you have to install windows again. or you can clone your existing ssd onto the new one using some adapters easily found online
You will have to reinstall unless you are buying a samsung m.2 which comes with a disk duplicator utility. The xps 13 cames with a samsung early life evo disk (128GB) and transferring from 1 evo to another is very easy with the app. I believe its the same with every disk though I havent tried the latter.
Dell has some nice recovery tools:
https://www.dell.com/support/kbdoc/en-us...
I downloaded a recovery image to use from a USB drive. I am using it to reinstall the Windows that came with the PC. You don't have to be the original owner but you do need to have the Dell asset number usually stored in the bios
https://www.laptopmag.com/articles/upgra...
helpful resource
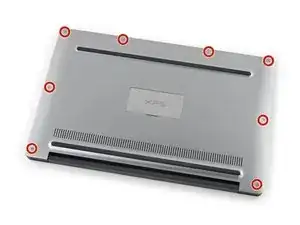
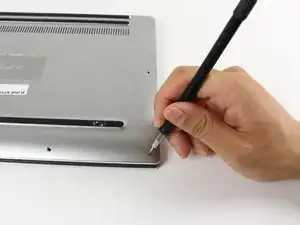
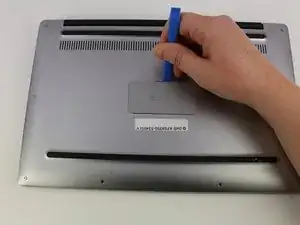
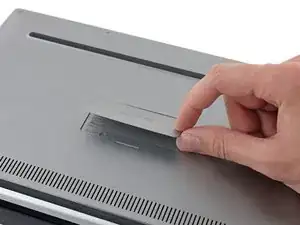
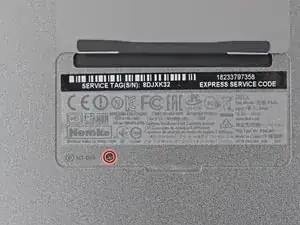
Missing a step about removing the tiny Phillips head screw under the XPS flip up cover in the middle. Also, there are hooks all the way around the cover so it doesn’t simply lift off.
curtis_p_brown -
What about step 3???
Peter Hecht -
Please dont hurry , take your Time to follow this procedure. It takes 20 min (not 5) and step 4 requires half of this Time. Good luck.
Peter Hecht -
+1 Peter Hecht is right - getting the little clips the back is snapped on with is time consuming and a bit fiddly for people not used to “spudging” off covers. Starting from the back is the key those come loose much easier and help with the rest
Doug Steinschneider -