Einleitung
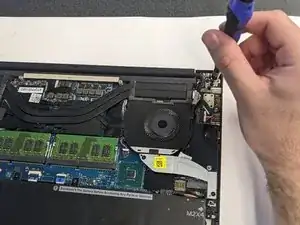
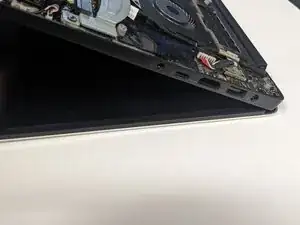
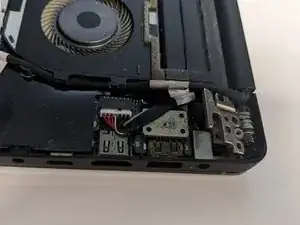
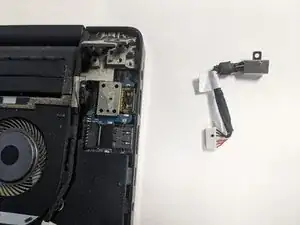
This guide walks you through the process of replacing the charger port (AC/DC power adapter) in your Dell XPS 15 7590. In short, the back cover of the computer is removed, the charger port is exposed and disconnected, the replacement is installed, and then the computer is reassembled. It is a fairly simple process, however, as the component being replaced is small and somewhat fragile, be cautious when exposing and disconnecting the old piece and when reconnecting the new one.
- Caution: This fix involves work with electronic components, and not following the steps correctly could lead not only to damage to the device, but also mild electrocution. Please read the steps and any and all safety warnings thoroughly.
Werkzeuge
Ersatzteile
-
-
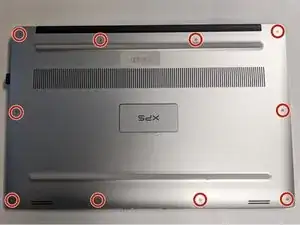
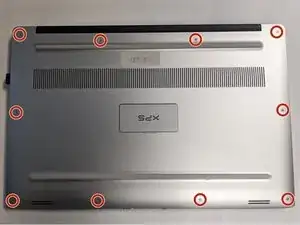
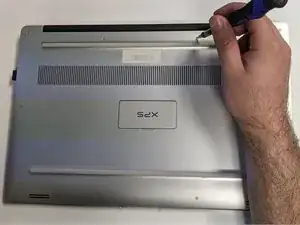
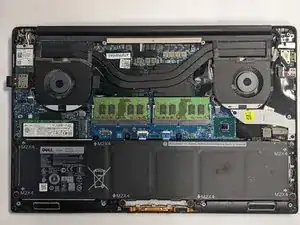
Make sure that the computer is fully shut down, and remove the ten 3 mm screws around the edge of the back cover with the T4 Torx screwdriver.
-
-
-
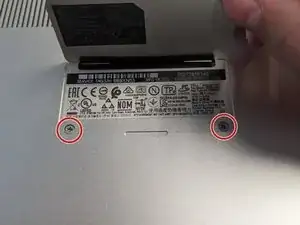
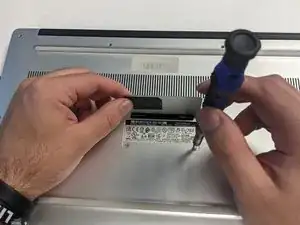
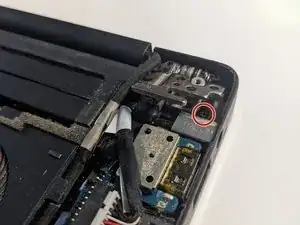
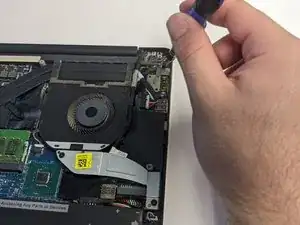
Lift the XPS tab in the center and use a Phillips #0 screwdriver to remove the two 8.5 mm screws underneath.
-
-
-
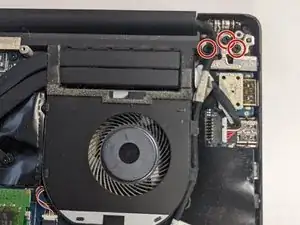
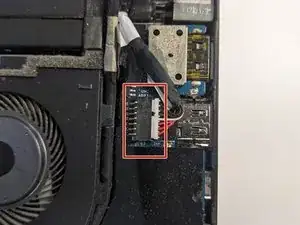
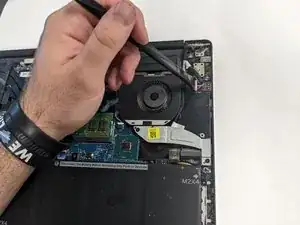
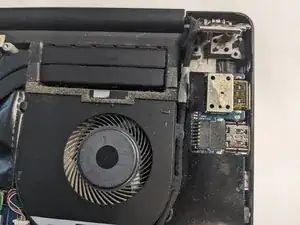
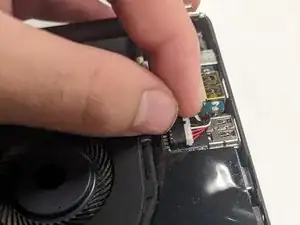
Carefully disconnect the charger port connection using a plastic opening tool. The charger port should now be free from the computer.
-
-
-
Connect the new charger port where the old one was connected so that the screw holes lines up as it was in step 6.
-
Reconstruct the computer by completing steps 1-6 in reverse order. Once the device is reassembled test to make sure the replacement of your charger port was a success.
