Einleitung
Werkzeuge
-
-
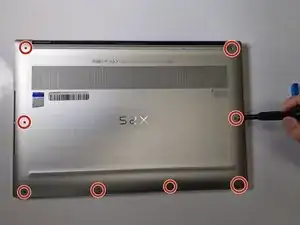
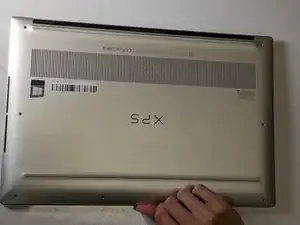
Gently wedge an opening tool in the gap between the base panel and chassis, and pry vertically around the perimeter until it releases from the chassis.
-
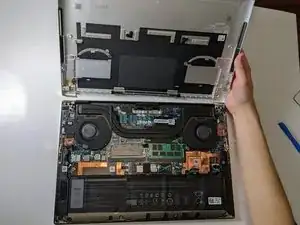
Lift the base panel up and away from the chassis.
-
-
-
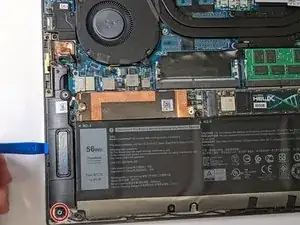
Use a Phillips #00 screwdriver to remove the two 3.0 mm screws (one on each speaker).
-
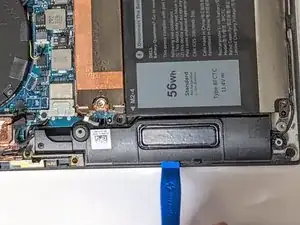
Use an opening tool to lift out the speaker.
-
-
-
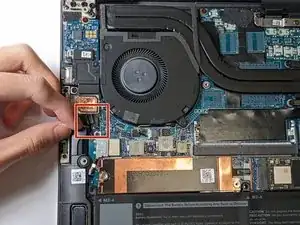
Use an opening tool to push the left speaker's cable out of its port until it is disconnected.
-
Abschluss
To reassemble your device, follow these instructions in reverse order.


According to Dell Service Manual and my own laptop it is T5 screws. So you need to Torx T5 screwdriver.
Serge Fedorow -