Einleitung

This is a prerequisite guide! This guide is part of another procedure and isn't meant to be used alone.

  1. ISvdFZQIAMFXTwOW
    ISvdFZQIAMFXTwOW
    AMMa6PdHTnd46OxV
    • For your safety, discharge the battery below 25% and power down your device before disassembly.

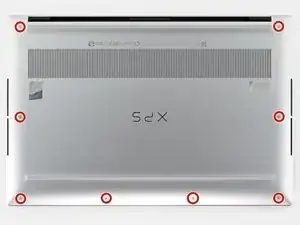
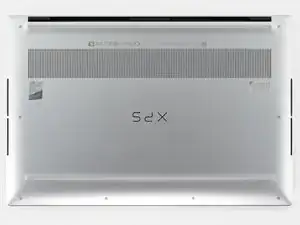
    • Use a Torx T5 screwdriver to remove the eight 3.3 mm-long screws securing the back cover.

  2. CUDAEEIcYHlWpo1R
    CUDAEEIcYHlWpo1R
    mrHZhsWKWg2yjrAi
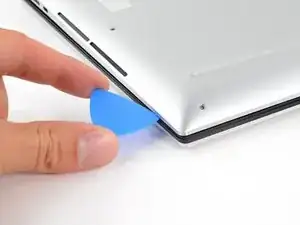
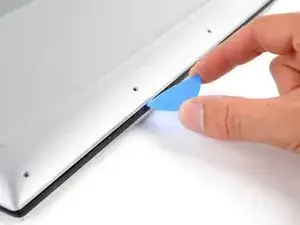
    • Insert an opening pick between the bottom-right corner of the aluminum back cover and the chassis.

    • Leave the pick inserted before continuing to the next step.

  3. VBsF61aIcWpYEo4y
    VBsF61aIcWpYEo4y
    efxqpGT6HHiQ6jA3
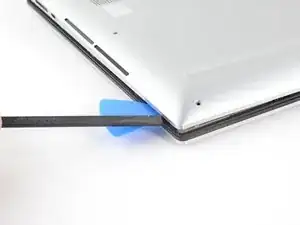
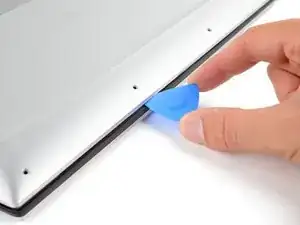
    • Insert the flat end of the spudger into the gap you just created.

    • Pry up to release the corner clips.

    • Repeat this process for the opposite corner of the back cover.

  4. rBY4eBo6PKMHb2jI
    rBY4eBo6PKMHb2jI
    gURGNbU3akbPbtGx
    IGwdpDcSn6fGljfu
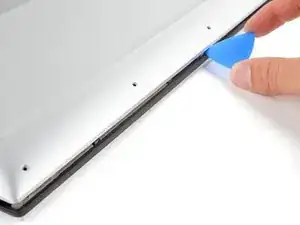
    • Reinsert your opening pick under the aluminum cover at the front edge of the laptop.

    • Pry to loosen the cover.

    • Pry at multiple locations along the front edge to release all of the retaining clips.

    • Do not use a sliding motion along the front edge. This may damage cables near the trackpad.

  5. CXSn5yWMDCrIIww3
    CXSn5yWMDCrIIww3
    QEBIcLtZfVMZOXjq
    ZHxQNkBmMoAomeM5
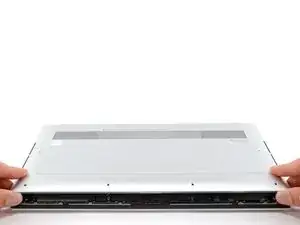
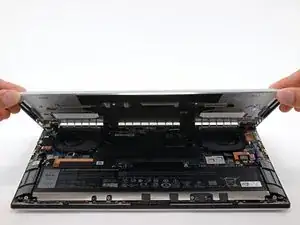
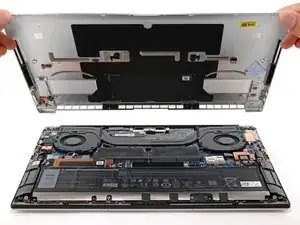
    • The edges of the back cover are very sharp. Use caution when handling it.

    • Lift the back cover off the chassis and remove it.

    • If the back cover feels stuck to the chassis, use an opening pick to release any remaining clips around the back cover's perimeter.

  6. GfxBuCOQDfUre11j
    GfxBuCOQDfUre11j
    KpRmnD2rcu5qOweh
    PGyhxYvGTrt1feyW
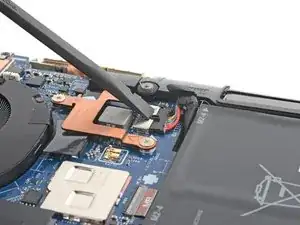
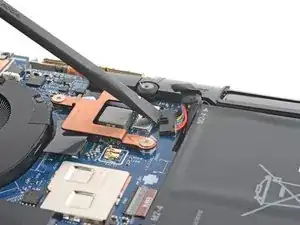
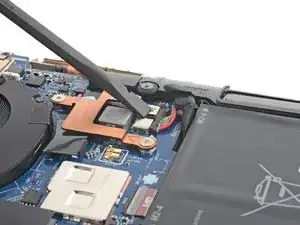
    • Use the flat end of a spudger to push the battery connector's square tab away from the socket and disconnect it.

Abschluss

To reassemble your device, follow these instructions in reverse order.
Clay Eickemeyer

Mitglied seit: 19/09/22

23447 Reputation

0 Kommentare