Einleitung

Removal of the keyboard will be covered in this guide. To successfully remove the keyboard, a #0 Phillips screwdriver, a T5 Torx screwdriver, a plastic spudger, and tweezers are needed. Be careful disconnecting cables as to not break them or their connectors.

  1. OCKKQnxJUK4QOffV
    OCKKQnxJUK4QOffV
    ZBnHG4oMjB3wgYrM
    dfwHLssScTWl2jFW
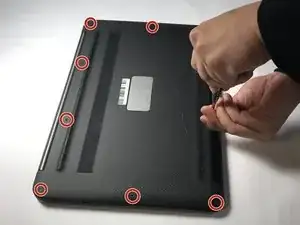
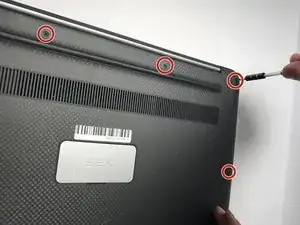
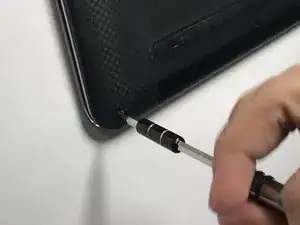
    • Using a T5 Torx screwdriver, remove ten 3mm screws.

  2. JwCduHmTBvhwZEdn
    JwCduHmTBvhwZEdn
    Cej3jSuA4E6ED2Am
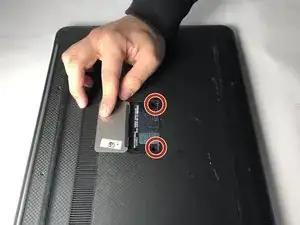
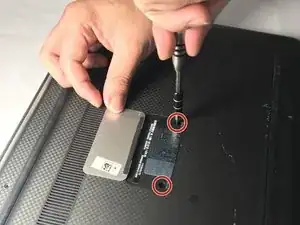
    • Lift the plastic tab.

    • Remove two 3mm Phillips #0 screws under the plastic tab.

  3. bePuNqxfGJxJejU6
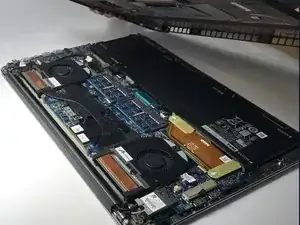
    • Lift the lower case off.

  4. PKVBPtGLcxvjvCu2
    PKVBPtGLcxvjvCu2
    Qf1dDcUe4yvsOeP2
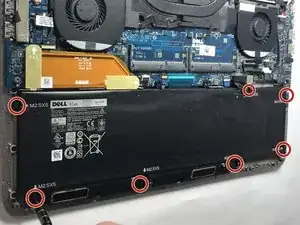
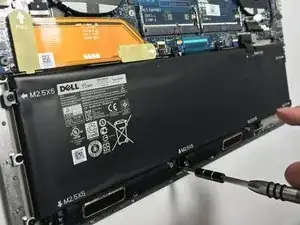
    • Using a Phillips #0 screwdriver, remove the seven 3.5mm screws that secure the battery to the palm rest assembly.

  5. AcMoTBCh2BCu2GPE
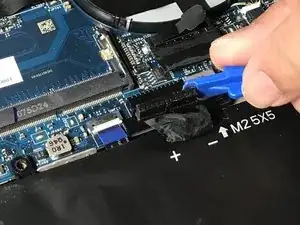
    • Disconnect the battery cable from the system board.

    • Be sure to use a plastic tool, not a metal one.

  6. 6nuYkBdRPoEcQXXc
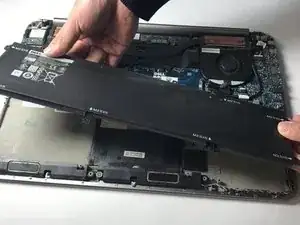
    • Lift the battery off the chassis.

  7. Qh2cFRyxGJPDxh3r
    Qh2cFRyxGJPDxh3r
    I3fYcpxZmJCdtPNU
    xhCf1ZTAmKEQgCSB
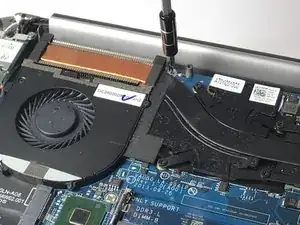
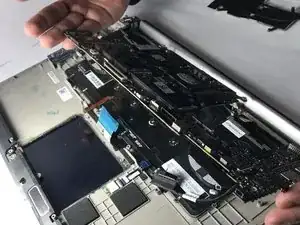
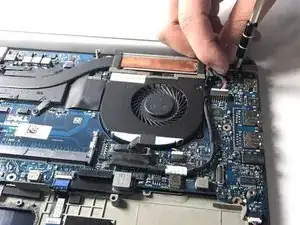
    • Remove the three 3.5mm Phillips #0 screws mounting the motherboard.

  8. bpUqCgmOVxsebnUA
    bpUqCgmOVxsebnUA
    ZCM5KDKNH3hDOF2J
    aktAmCPf4lQpWMpA
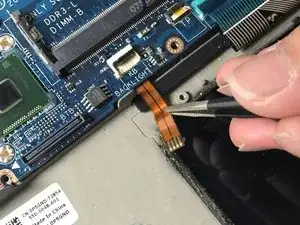
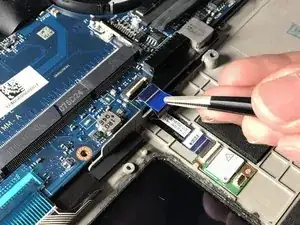
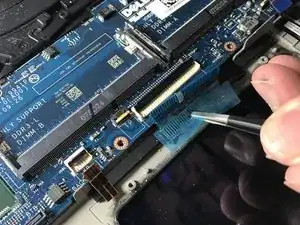
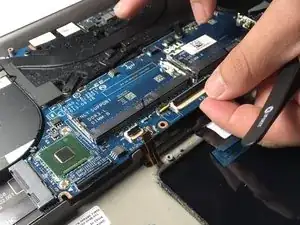
    • Disconnect ribbon cables above the touch pad using tweezers.

  9. CBVmCPTh5y3TQk5x
    CBVmCPTh5y3TQk5x
    mmOi4pQlIRGkKvKY
    E2UpfQXQWGYhcEUL
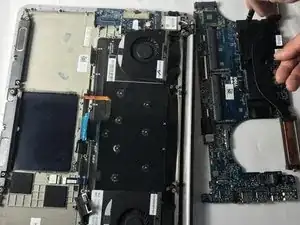
    • Lift and remove the motherboard from the chassis.

  10. BpqZYuyRA5qxPD2M
    BpqZYuyRA5qxPD2M
    kHDxwhyYSdNGJ3pS
    d36haREHgRSDHEti
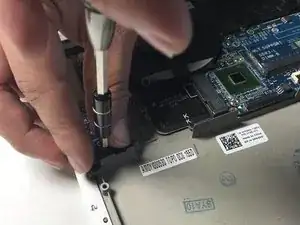
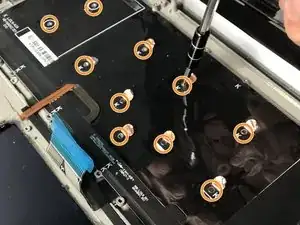
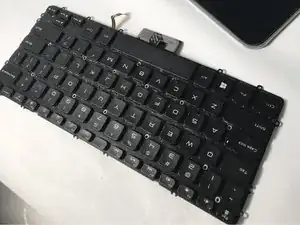
    • Remove the ten 3mm Phillips #0 screws on the perimeter of the keyboard assembly.

    • Remove the ten 2.5mm Phillips #0 screws underneath the plastic shielding of the keyboard.

    First, carefully remove large foil sticker across center of keyboard, tape across top of keyboard, and individual stickers covering keyboard screws. These are what will protect your computer from future spills, so you probably want to try and reuse them or replace with foil heat-resistant tape.

    Next remove 14 perimeter screws and 13 interior screws. They are different sizes so don’t mix them together.

    prplhaz4 -

Abschluss

To reassemble your device, follow these instructions in reverse order.

Larissa Omura

Mitglied seit: 05/04/19

743 Reputation

Ein Kommentar

Thank you for this guide! Is there any way to obtain replacement screws for the outer perimeter of the keyboard? I’ve recently disassembled my XPS 9530 and found one of the screws is very stripped, I managed to get it out but it really shouldn’t be put back in due to the state of the head.

I’m struggling to find replacements for the size quoted. Are they Phillips M2 3mm silver screws?
James White -