Einleitung

If your Dell XPS 15 9560 laptop's touchpad is not responding to inputs, is damaged, or is falling out completely, use this guide to replace it.

Before using this guide, be sure to check that there are no other issues that could be causing issues with the touchpad. Two things to check are too into the laptop's settings menu and check that the touchpad is enabled, or clean and dry the touchpad to ensure it isn't debris being picked up as an input signal.

Prior to starting your repair, turn off your laptop and unplug it from the power adapter.

  1. jUKaXAtFqXsZ1xJL
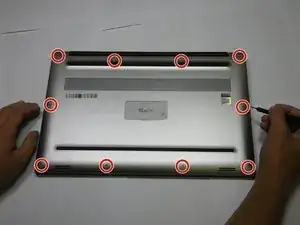
    • Using a T5 Torx screwdriver, remove ten 4.0 mm screws from the back panel of the laptop.

  2. OWsK3uFQ2DGW6vdZ
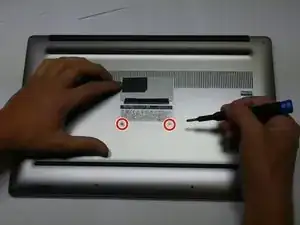
    • Using a Phillips #2 screwdriver, remove two 5.0 mm screws underneath the XPS badge door.

  3. Kt2Tg1sk3VDMyqZS
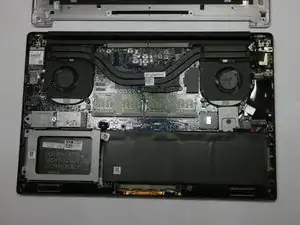
    • Wedge the scribe between the backplate and remove the bottom base cover.

  4. BMDNuJGST1pYSydH
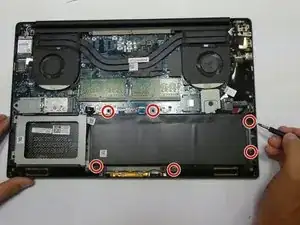
    • Using a T5 Torx screwdriver, remove the six 4.0 mm screws.

    On the Dell XPS 15 9560 that I just did a battery replacement on the battery was not held in by torx screws. It was the larger 97wh battery and was held in by 6 phillips head screws. I was able to get them out with a PH1 bit.

    Nick Hamblen -

    Seconded. In the photo the author isn't even holding a torx driver.

    Gregory Robben -

  5. EIPhbwKanoubPUAV
    • Unplug the battery cable.

  6. 42vITSAgbhUs33vj
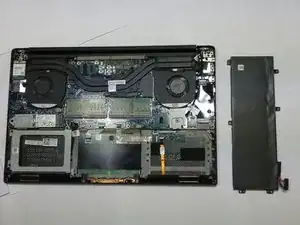
    • Remove the battery.

  7. 4XGwZrNCdcDsdWQt
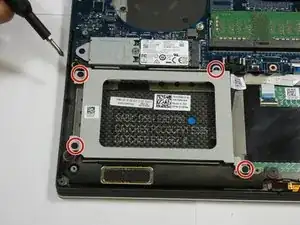
    • Using a Phillips #0 screwdriver, remove four 4.0 mm screws of the hard drive bracket.

    • Unplug the hard drive cable.

  8. FlsGFdpXFwfoekMv
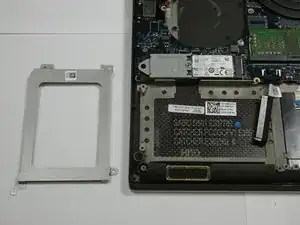
    • Remove the hard drive bracket. Then, unplug and remove the hard drive.

  9. OlS2Wl2YOQO1QlV5
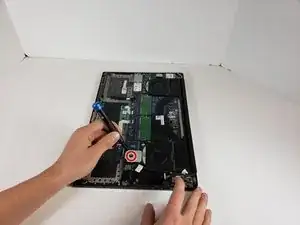
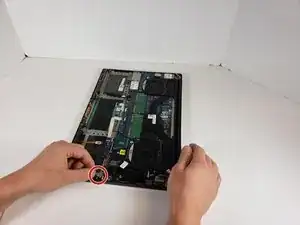
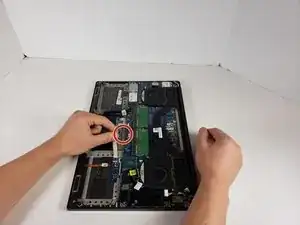
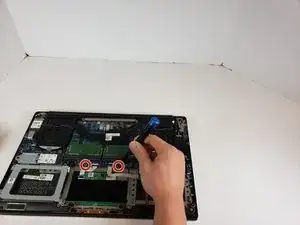
    • Remove the two 5 mm mounting screws for the touchpad.

  10. sBT1rrLLIQEWYLXU
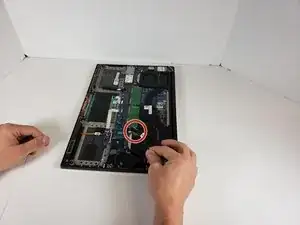
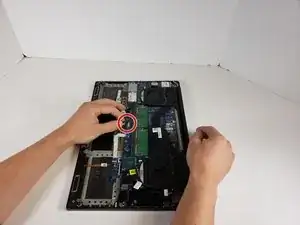
    • Remove the 5mm screw to allow removal of the plate.

  11. joiZ1oWFguAmCqfw
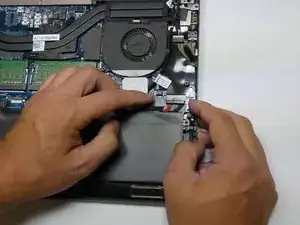
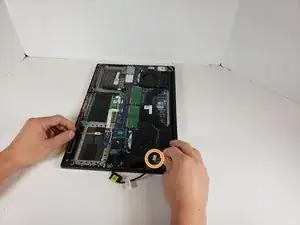
    • Unplug the small cord from its slot on the board.

  12. T2TJMIeHNcpYKHYg
    T2TJMIeHNcpYKHYg
    UiUCCrZIYWNCPwtK
    • Unplug the black cord from the board.

    • Unplug the cord with a white plug from the board.

  13. YYJIeYMeGbpkinFA
    YYJIeYMeGbpkinFA
    MIRCyIVYhXZ1jS2x
    • Gently pull the white ribbon cables loose from their housings.

  14. 6wyCMDoBvJLZgOOn
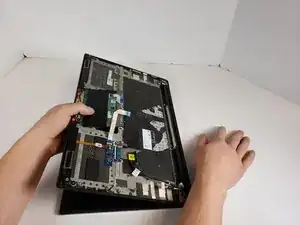
    • Lift the laptop so it's in the open position as shown.

    • Push the touchpad free from the keyboard side of the laptop.

Abschluss

To reassemble your device, follow these instructions in reverse order.
Taylor Hancock

Mitglied seit: 18/01/22

133 Reputation

0 Kommentare