Einleitung
Werkzeuge
-
-
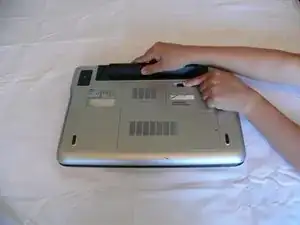
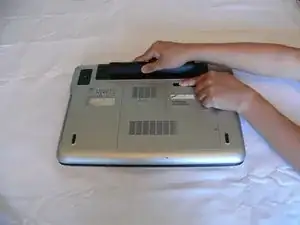
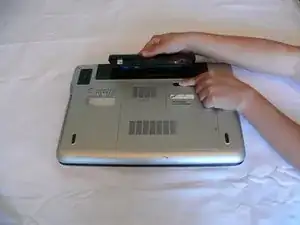
While holding the tab, lift the battery out of its compartment.
-
Release the tab after removing the battery.
-
-
-
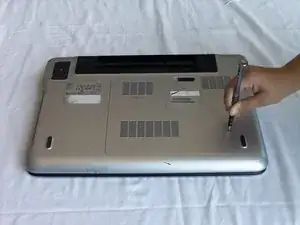
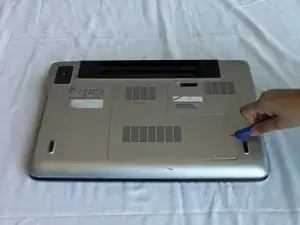
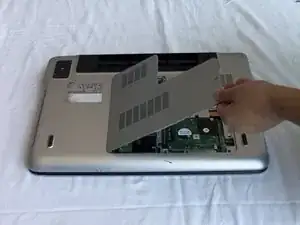
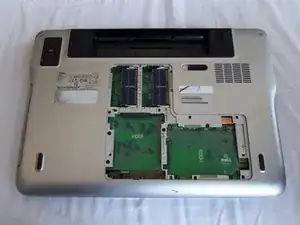
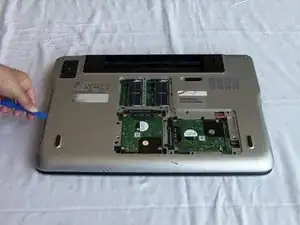
Lift the module cover by inserting a plastic opening tool into the crevice near the screw and lift upwards.
-
-
-
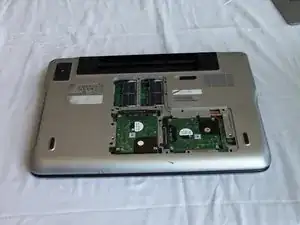
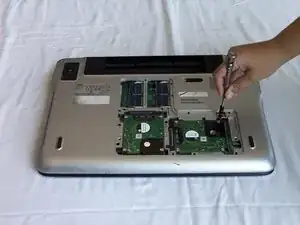
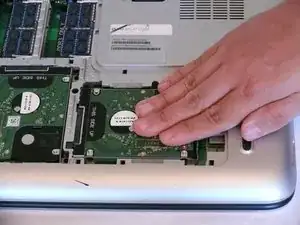
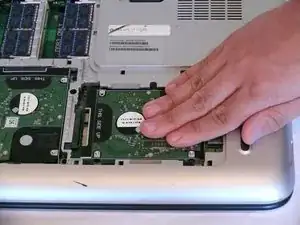
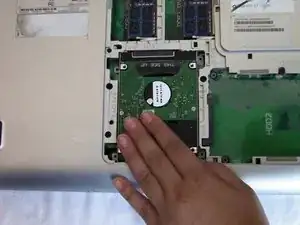
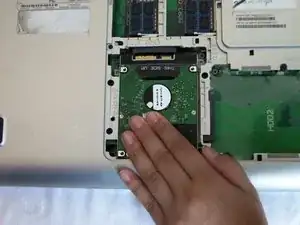
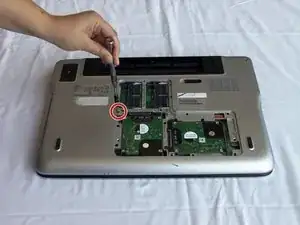
Slide the hard drive with your hand towards the hole where the back panel assembly screw was located (in step 5) to disconnect it.
-
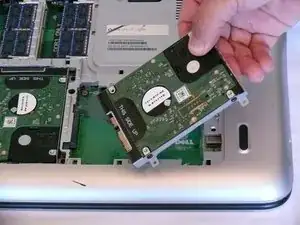
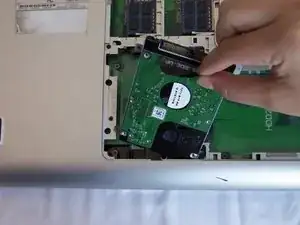
Lift the hard drive up to remove it from the case.
-
-
-
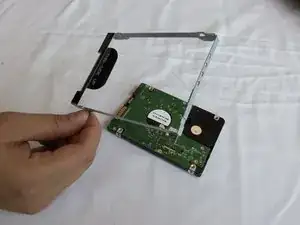
Using the tab that says "THIS SIDE UP," pull away from the laptop to remove the hard drive.
-
-
-
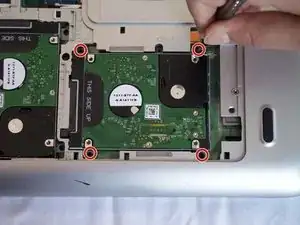
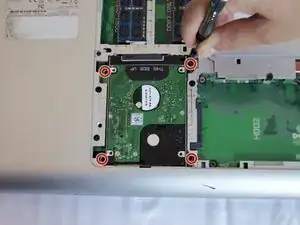
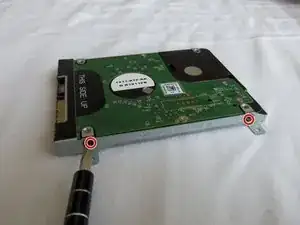
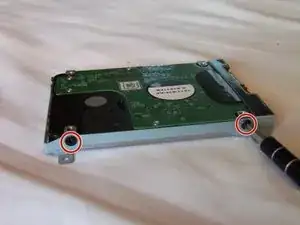
Unscrew the two 4mm screws from each side of the hard drive casing with a Phillips screwdriver.
-
-
-
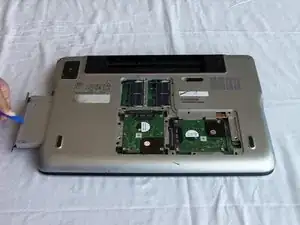
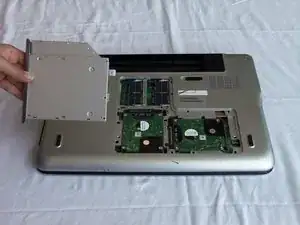
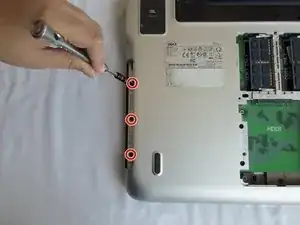
Unscrew three 4mm screws near the edge of the optical drive compartment with a Phillips screwdriver.
-
-
-
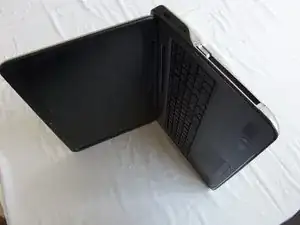
Open the laptop to about a 90 degree angle and place it on its side with the empty optical drive slot pointing upwards.
-
-
-
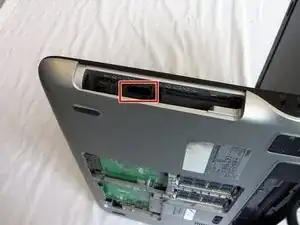
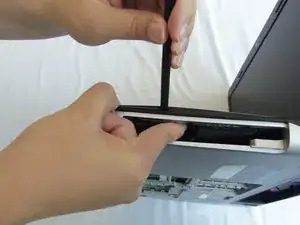
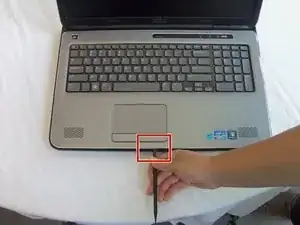
Push and hold the tab inside the optical drive's opening with your index finger.
-
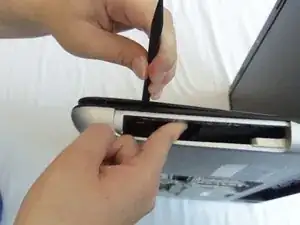
Insert a spudger between the black and silver plastic pieces that are above the tab and pry apart the two pieces.
-
-
-
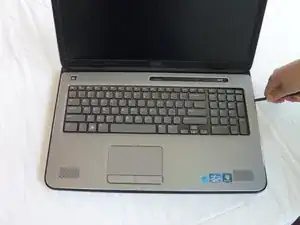
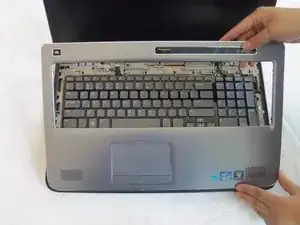
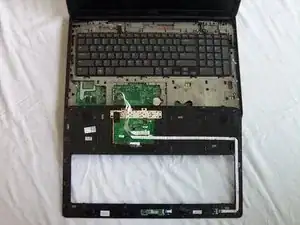
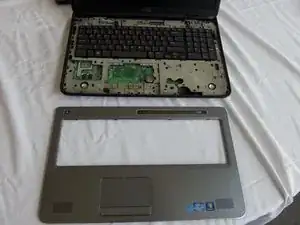
Gently lift and rotate the palm rest panel until it's upside down as it is still connected by the mouse pad wires.
-
-
-
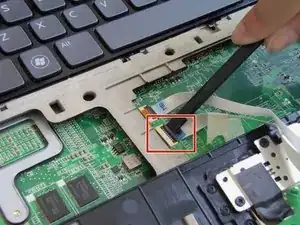
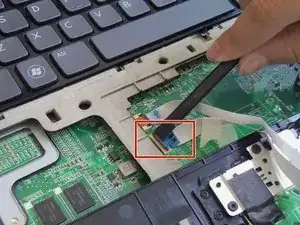
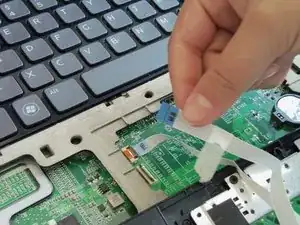
Put the spudger below the black tab of the wider cable and push up to release.
-
Gently pull out the cable.
-
-
-
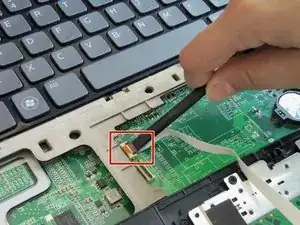
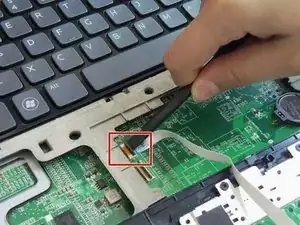
Insert the spudger below the black tab of the remaining cable and push up to release.
-
Gently pull out the cable.
-
-
-
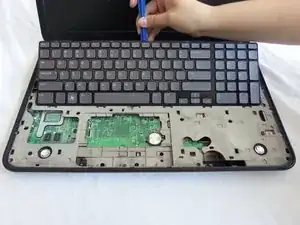
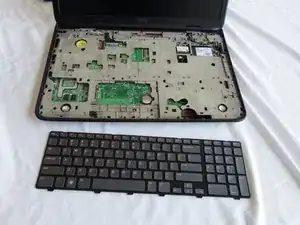
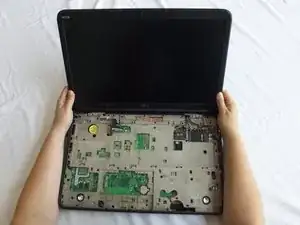
Using the plastic opening tool, slightly lift and rotate the keyboard until it's upside down from the display side of the laptop.
-
-
-
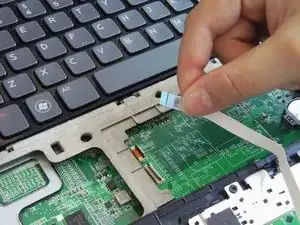
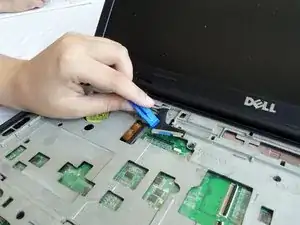
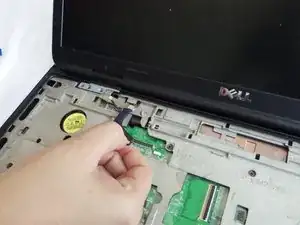
Gently insert the spudger below the edge of the black tab of the thin, copper colored cable and pry it open.
-
Gently pull out the cable.
-
-
-
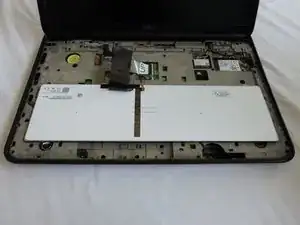
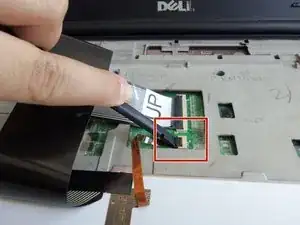
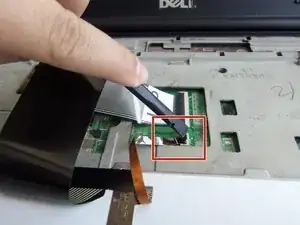
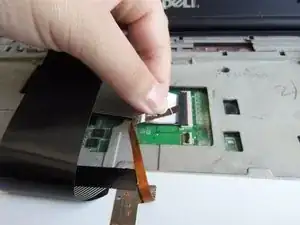
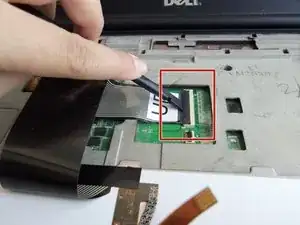
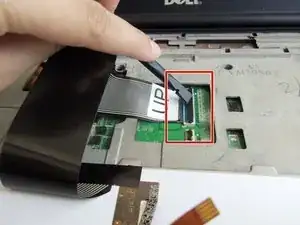
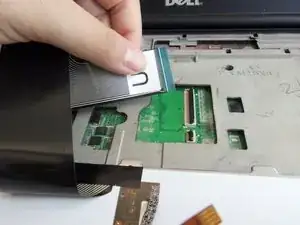
Gently insert the spudger under the edge of the black tab of the cable marked "UP" and pry it open.
-
Gently pull out the cable.
-
-
-
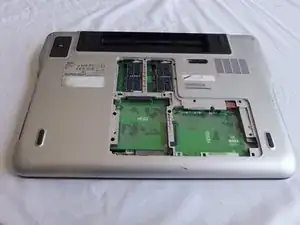
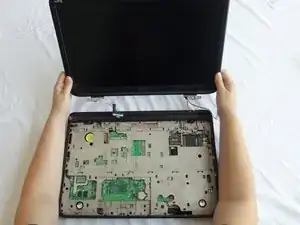
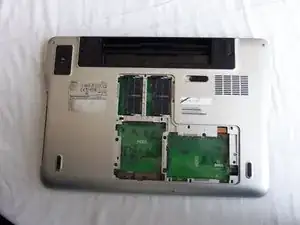
Close the display, and flip the laptop over so that the bottom faces upwards.
-
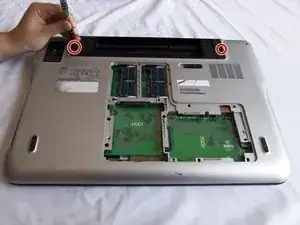
Remove the two 16 mm screws with a Phillips screwdriver.
-
-
-
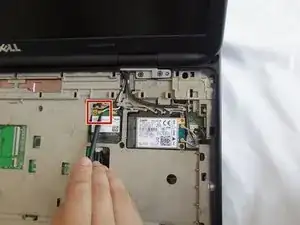
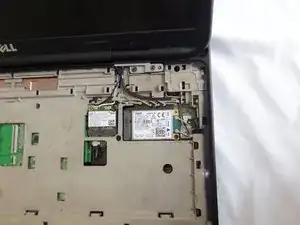
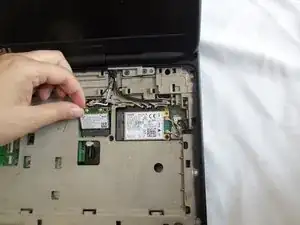
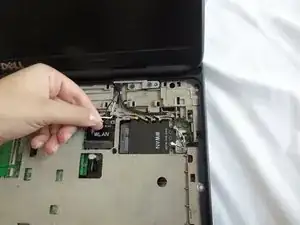
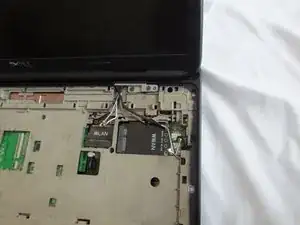
Insert the pointy side of the spudger below the golden connector of the white cable on the WLAN card and lift to detach.
-
-
-
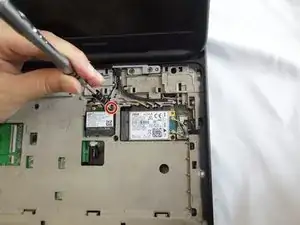
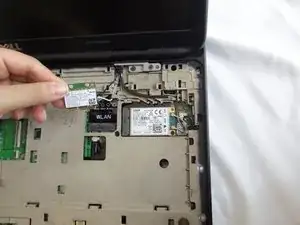
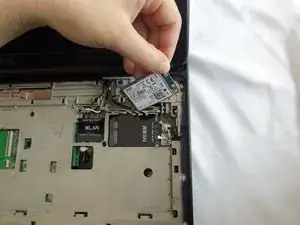
Unscrew the 4mm screw from the WLAN card with a Phillips screwdriver. The card will lift itself after you remove the 4mm screw.
-
Gently pull out the WLAN card.
-
-
-
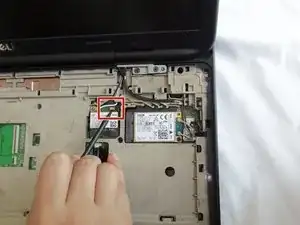
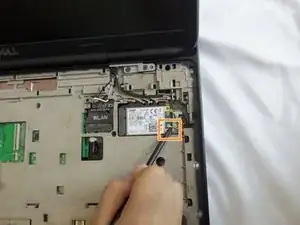
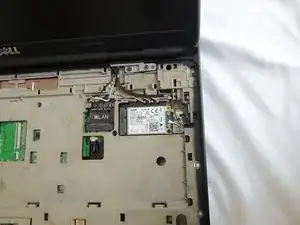
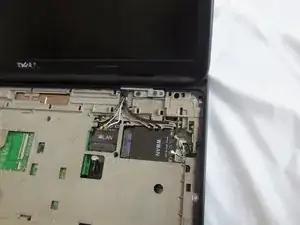
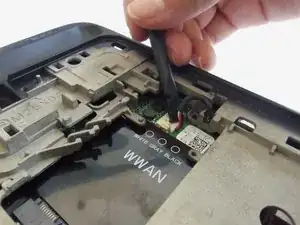
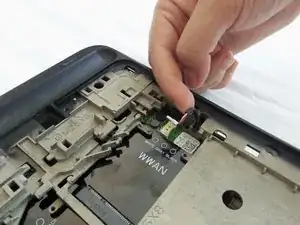
Insert the pointy side of the spudger below the golden color connector of the gray cable on the WWAN card and lift to detach.
-
Insert the pointy side of the spudger below the golden color connector of the black cable on the WWAN card and lift to detach.
-
-
-
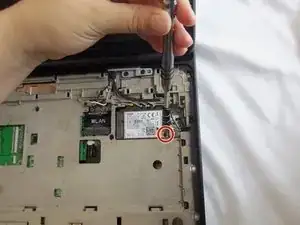
Unscrew the 4mm screw from the WWAN card with a Phillips screwdriver. The card will lift itself.
-
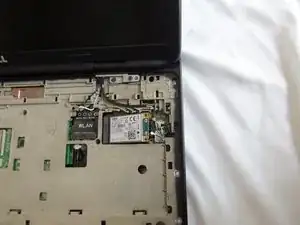
Gently pull out the WWAN card.
-
-
-
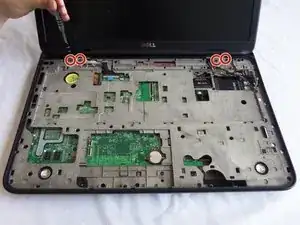
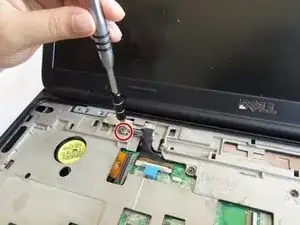
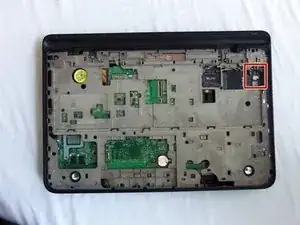
Loosen the grounding screw attached to the black monitor cable with a Phillips screwdriver.
-
-
-
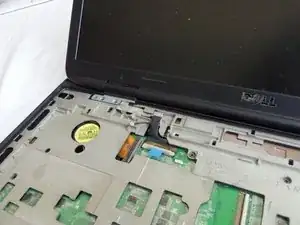
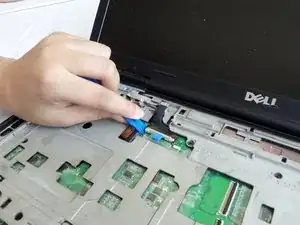
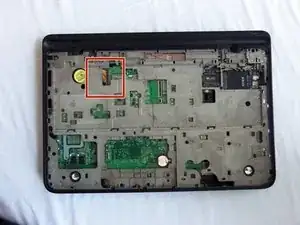
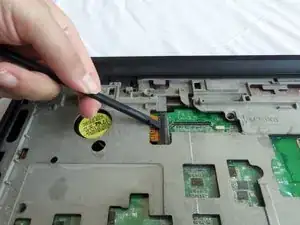
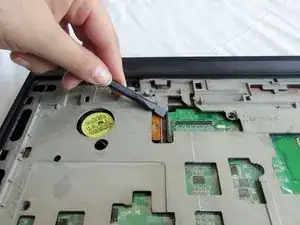
Find the orange cable with the letters MB.
-
Gently insert the spudger below the edge of the black tab and pry it open.
-
-
-
Gently flip the laptop with its bottom facing you.
-
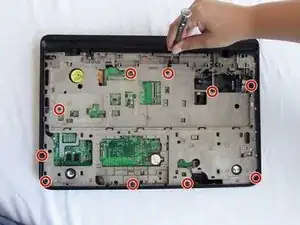
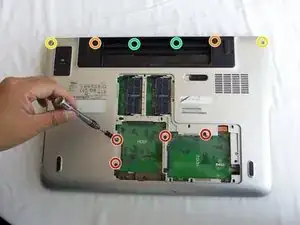
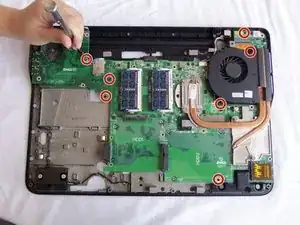
Remove the four 8mm screws with a Phillips screwdriver.
-
Remove the two 16mm battery casing screws with a Phillips screwdriver.
-
Remove the two 16mm corner screws with a Phillips screwdriver.
-
Remove the two 4mm screws inside battery housing with a Phillips screwdriver.
-
-
-
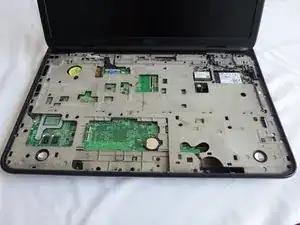
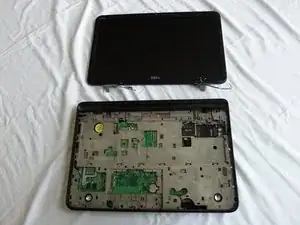
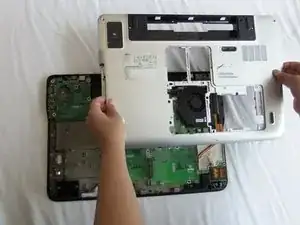
Holding the opening from the optical drive in one hand with the other hand holding the opposite side of the laptop, lift and remove the back cover assembly.
-
-
-
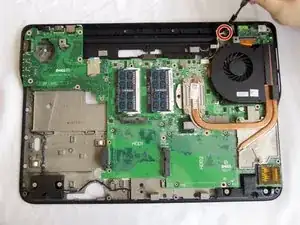
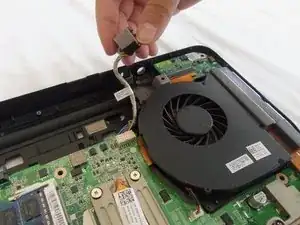
Unscrew the 6mm screw on the DC cable assembly with a Phillips screwdriver.
-
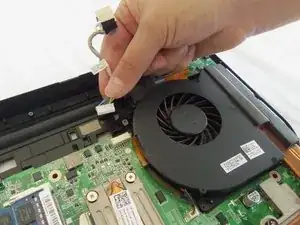
Lift the DC cable assembly out of the casing.
-
Gently unplug the DC cable.
-
-
-
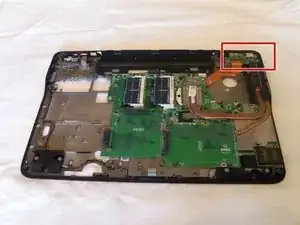
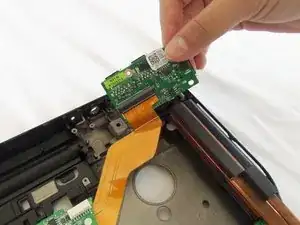
Lift and remove the USB circuit board out of its housing.
-
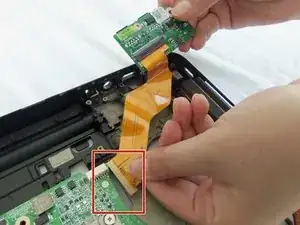
Remove the orange cable from the motherboard by gently pulling away from the connection point.
-
-
-
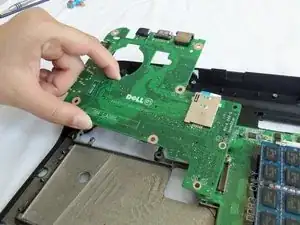
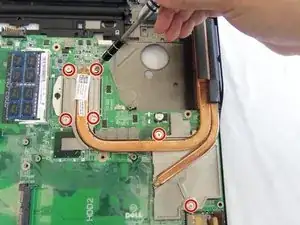
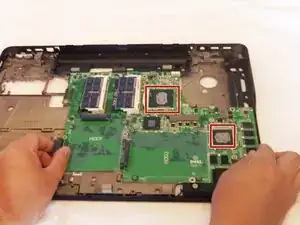
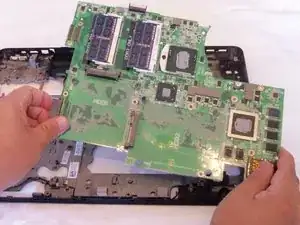
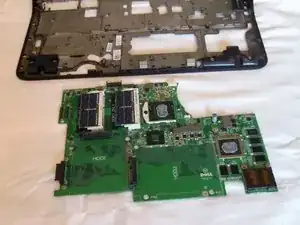
Gently lift and remove the motherboard.
-
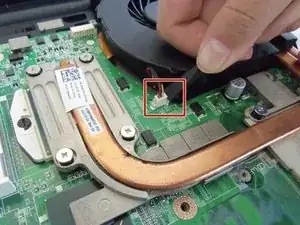
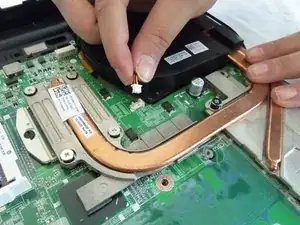
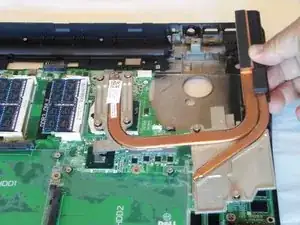
Clean the thermal paste with rubbing alcohol and a microfiber cloth or non-abrasive tissue.
-
-
-
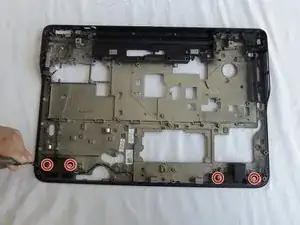
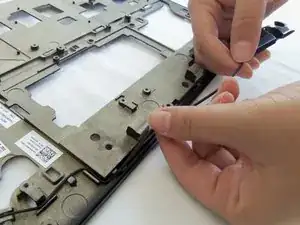
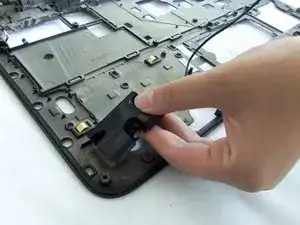
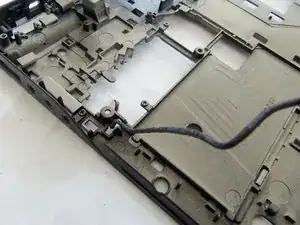
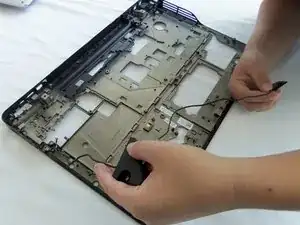
Carefully remove the wires from the holdings.
-
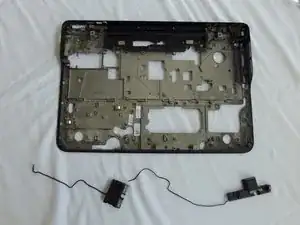
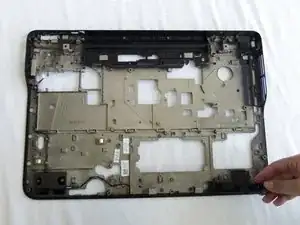
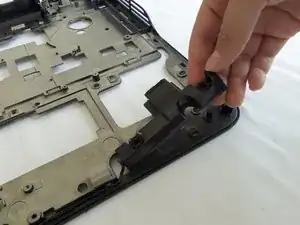
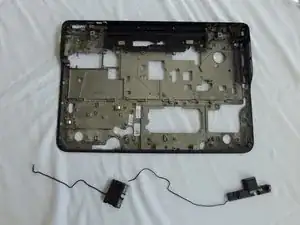
Remove the speakers with the cables still attached.
-
To reassemble your device, follow these instructions in reverse order.
Ein Kommentar
You do not need to go further than step 47 to get to the speakers. That way you avoid messing with main board, and thermal paste and stuff. You can even do it without removing wifi board with some finesse.
