Einleitung
Werkzeuge
Ersatzteile
-
-
When the back cover was removed, that also removed the 2 middle screws holding the keyboard in place.
-
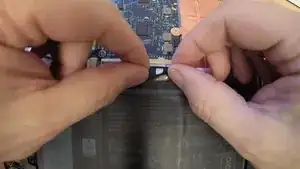
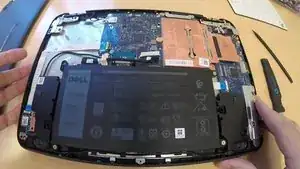
Check to see if the battery cable is blocking access to the keyboard data cable. In this video I had to remove the battery cable from the MB firs in order to gain access to the keyboard data cable.
-
Remove Keyboard data cable from the MB Data connector.
-
-
-
Now that the keyboard data cable is removed, turn over the chromebook so it is right side up.
-
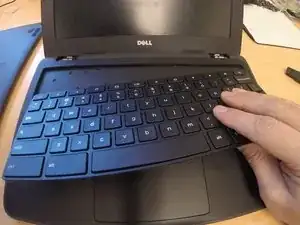
Then open the chromebook and face it forward with the keyboard accessible.
-
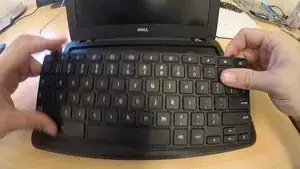
Use your plastic pry tool of choice and fit it between the outline of the keyboard and carefully lift small areas at a time.
-
When removing the keyboard, the attached data cable will slide out from underneath the palmrest.
-
-
-
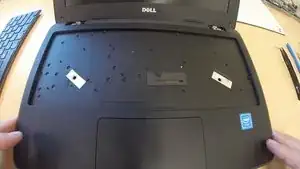
Notice the pattern of little plastic pegs attached to the palmrest tray. These pegs fit into the bottom of the keyboard to help keep it in place.
-
Also notice that the tabs on the top of the keyboard will fit inside the tab openings toward the top of the palmrest
-
Don't forget about the keyboard data cable that is underneath the keyboard. You will need to feed the data cable down through the palmrest opening and then connect it to the MB on the opposite side.
-
-
-
Line up the 5 tabs on the top of the keyboard with the tab openings on the palmrest tray
-
Feed the keyboard data cable down through the palmrest tray so then in the next step you will be able to connect it to the MB
-
Once you have the keyboard in place. Press the keyboard against the palmrest tray in all areas so that the plastic pegs can connected into the bottom of the keyboard. Listen for snapping sounds.
-
To reassemble your device, follow these instructions in reverse order.
