Einleitung
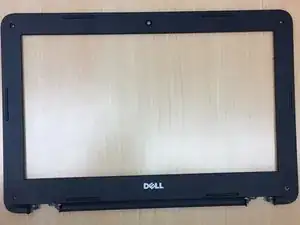
This will repair the Bezel which is the frame around the actual LCD.
Werkzeuge
Ersatzteile
-
-
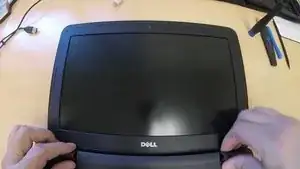
Open the chromebook until its completely flat on the table
-
Remove both the left and right hinge caps
-
Remove a total of 4 screws. One in each corner.
-
-
-
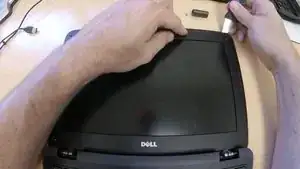
Use a plastic pry tool or blade and start in the top left corner or first left plastic ridge.
-
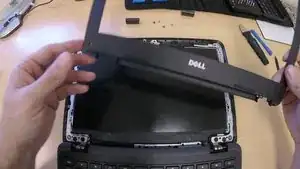
There seems to be more adhesive at the bottom of the bezel where it shows the Dell logo. Watch this area for some LCD electrical tape (black) as it will stick to the LCD bezel as you try and remove it.
-
-
-
*UPDATE* - Don't forget to peel off the double sided sticky paper from the back of the new LCD bezel. This will help secure the bezel into place in addition to the 4 corner screws.
-
When installing the LCD bezel, look for the plastic hinge outlines on each side and match them up with the metal hinges on the chromebook.
-
Snap the LCD bezel in place until it is flush with the entire LCD assembly
-
To reassemble your device, follow these instructions in reverse order.


