Einleitung

  1. 2oAAL4AWYuEPIZTq
    2oAAL4AWYuEPIZTq
    QkmVk2Tucpp44jWH
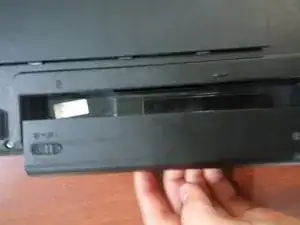
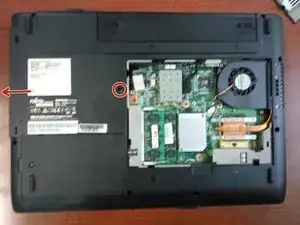
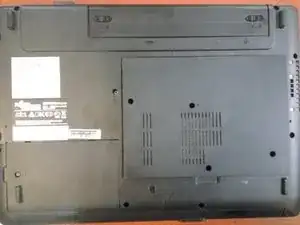
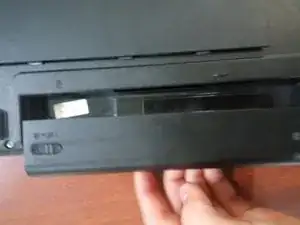
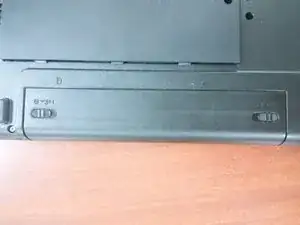
    • First, we unlock the battery so you can remove it by stretching it later.

  2. 3qhDTHeGXPyNxoXR
    3qhDTHeGXPyNxoXR
    4UWDA1JR2MDgYEy1
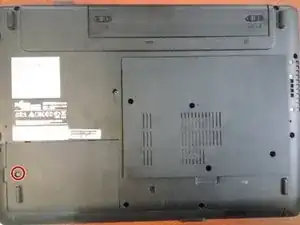
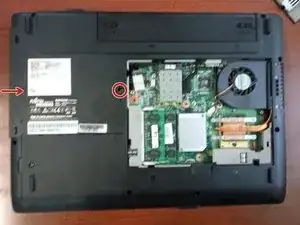
    • First, we unlock the battery so you can remove it by stretching it later.

  3. A6PvSpuuZuMhSXTb
    A6PvSpuuZuMhSXTb
    sOspaYuPEuiVoU3y
    BAXBfEVlCGDgcqEs
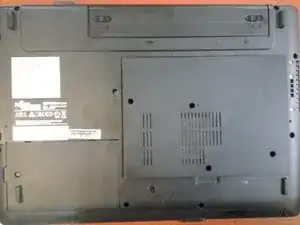
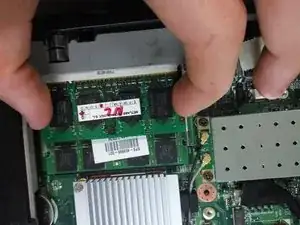
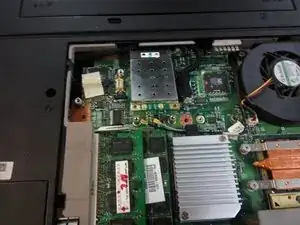
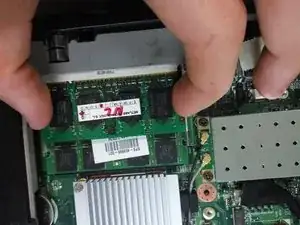
    • First we unscrew the cover, after the triplet and lastly, we retrieved the RAM to do it, we just have to move the "tabs" that are to the sides and the RAM will go alone

  4. RZ5BuT6VdxB3aQUU
    RZ5BuT6VdxB3aQUU
    MwZl5Rq22YLct3Io
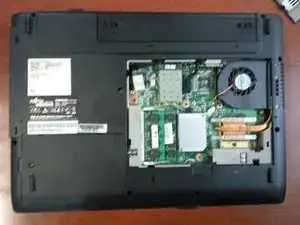
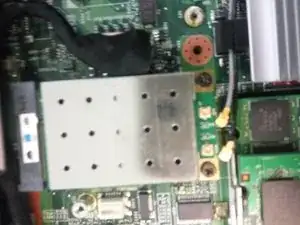
    • First we unscrew the card and then go alone, we will have to disconnect it only

  5. t64TrakKK1xUQrMU
    t64TrakKK1xUQrMU
    PZROJXvF6nHWKxQf
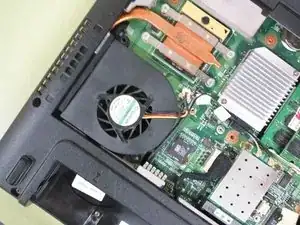
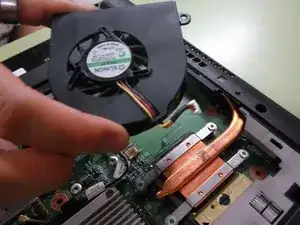
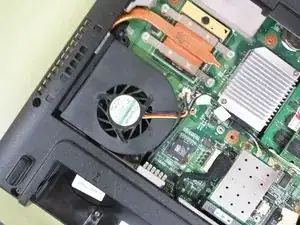
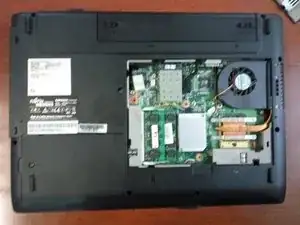
    • First, disconnect the power cord, and then unscrew the fan. Once we have taken it we can take advantage of it to open it to clean it up.

  6. fnblHvCoDVeBsTTT
    fnblHvCoDVeBsTTT
    FIWby3RvPPNFxFCT
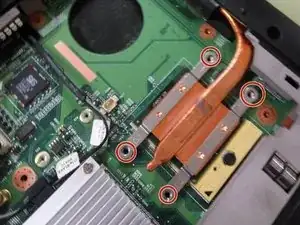
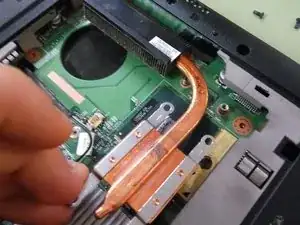
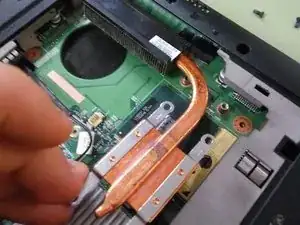
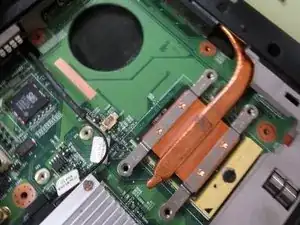
    • First we unscrew the sinker, and then we take it away

  7. wUvR2PMRHsmVjoLg
    • We just have to unscrew and then stretch to remove it

  8. SgfS3qZ15fq1cE1U
    • To mount it we have to do the opposite that when disassembling, you put it on and then put the screw

  9. QAfKTpUVV4FZUcXJ
    QAfKTpUVV4FZUcXJ
    dxvVEj1mfs3wHdwL
    • We put the sink back into place and we screw it

  10. SPptwHteGhg3aJZZ
    • Put the fan in place and screw it, we also have to connect the cable to the plate

  11. JEMhHOHgFAQPss5V
    JEMhHOHgFAQPss5V
    fOZqJTrSJhJgHBkf
    • Now we place the network card in its place, download it and then screw it, finally we have to connect the cables in the corresponding order

  12. d1KQXuxWHxiHND5P
    • Now we have to place RAM, we just have to put it in place diagonally and then download it.

  13. ngP5mDWPWXPorgNr
    ngP5mDWPWXPorgNr
    c3V66lFjSISVdSfs
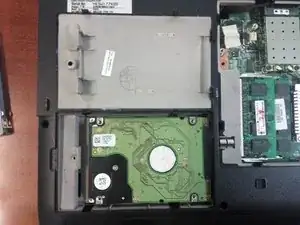
    • Now we will put the hard disk, first put it in its space and we move it to connect it, then screw it and close the lid.

  14. k1XYaWfWdogcn4EW
    k1XYaWfWdogcn4EW
    oEoTIwl4lJqTTaZk
    p6QbTYDBgSC5sWxN
    • We just have to put the lid, screw and put the battery in the battery, a wandering, we have to put the insurance.

Abschluss

To reassemble your device, follow these instructions in reverse order.
Caleb

Mitglied seit: 08/05/17

131 Reputation

0 Kommentare