Einleitung
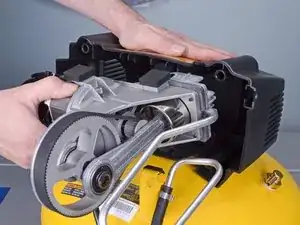
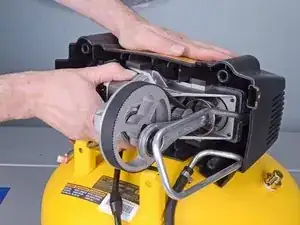
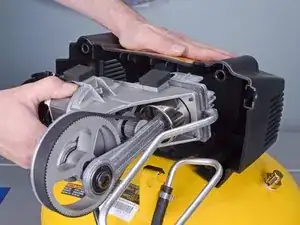
Use this guide to remove or replace the motor/pump assembly in a Dewalt DWFP55126 Air Compressor.
Make sure to completely depressurize the air compressor tank before performing any repairs.
Werkzeuge
-
-
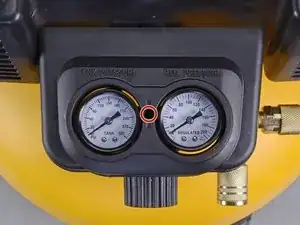
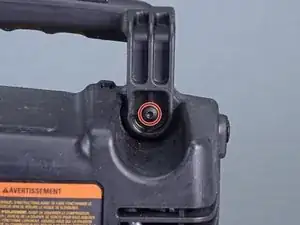
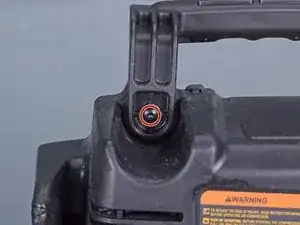
Use a long-shank T10 driver to remove the manifold cover screw.
-
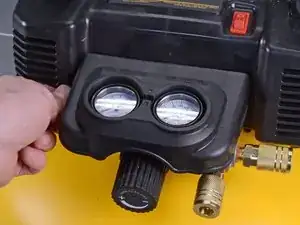
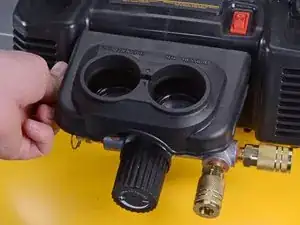
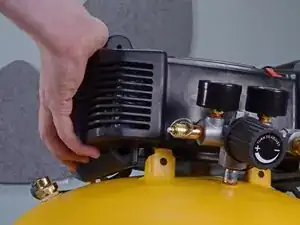
Lift the cover directly up off of the gauges to remove.
-
-
-
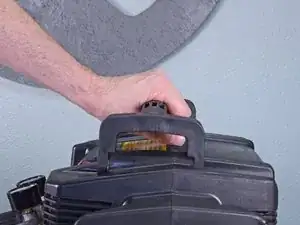
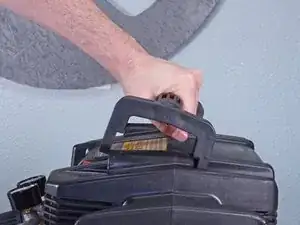
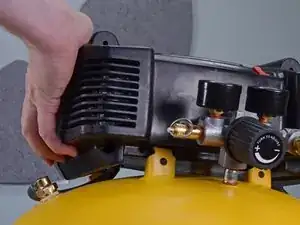
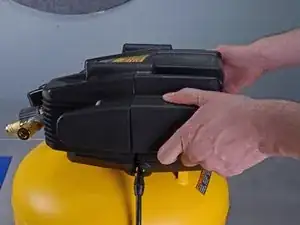
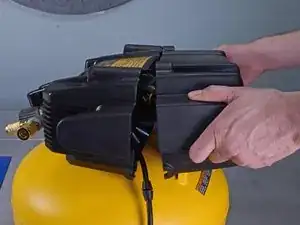
Grab the handle like you would if you were to pick the compressor up. Pull up and push forward away from the gauges at the same time to rotate the handle up off the case.
-
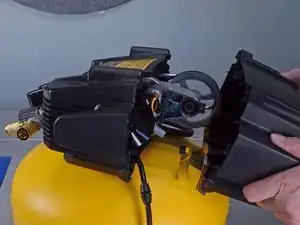
Lift the handle off to remove.
-
-
-
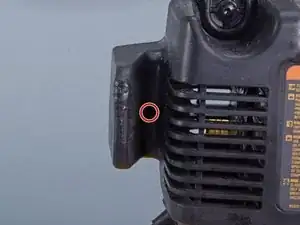
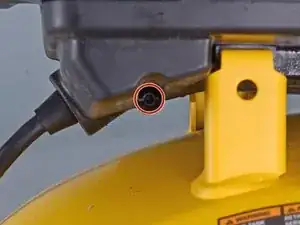
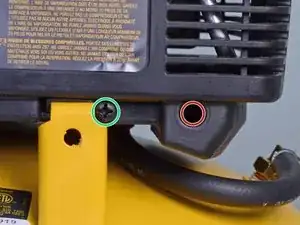
Remove the following four screws:
-
Three 20 mm-long T20 screws.
-
One 20 mm-long Phillips #1 screw.
-
-
-
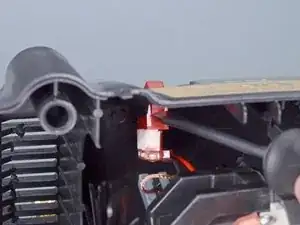
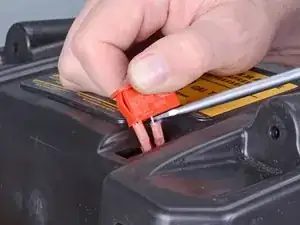
Use a large flathead screwdriver to depress the plastic tab on the red power switch closest to the open side of the case.
-
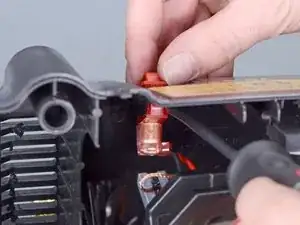
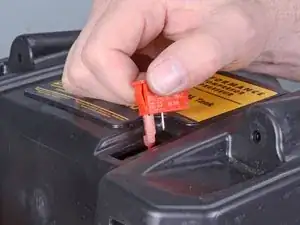
While keeping the tab depressed, grab the top side of the switch and pull directly up off the case.
-
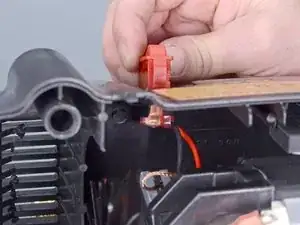
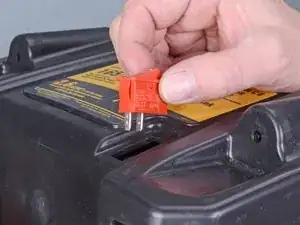
Pull the switch farther out of the case.
-
-
-
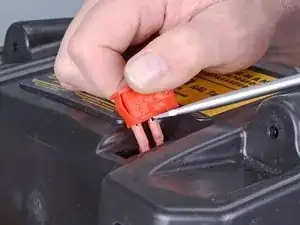
Use a flathead screwdriver to pry both wire connectors slightly off the plugs on the bottom of the switch.
-
-
-
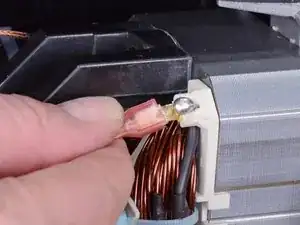
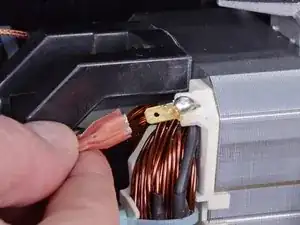
Once the wires are loosened from the plugs on the switch, completely remove both wires.
-
Remove the power switch.
-
-
-
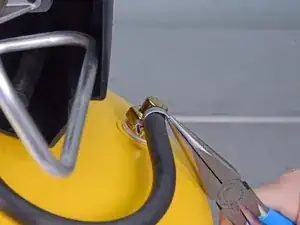
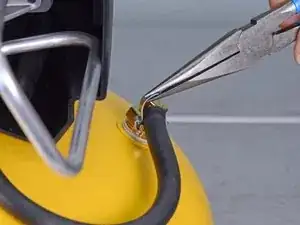
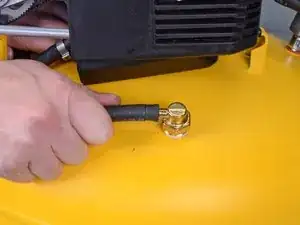
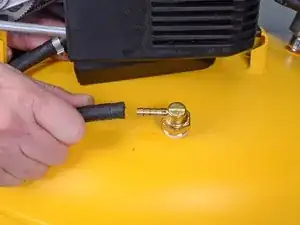
Use needle nose pliers to bend the check valve hose clamp up away from the hose.
-
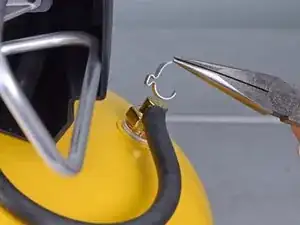
Once the hose clamp is bent enough to clear the hose, lift it up and off to remove.
-
-
-
While holding the plastic housing, pull the pump assembly out, careful to not snag hoses or wires.
-
To reassemble your device, follow these instructions in reverse order.
