Einleitung
Werkzeuge
Ersatzteile
-
-
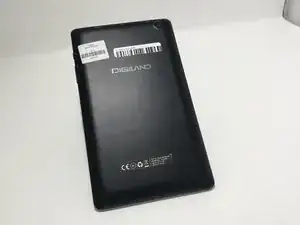
Place the device laying down on its front with the back facing upwards.
-
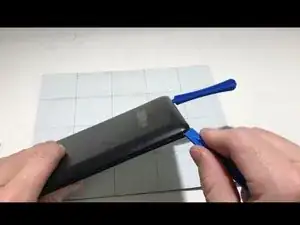
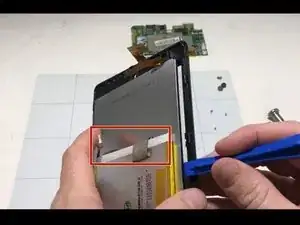
Use a plastic opening tool to pry the front and back faces apart exposing the internal mechanisms.
-
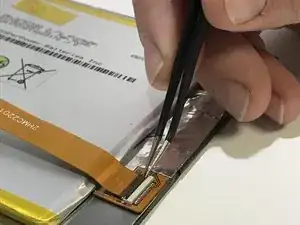
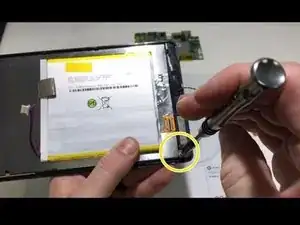
Remove the silver/metallic tape on the lower end of the tablet.
-
-
-
Remove the red & black cord connecting the motherboard and the bottom end of the tablet.
-
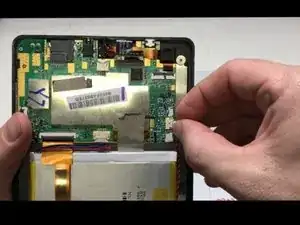
Remove the ribbon cable running over the battery by prying the locking tab of the ZIF connector up and then pulling the cable from the connector.
-
-
-
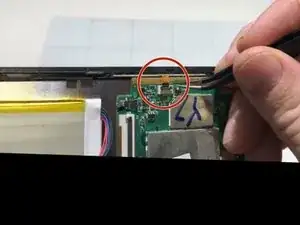
Remove the red & black cord connecting the motherboard and the camera, on the upper end of the tablet.
-
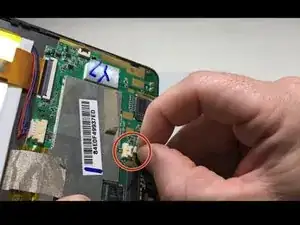
Remove the red & blue cord connecting the battery to the motherboard.
-
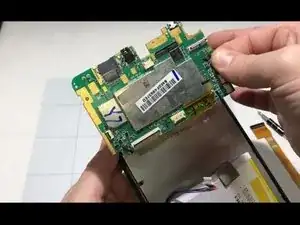
Remove the tape connecting the back of the LED screen and the motherboard.
-
-
-
Remove the cable connecting the motherboard to the left side of the tablet.
-
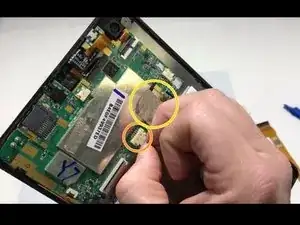
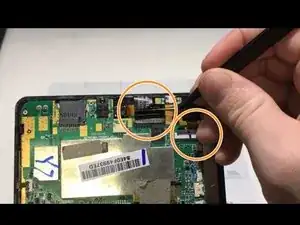
Remove both cables connecting the camera to the motherboard.
-
-
-
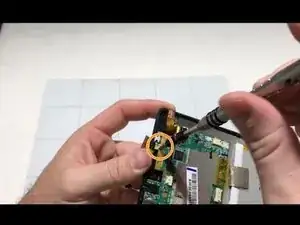
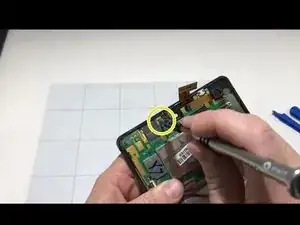
Remove the screw on the left corner of the motherboard with a Phillips #0 screwdriver.
-
Remove the screw under the ribbon cable with a Phillips #0 screwdriver.
-
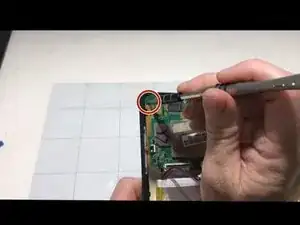
Remove the screw on the top of the motherboard with a Phillips #0 screwdriver.
-
-
-
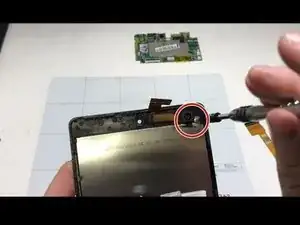
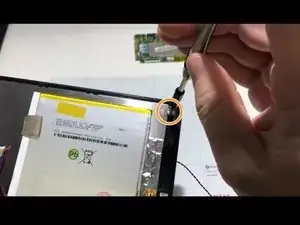
Remove the screw anchoring the LED screen down in the top right of the tablet with a Phillips #0 screwdriver.
-
Remove the screw anchoring the LED screen down in the bottom right of the tablet with a Phillips #0 screwdriver.
-
Remove the screw anchoring the LED screen down in the bottom left of the tablet with a Phillips #0 screwdriver.
-
-
-
Use an opening tool to pry the LCD screen and screen apart.
-
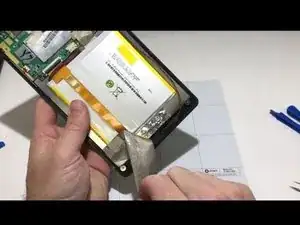
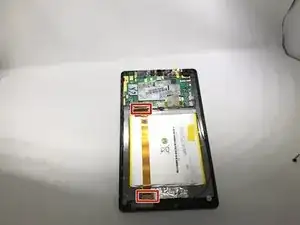
Remove the battery by using an opening tool or by ripping off the tape, on the upper and lower end of the battery.
-
To reassemble your device, follow these instructions in reverse order.
