Einleitung
Werkzeuge
-
-
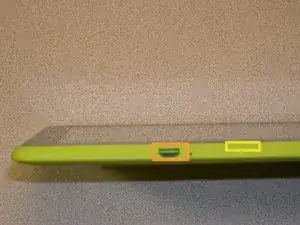
With the appropriate tools on hand, you want to look for the charging port.
-
Once you have located your charging port, to the right of it you will be able to insert the prying tool into the crack between the case and the display border.
-
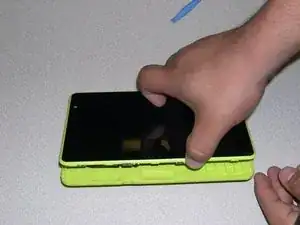
Now continue to pry the case with the same technique all around.
-
After prying all around the device, you will be able to separate the back cover from the display , which holds all the components.
-
-
-
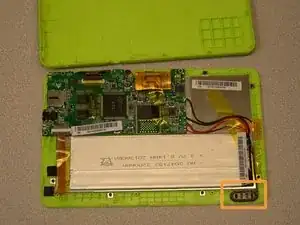
Once you have opened the case completely, you will be able to see the speaker.
-
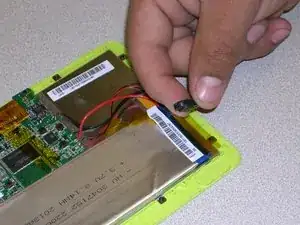
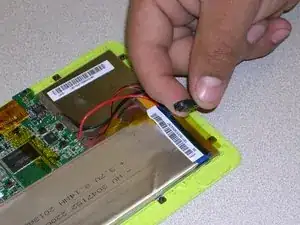
With one hand hold the device down to the table and with the other hand remove the speaker from where it sits.
-
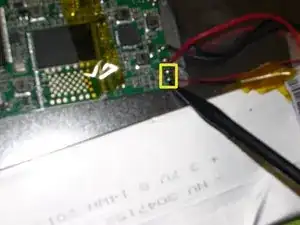
Follow the black and red wires to the circuit board.
-
The wires will have to be removed with a soldering tool.
-
This process is also needed when installing the new speaker.
-
To reassemble your device, follow these instructions in reverse order.
