Einleitung
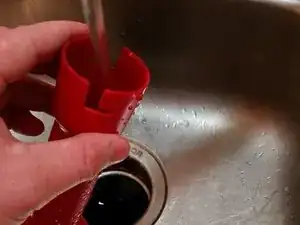
It can be tricky to find all the potential blockages, so this guide will show how to find and then clean all of them.
Werkzeuge
-
-
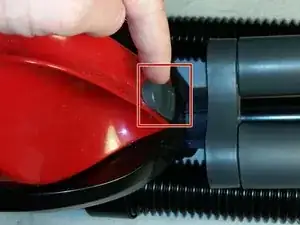
Locate the dust cup latch and press down.
-
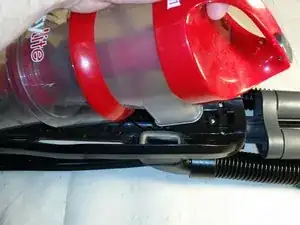
Pull outwards and up with the handle to remove the cup.
-
-
-
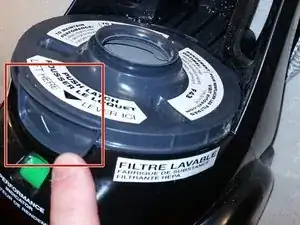
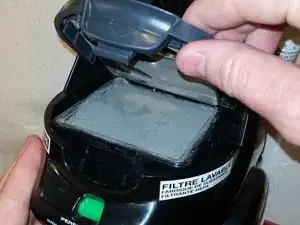
At the bottom of the now vacant dust cup holder, locate the filter assembly and shroud. It is located just above the "Performance Indicator"
-
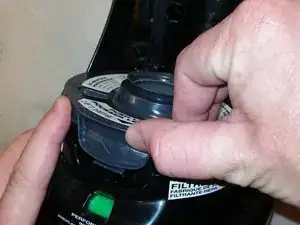
Pull up on the latch indicated and remove the shroud.
-
-
-
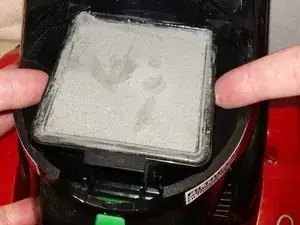
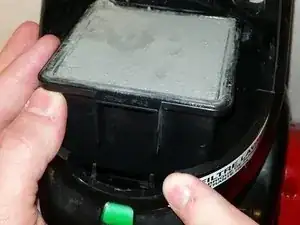
Putting the shroud aside, use two fingers on the edges of the filter assembly to lift the rest of it out of its housing.
-
-
-
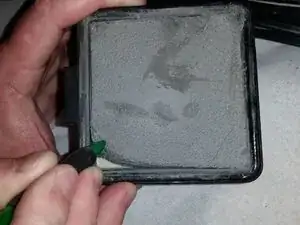
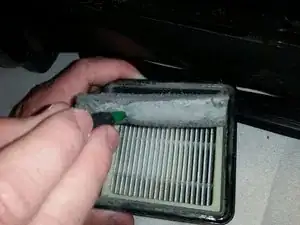
Use a prying tool, such as a spudger, to separate the foam filter from the larger HEPA filter.
-
Set both of these aside with the rest of the filter assembly for cleaning later.
-
-
-
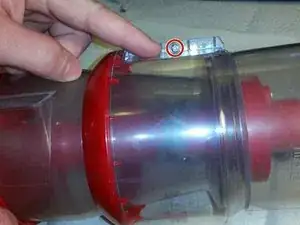
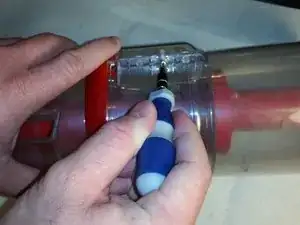
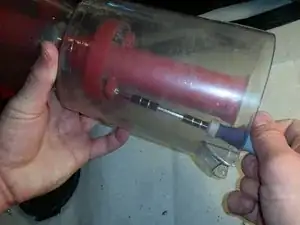
Use a Phillips #2 Screwdriver to remove the dust cup shroud.
-
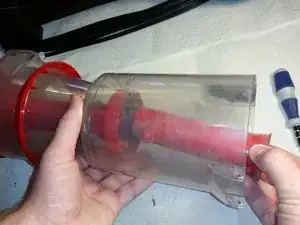
Remove the shroud by sliding it downwards over the dust cup slowly, working it off, being careful not to let it over-extend.
-
-
-
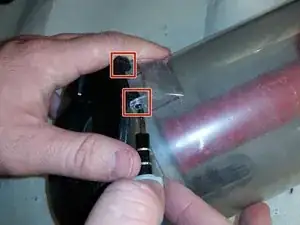
On the bottom of the dust cup, locate the hinged door. Use the screwdriver to push the two hinge pins in to remove the door.
-
Set the door aside for cleaning.
-
-
-
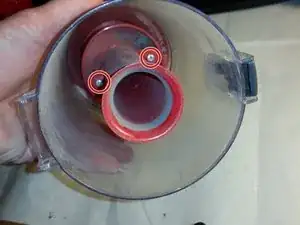
With the hinged door removed, look into the dust cup and locate the two screws holding the cyclonic funnel in place.
-
Use a #2 Phillips Screwdriver to remove them. The funnel will remove easily, place it aside for cleaning when finished.
-
-
-
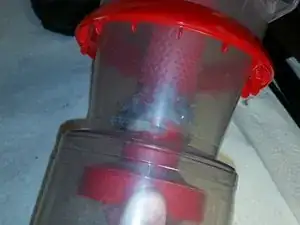
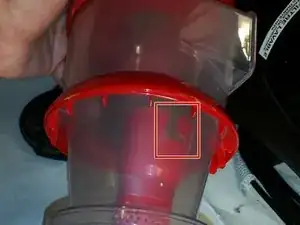
Grip the dust collector with your hand firmly, looking for the twist-lock that attaches it to the top of the dust cup.
-
Twist it clockwise and remove, setting it aside for cleaning.
-
-
-
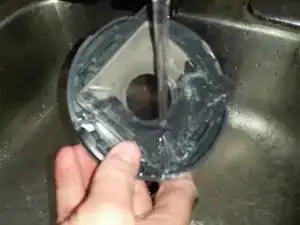
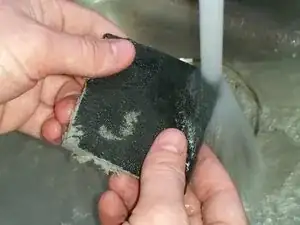
Rinse the filter shroud off in water. Particulates should come off fairly easy, as they should be small. If not, scrub lightly.
-
Rinse the foam filter off, working the particulates out with water, being careful not to damage the filter.
-
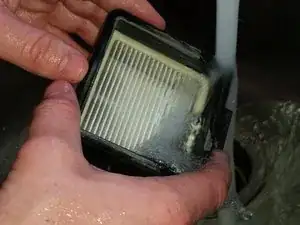
Run water through the HEPA filter in the opposite direction of the airflow. The water should be hitting the side that the foam filter usually is mounted on.
-
Place all three items somewhere to dry.
-
-
-
Run water through all the dust cup components, especially the dust collector, removing any lodged particulates or hair.
-
To reassemble your device, follow these instructions in reverse order.
