Einleitung
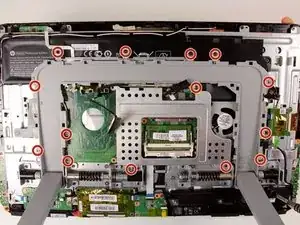
This guide is a prerequisite for replacing parts such as the battery pack and cooling fan. This part has quite a few screws to remove so just be sure to use your magnetic mat or plastic bag to keep track of them all. The screws are all the same size so the order in which they come out will not matter. Good Luck!
Werkzeuge
-
-
Remove the SD card in the bottom of the computer by pressing the SD card in, and it will pop out.
-
Pull out the SD card completely and set aside.
-
-
-
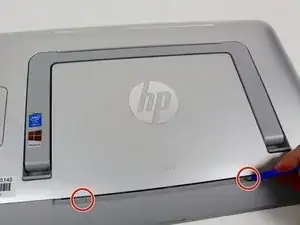
Remove the two rubber screw covers on the bottom of the plastic cover using the plastic opening tool.
-
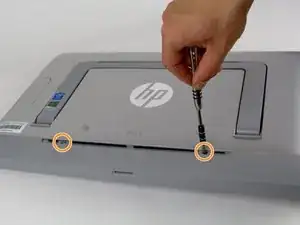
Unscrew the two 6.35 mm PH#1 screws that were underneath the rubber covers.
-
-
-
Use the plastic opening tool along the outer rim of the bottom portion of the back panel.
-
Take off this portion.
-
-
-
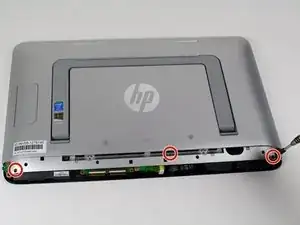
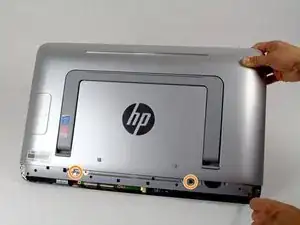
Remove three 6.35 mm screw from the back panel using a PH#2 or J1 screw driver.
-
Unscrew the two 6.35 mm PH#2 screws. They aren't able to be completely removed and will just be loosened similar to step 3.
-
-
-
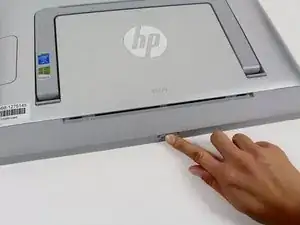
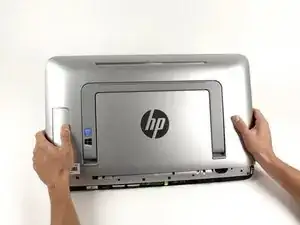
Release the stand by pressing the large button on the left so that it is easier to take the back case off.
-
-
-
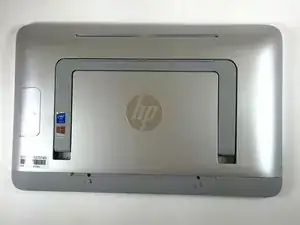
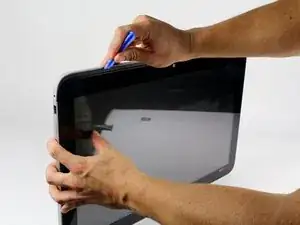
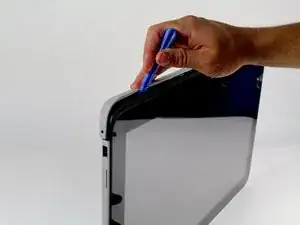
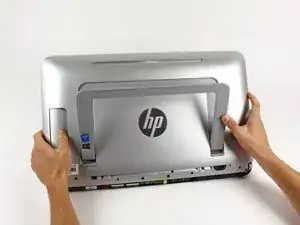
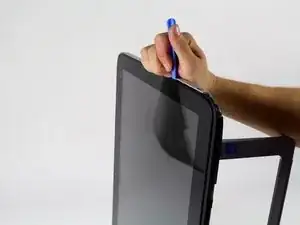
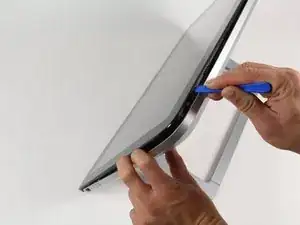
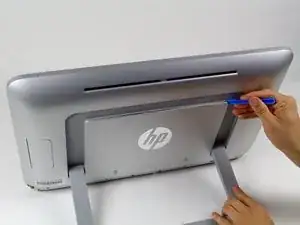
Use the plastic opening tool to separate the silver back cover from the screen body.
-
As shown in picture two, use the tool around the stand as well to avoid cracking the cover.
-
-
-
Slowly apply pressure to the outsides of the cover until it pops out of place.
-
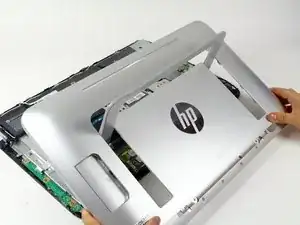
Carefully lift the cover away from the computer and untangle it from the stand.
-
-
-
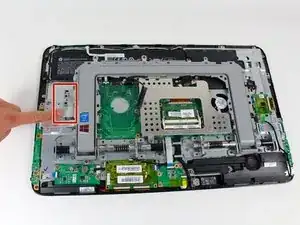
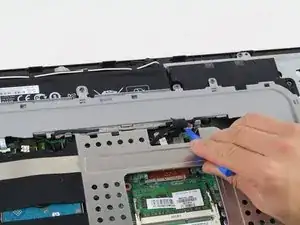
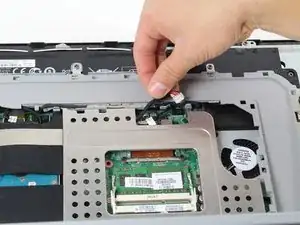
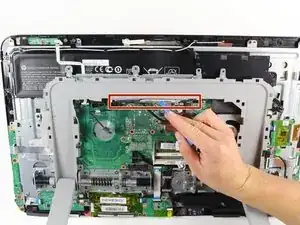
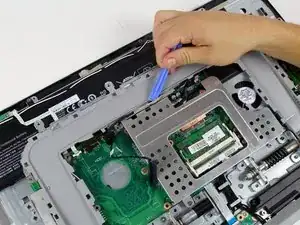
Disconnect the battery by using a plastic opening tool and taking the cable connection out.
-
-
-
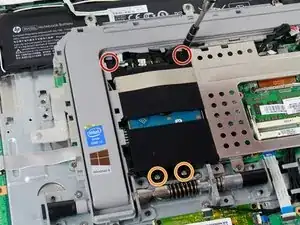
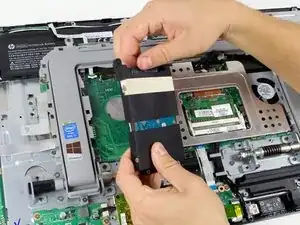
Remove the two black 6.35mm PH #0 screws with a screwdriver from the top of the hard drive.
-
Remove the two silver 6.35mm PH#0 screws from the bottom of the hard drive.
-
-
-
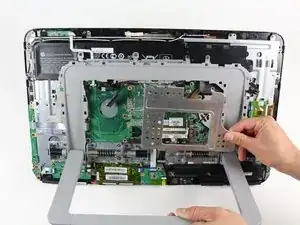
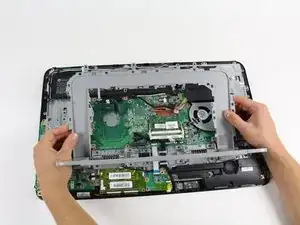
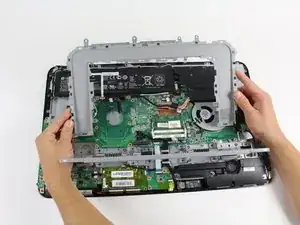
Remove the stand recess by moving it towards yourself, rotating it about the hinge and then taking it out of the computer.
-
To reassemble your device, follow these instructions in reverse order.
please where can I get the replacement battery
reply to tosinadedeji@gmail.com
tosinwil -