Einleitung
Disassembling IBM ThinkPad A30 CPU Fan
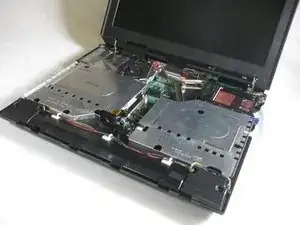
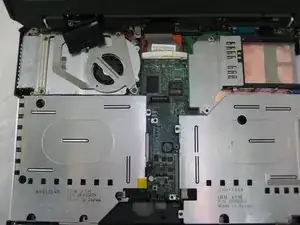
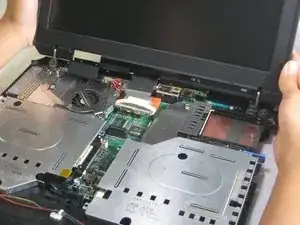
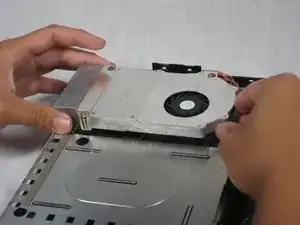
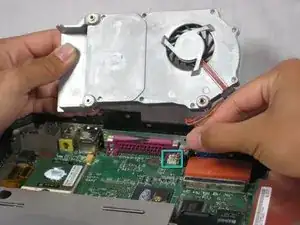
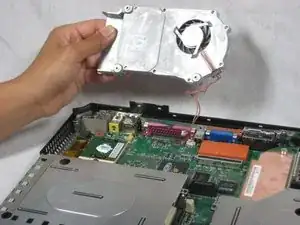
Disassembling the CPU Fan can be helpful towards a project in cleaning or replacing the fan. If the fan is overheating and needing to be replaced, then your computer may start shutting down without warning.
The CPU Fan is how the computer cools itself during usage. The fan dissipates the heat that the computer creates while in use. If the fan was to stop working, it would cause the processor to overheat and damage to the computer.
Before using this guide, you can first try running a 4k video on YouTube and if the fan starts running after you load the video, then the CPU fan is fine.
Werkzeuge
-
-
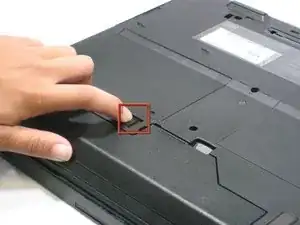
Slide the highlighted tab to the left.
-
With your finger on the tab, remove the battery by lifting it upwards away from the laptop.
-
-
-
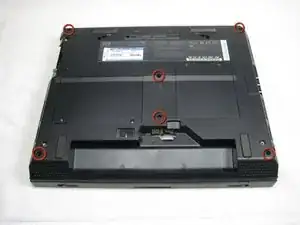
Rotate the ThinkPad so that the hard drive bay is facing you.
-
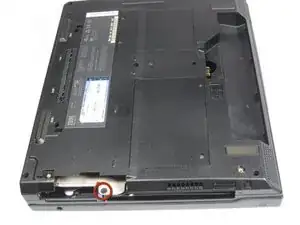
Remove the black cover to reveal a 14.8mm screw.
-
Remove the uncovered screw with a Phillips #0 screwdriver.
-
-
-
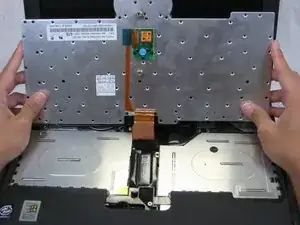
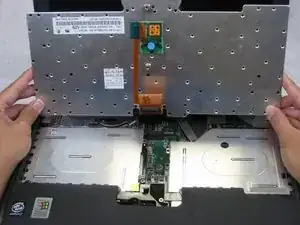
Lift the front end of the keyboard as shown.
-
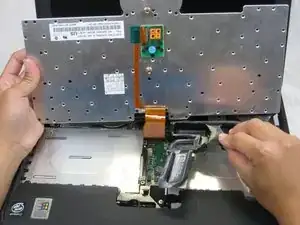
Using your fingers, remove the black film cover.
-
-
-
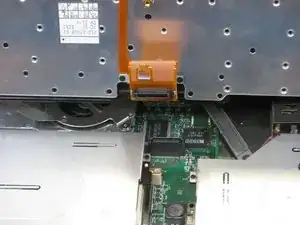
Locate the connector attached to the motherboard.
-
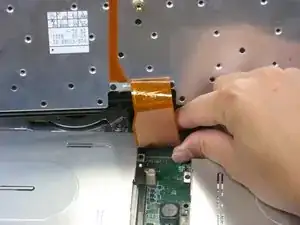
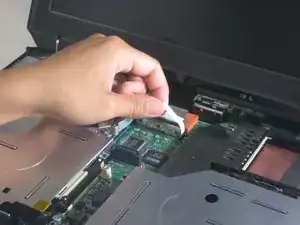
Disconnect the ribbon cable by removing the connector.
-
-
-
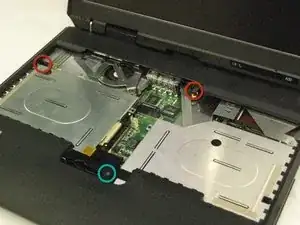
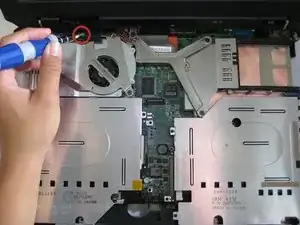
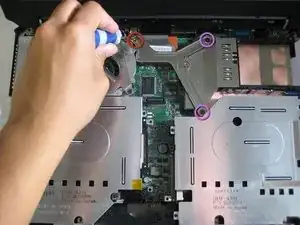
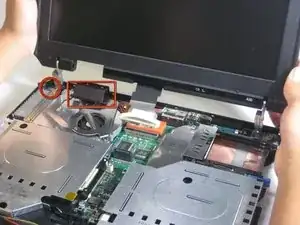
Remove the 5.6mm screw on the left side of the three-pronged connector.
-
Remove the other two 16.7mm screws.
-
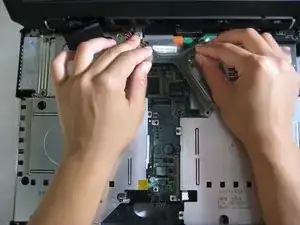
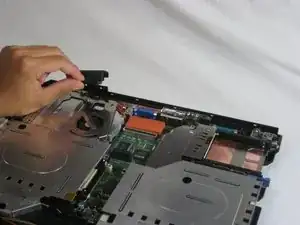
Lift and remove connector.
-
-
-
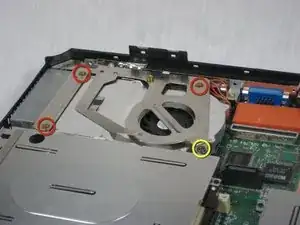
Locate the 4 screws that will need to be removed.
-
Remove the 5.6mm (yellow) and three 16.1mm (red) screws.
-
-
-
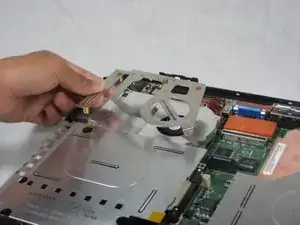
Lift the fan/heatsink assembly up.
-
Locate the fan power cable and pull upwards near the connector.
-
Remove the fan/heatsink assembly.
-
To reassemble your device, follow these instructions in reverse order.
