Einleitung
This guide should be completed before starting the other guides.
Werkzeuge
-
-
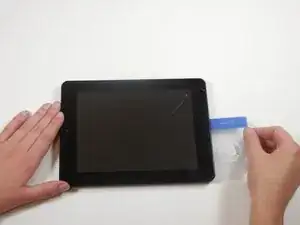
Remove the back casing from the screen by sliding a credit card or a similarly thin but firm object in between the casing and the screen.
-
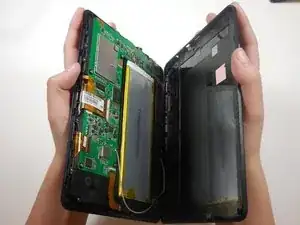
Remove the back casing and set aside.
-
-
-
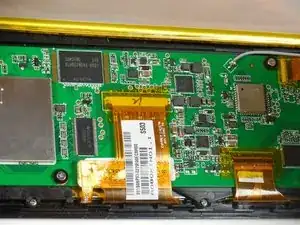
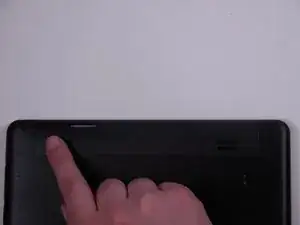
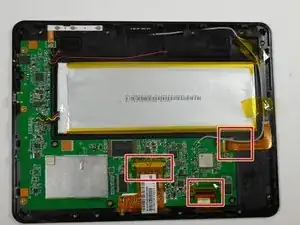
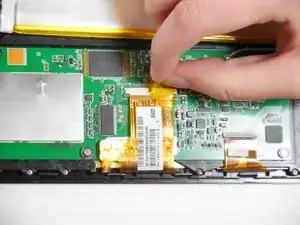
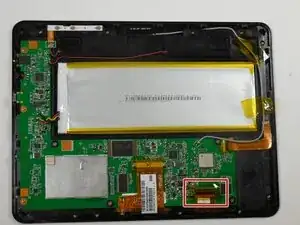
Peel tape off of ribbon connectors. Starting at the power button, work clockwise around the tablet.
-
-
-
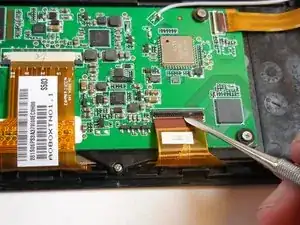
To remove the camera ribbon cable, lift the flap using a spudger.
-
Pull the ribbon directly back to release it.
-
-
-
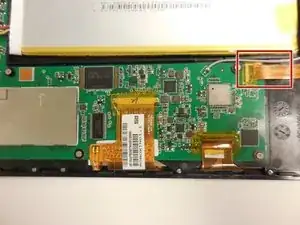
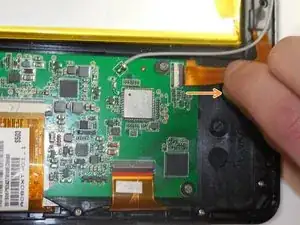
Remove the second ribbon cable by prying up the black flap using a spudger.
-
Pull the ribbon cable horizontally directly away from the battery.
-
-
-
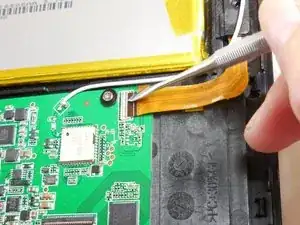
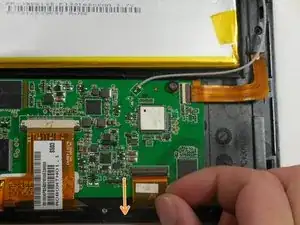
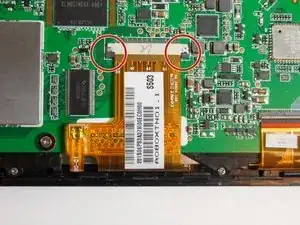
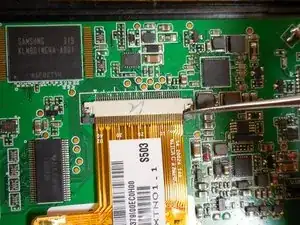
Remove the final ribbon cable by pulling back the two black tabs on either side of the ribbon cable.
-
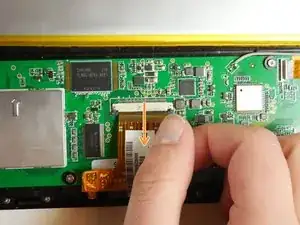
Pull the ribbon horizontally directly away from the battery.
-
-
-
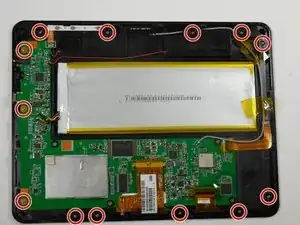
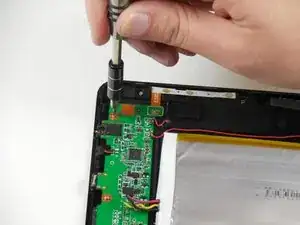
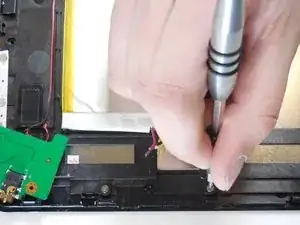
Unscrew the thirteen 4.75mm screws around the perimeter of the tablet using a PH 00 screwdriver.
-
-
-
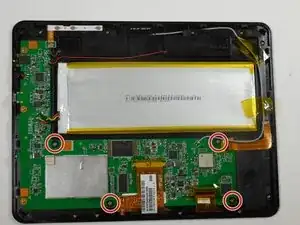
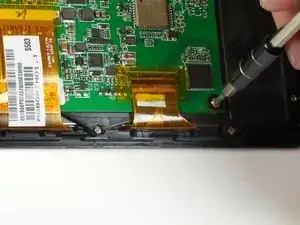
Unscrew the four 3.75mm screws and plastic washers using a PH 00 screwdriver.
-
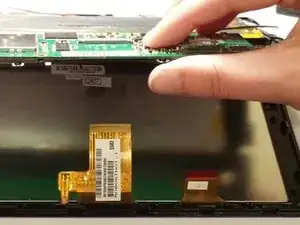
Lift up the circuit board.
-
-
-
Lift the circuit board and black internal mounting piece away from the screen.
-
Set the circuit board aside.
-
To reassemble your device, follow these instructions in reverse order.
2 Kommentare
Whwre can i buy the new screen
Emmanuel -
I don’t see the ssd, and way to upgrade the internal sad had?
