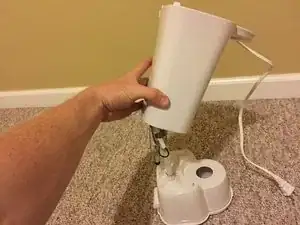
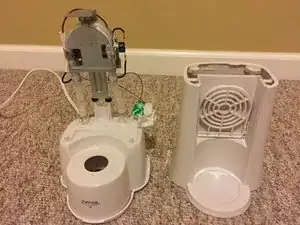
Einleitung
Werkzeuge
-
-
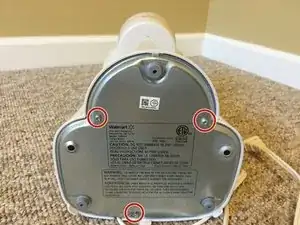
Locate and unscrew the 3 8mm Three-pronged Y screws at the bottom of the coffee maker base.
-
-
-
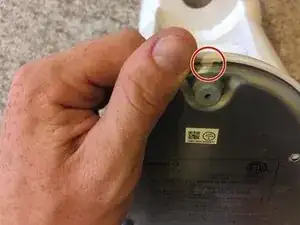
Locate the white securing tab on the front rounded metal base. Push up on the plastic with the tip of your thumbs until the metal base is clear from the tab.
-
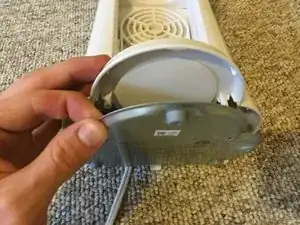
Remove the metal base from the coffee maker.
-
-
-
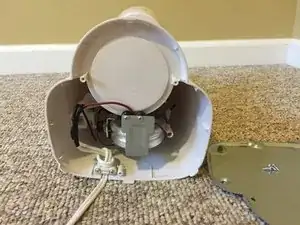
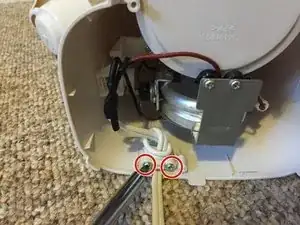
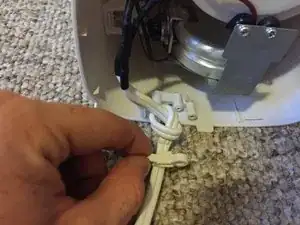
Remove the two 13mm Phillips screws to release the power cord.
-
Remove the white cap from the screw holder.
-
-
-
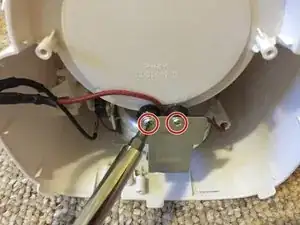
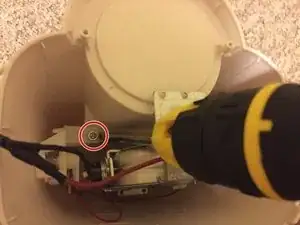
Remove the two 8mm Phillips screws from the metal chassis.
-
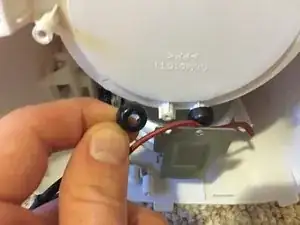
Remove the two black screw caps.
-
-
-
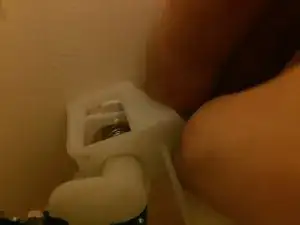
Use a spudger or a flat head screwdriver to pull the white tab away from the power button body.
-
Pull the power button to the left of the tab until it is free from the tab. Then push the power button through the coffee makers body and let it sit inside the coffee makers body.
-
-
-
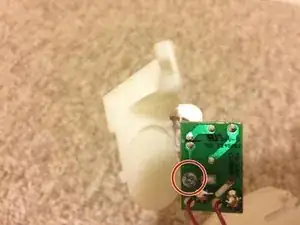
Remove the 7mm Phillips screw from the motherboard of the power button.
-
Pull the white plastic body away from the logic board.
-
-
-
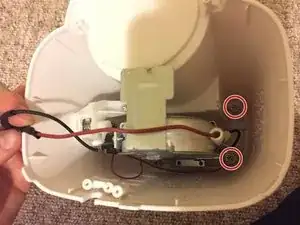
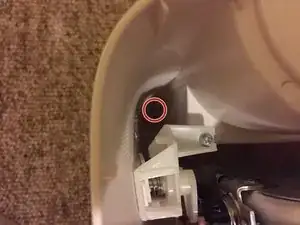
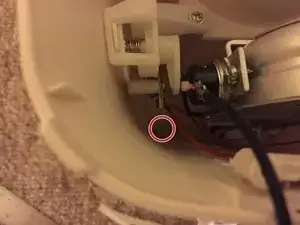
Remove the 4 13mm Phillips screws from the four corners of the case to release the bottom half of the coffee maker.
-
-
-
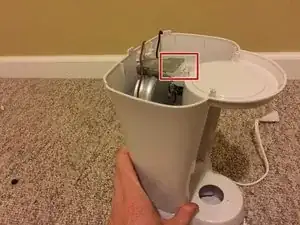
Tilt the bottom half of the coffee maker forward.
-
Pull up until it is free from the top half while feeding the power cable down through the plastic body.
-
To reassemble your device, follow these instructions in reverse order.
