Einleitung

If you need to take apart the entire LG420G phone, follow this disassembly guide. You may need this guide to access internal components or investigate potential problems that are occurring with your phone.

Make sure that the phone is powered off before you begin. One thing to note is that some of the components are glued down at points of the disassembly so you may want to use an iOpener to loosen the glue and make the process easier.

  1. CoptNBwmqadubQuW
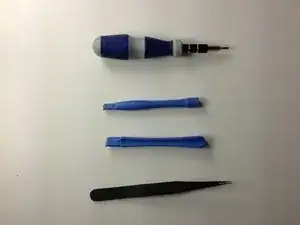
    • Start with gathering tools needed

  2. 1YJS4ocmlAlbMYZi
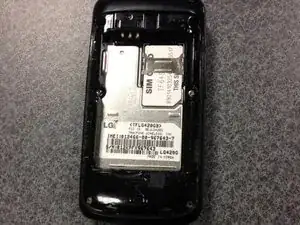
    • Start with the back of the phone (the battery and cover has already been taken out.)

  3. wFWpa25TTRZqErGp
    wFWpa25TTRZqErGp
    lEiQ1KaWQNShHRxa
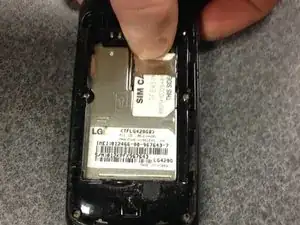
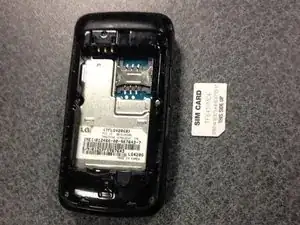
    • Place finger to take out the sim card. Then take out sim card.

  4. 16PKUVKrET5JsRrt
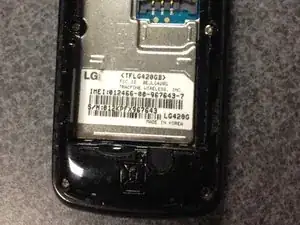
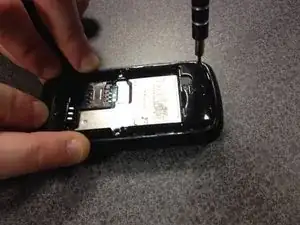
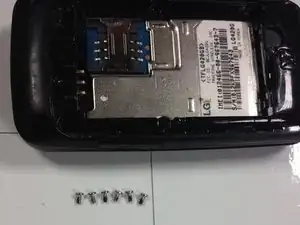
    • Locate Screws

  5. I11VI2OwV1DJ4RiP
    I11VI2OwV1DJ4RiP
    6ls4xaQvRPwxVkG1
    • Unscrew the six screws.

  6. hJ3xwMgMevuuSTWS
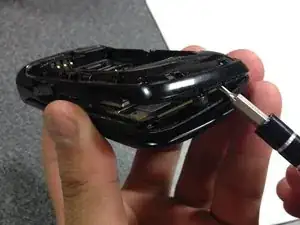
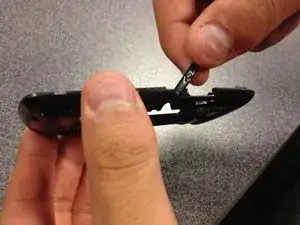
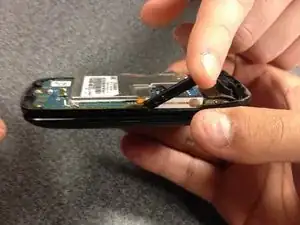
    • With tweezers, pry around the sides to expose the circuitry.

  7. ESD3ikSX4Inkc4JO
    • Remove the back part of the phone to expose the layers inside.

  8. 1RbLGBXNWf1a2YCQ
    1RbLGBXNWf1a2YCQ
    TiZL12uYMonbAyWb
    • Remove small parts from the sides.

  9. 6Ir6xnxjkbBvpyFt
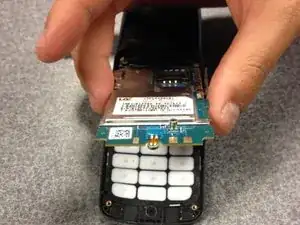
    • Remove the layer connected with the keypad.

  10. D5Tje1sNSdnlcXFs
    • Release the keypad from the phone frame.

  11. q2TKLMIMolRSERiZ
    q2TKLMIMolRSERiZ
    3jeweEOS56xOWYs1
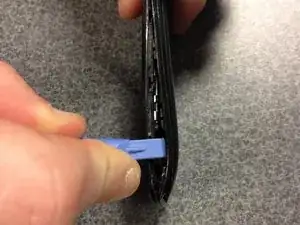
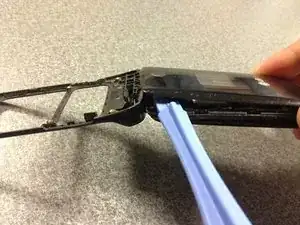
    • With a prying tool, start opening the front face of the phone.

  12. AMHAWXcItg4UFbUJ
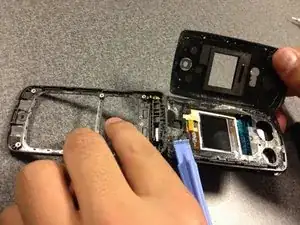
    • Remove the front cover, exposing the layers inside.

  13. WUqUgQdNbf4CeCNL
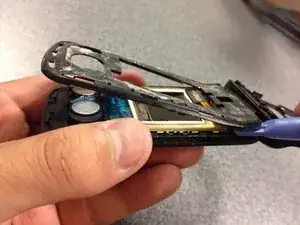
    • Pry open the glued layer.

  14. Y33hrZRGMxVqJidF
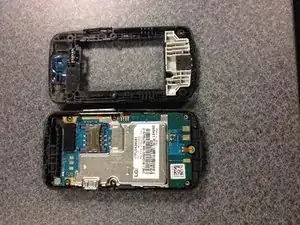
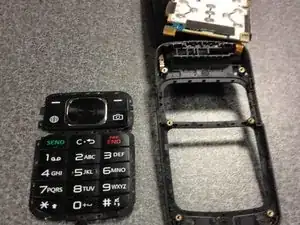
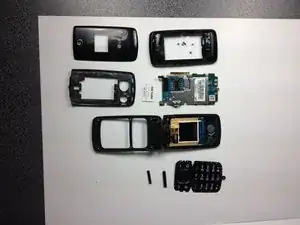
    • Remove all loose part, and should result in the components shown in the picture.

Abschluss

To reassemble your device, follow these instructions in reverse order.
Anthony Aquino

Mitglied seit: 10/04/14

155 Reputation

0 Kommentare