Einleitung
You've already gotten To the Camera Assembly, so why not go just a bit further? Lint can easily get in and wreak havoc with the micro-ball-bearings found within the camera assembly, and cleaning the assembly iis quite straightforward. Beware: Really Teeny Parts ahead!!
Werkzeuge
-
-
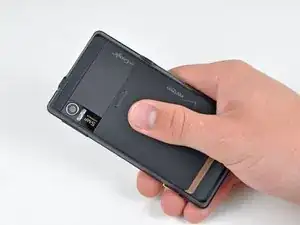
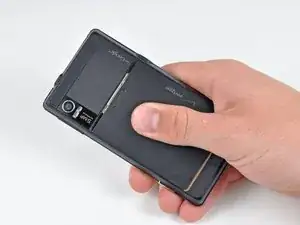
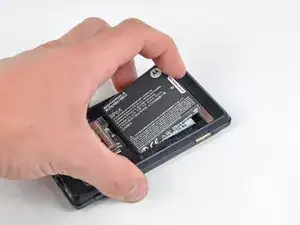
Slide the battery cover downwards while applying pressure to the center of the battery cover with your thumb.
-
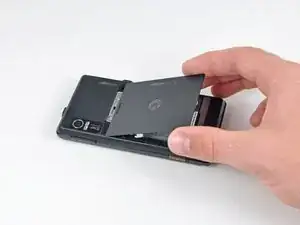
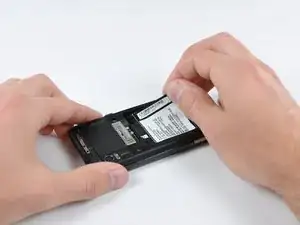
Lift and remove the battery cover out from the phone.
-
-
-
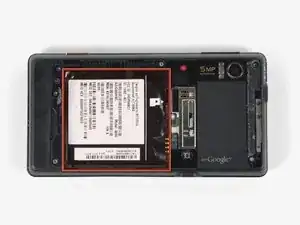
Use a spudger to lift and remove the black plastic screw cover at the top of the phone near the camera.
-
-
-
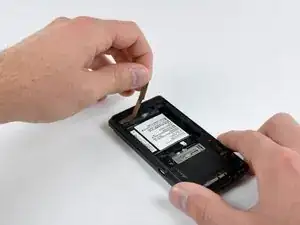
Using the tip of a spudger, peel up one corner of the gold ribbon beneath the battery compartment.
-
Peel the ribbon up off the phone.
-
-
-
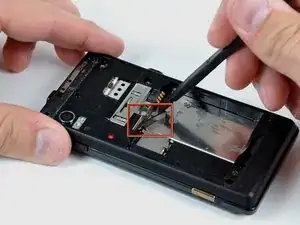
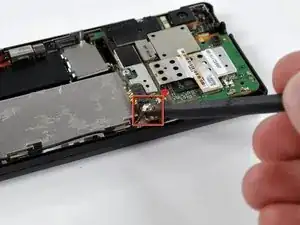
Insert the flat end of a spudger and pry downwards to release the plastic tab holding the rear case to the motherboard screw.
-
-
-
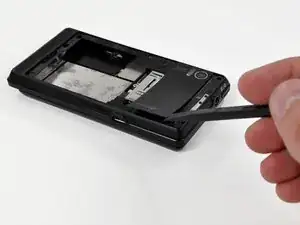
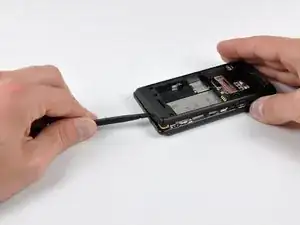
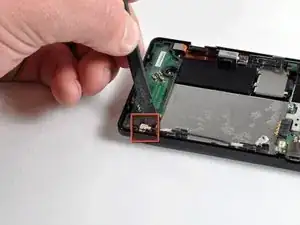
Gently insert a spudger between the rear case and front case at the top of the phone, near the audio jack.
-
Carefully pry the top edge of the rear case up from the rest of the phone.
-
-
-
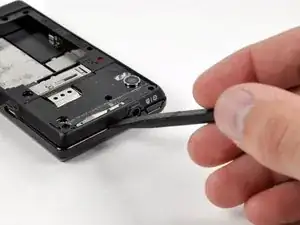
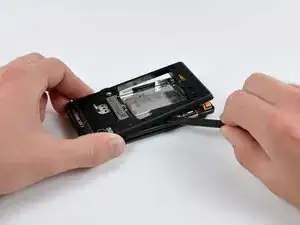
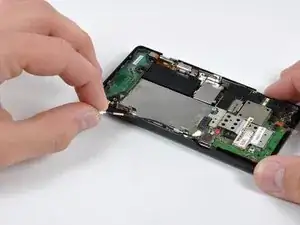
With the spudger still inserted between the rear case and front case, slide the spudger along the right edge of the device, moving toward the bottom, prying as you go.
-
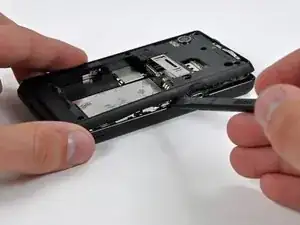
Continue prying along the bottom edge of the device from right to left, freeing it from the front panel.
-
-
-
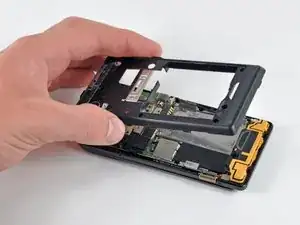
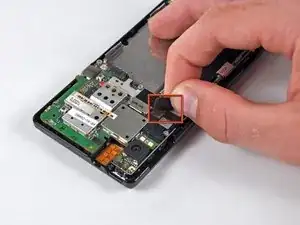
Continue prying the rear case from the front case along the left side, moving from bottom to top.
-
Lift the rear case up out of the phone.
-
-
-
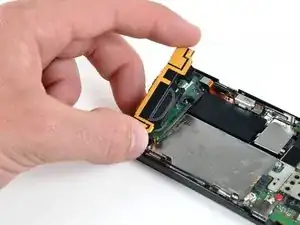
Use a spudger to pry the antenna cable connectors from their respective sockets on the motherboard and the speaker/antenna board.
-
De-route the antenna cable by pulling it out of the metal clips along the side of the front case.
-
-
-
Peel the black tape covering the side button and display ribbon connectors on the motherboard.
-
-
-
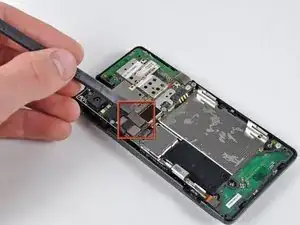
Disconnect the power button/volume button connector from its socket on the motherboard using the flat end of a spudger.
-
-
-
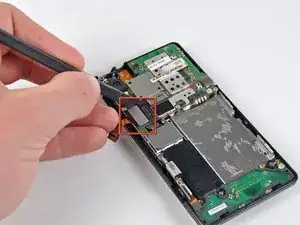
Disconnect the display ribbon connector from its socket on the motherboard using the flat end of a spudger.
-
-
-
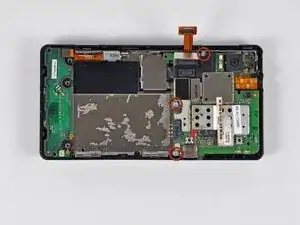
Disconnect the keypad connector by prying it straight up off its socket on the motherboard.
-
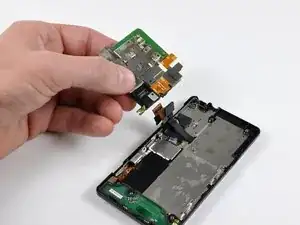
Remove the motherboard from the phone.
-
-
-
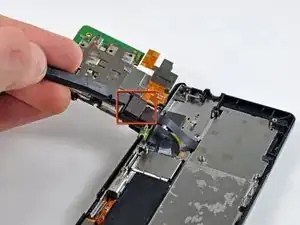
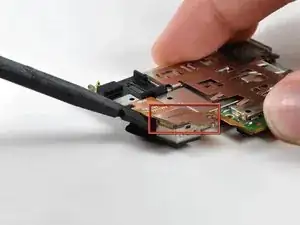
Disconnect the camera connector from its socket by prying it straight up with a spudger.
-
Remove the camera assembly.
-
-
-
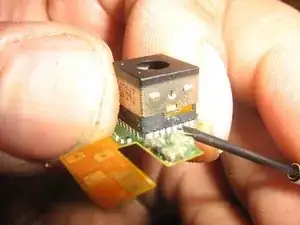
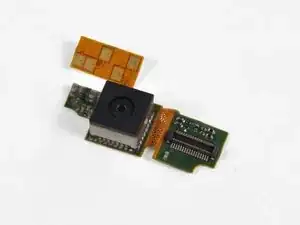
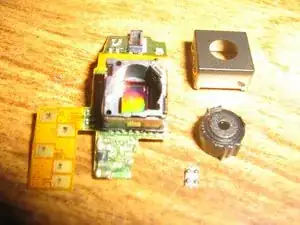
Use a flat jewelers screwdriver to gently pry up the housing surrounding the Camera lens. Pry up one side first, then the other.
-
Note the orientation of the Dimple on the side of the cover, as it will need to go on the same way during Reassembly.
-
-
-
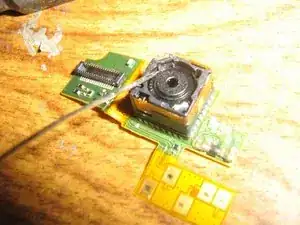
With the cover off, you can now see the top of the Lens holder, and immediately next to that the white Micro-Ball-Bearing shuttle. Normally, the Lens Holder should somewhat easily raise and lower, but if you are This far into it, chances are that it isn't moving easily.
-
-
-
With the Lens holder lifted, the Micro-Ball-Bearing shuttle will simply fall into the cavity: Gently tip out the shuttle onto your work surface.
-


To reassemble your device, follow these instructions in reverse order.