Einleitung
This guide is a step by step procedure to disassemble the base of the phone. It is the preliminary step in gaining access to the inner components of the Nokia 2366i.
Werkzeuge
-
-
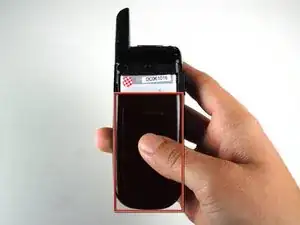
Apply pressure on the cover while simultaneously sliding the cover downward.
-
Remove the back battery cover.
-
-
-
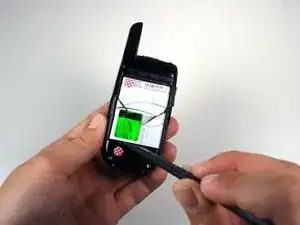
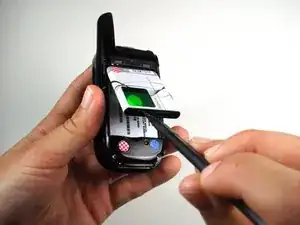
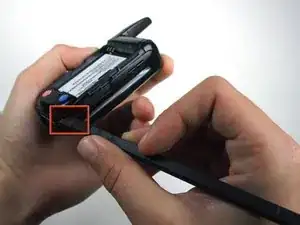
Insert the spudger between the base of the phone and the phone battery.
-
Position the phone so that the battery won't fall out of the phone.
-
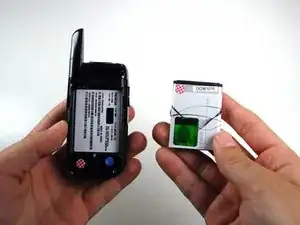
Carefully lift the battery out of the phone.
-
-
-
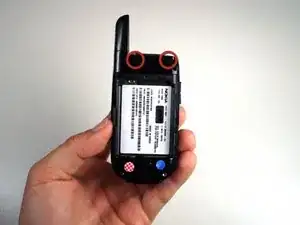
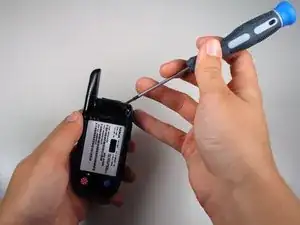
Use a Phillips #00 screwdriver or your fingers to remove the rubber tabs at top back of the phone.
-
-
-
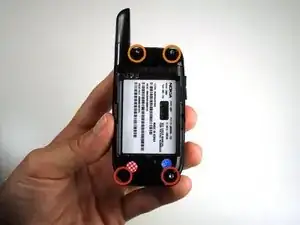
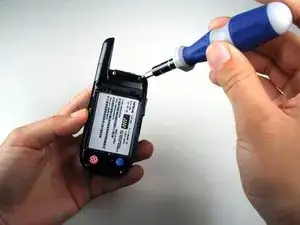
Remove four 5mm screws from the back of the phone using a T6 Torx screwdriver:
-
2 screws at the bottom
-
2 screws at the top
-
-
-
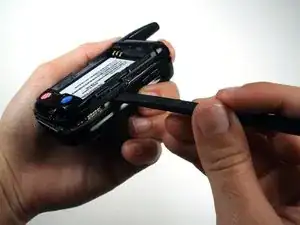
Insert the spudger in tabs between the outer casing and the inside frame.
-
Slide the spudger upwards.
-
-
-
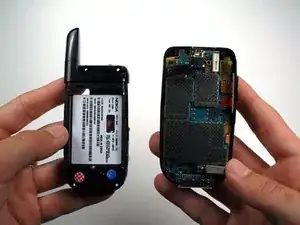
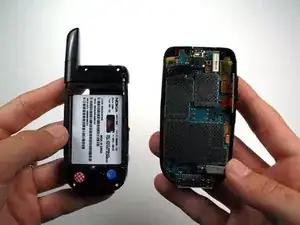
The phone should now be in two different sections.
-
1) The rear case of the phone.
-
2) The motherboard and the rest of the phone.
-
To reassemble your device, follow these instructions in reverse order.
