Einleitung
Werkzeuge
-
-
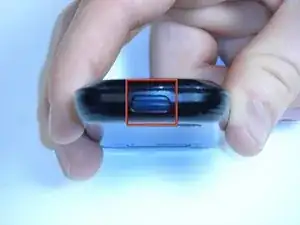
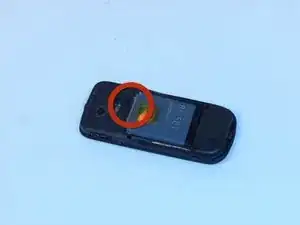
Press down on the button located at the bottom of the phone, using the center ridge as a guide.
-
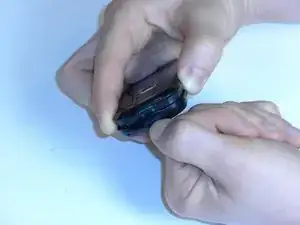
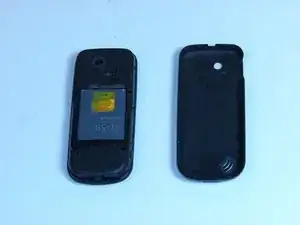
Pull the phone apart from the bottom, keeping the button pressed down.
-
-
-
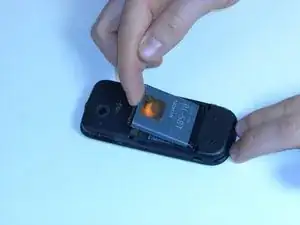
Place a finger or plastic opening tool in the gap between the battery and the phone.
-
Gently lift the battery out.
-
-
-
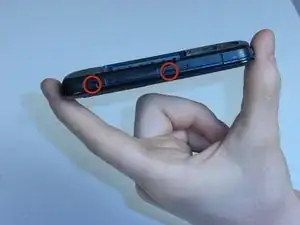
Locate the plastic latches on the left and right sides of the phone.
-
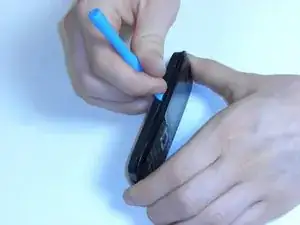
Insert the plastic opening tool or a fingernail into each latch and pry them open individually.
-
-
-
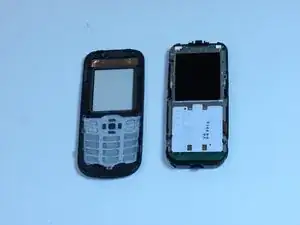
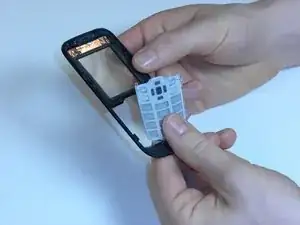
Turn the faceplate so the number pad faces downward.
-
Lift the number pad out of the faceplate.
-
-
-
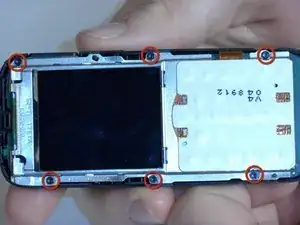
Locate the six screws positions along the edges of the motherboard.
-
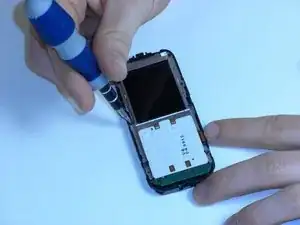
Unscrew the six screws using the Torx 5 screwdriver (see Introduction for description of a Torx 5 screwdriver).
-
-
-
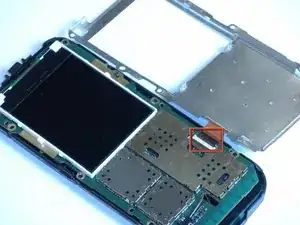
Locate the orange ribbon tape connecting the metal display plate to the motherboard.
-
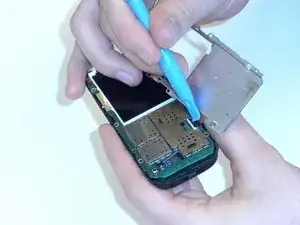
Lift the black latch attaching the tape to the motherboard.
-
Gently pull the tape out of the latch slot to remove the metal display.
-
-
-
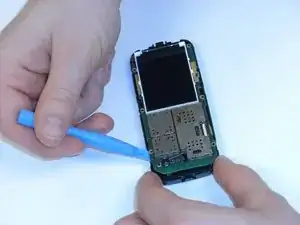
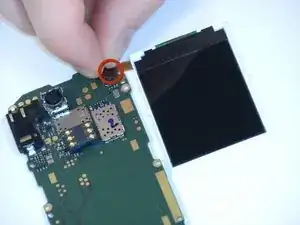
Turn the motherboard over and locate the orange ribbon tape connecting the display to the motherboard.
-
Gently pull the tape up to remove the display.
-
-
-
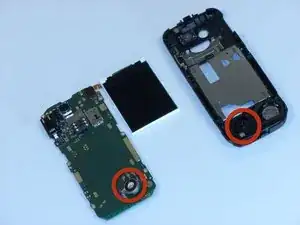
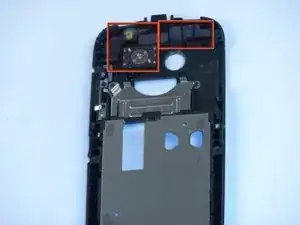
Locate the camera component in the plastic shell removed from underneath the motherboard (It is one piece).
-
Gently pull out the camera component using either a finger or plastic opening tool.
-
To reassemble your device, follow these instructions in reverse order.
