Einleitung
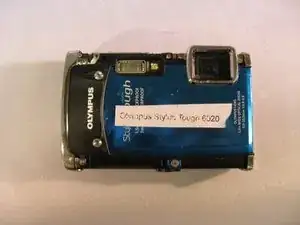
This prerequisite guide provides instructions that need to be performed before beginning replacements on your Olympus Stylus Tough 6020.
Werkzeuge
-
-
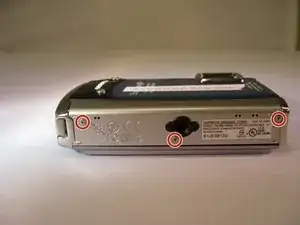
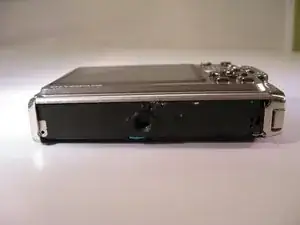
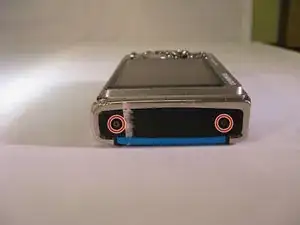
Turn the camera so that you are facing the bottom of the camera.
-
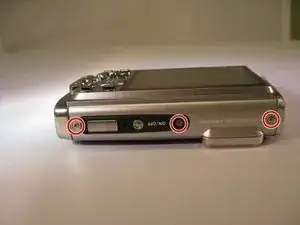
Using a Phillips 00 screwdriver, unscrew the three 3.9mm screws on the bottom of the camera.
-
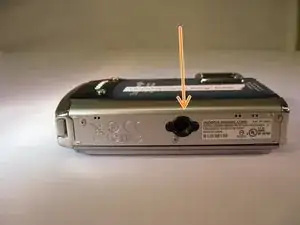
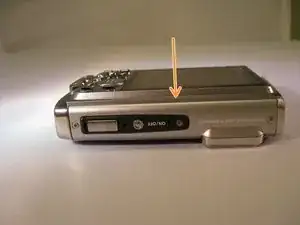
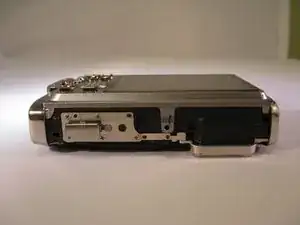
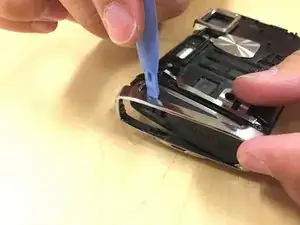
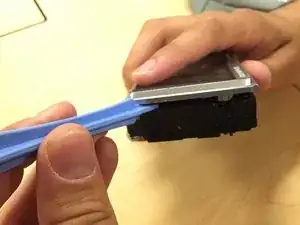
Using a spudger, pry off the plating on the bottom of the camera.
-
-
-
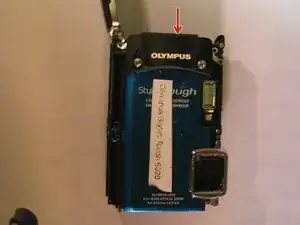
Turn the camera so that you are facing the top of the camera.
-
Using a Phillips 00 screwdriver, unscrew the three 3.9mm screws located on the top of the camera.
-
Using a spudger, pry off the plating on the top of the camera.
-
-
-
Turn the camera so the LCD is facing upwards.
-
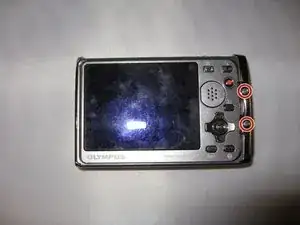
Using a Phillips 00 screwdriver, unscrew the two 3.9mm screws located on the left side of the device.
-
-
-
Using a Phillips 00 screwdriver, unscrew the 3.9mm screw located next to the black "Olympus" face plate.
-
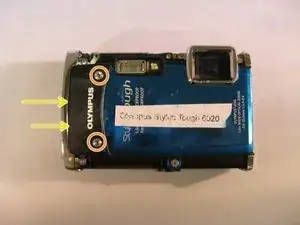
Using a T6 Torx screwdriver, unscrew the two 3.5mm screws located on the black "Olympus" face plate.
-
Using a spudger, gently pry off the black "Olympus" face plate.
-
-
-
Using a Phillips 00 screwdriver, unscrew the two 3.9mm screws to the right of the cursor pad on the U-shaped frame.
-
Turn the device over so the front of the camera is facing you.
-
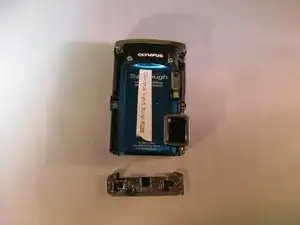
Using a Phillips 00 screwdriver, unscrew the two 3.9mm screws on the end casing.
-
Using a spudger, pry off the end casing.
-
-
-
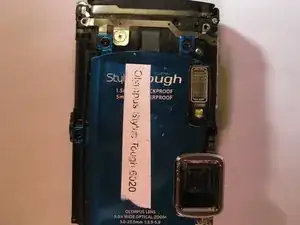
Turn the camera so the blue face plate is visible.
-
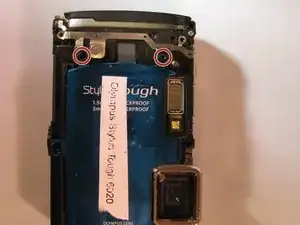
Using a Phillips 00 screwdriver, unscrew the two 3mm screws on the blue plate.
-
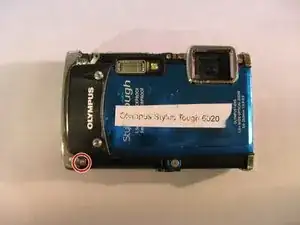
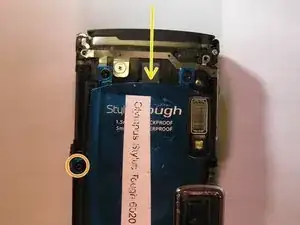
Using a Phillips 00 screwdriver, unscrew the 3.9mm screw located at the bottom of the camera straight down from the flash.
-
Using a spudger, gently pry off the blue face plate.
-
-
-
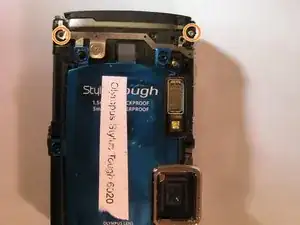
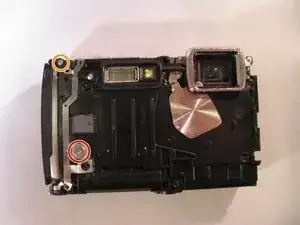
Using a Phillips 00 screwdriver, unscrew the 9mm screws on the top of the camera to the right of the flash.
-
-
-
Using a Phillips 00 screwdriver, unscrew the wide 3.5mm screw located in the middle of the camera.
-
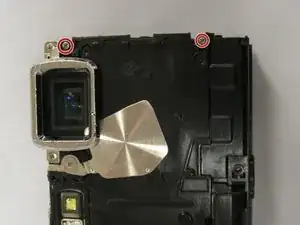
Using a Phillips 00 screwdriver, unscrew the 9mm screw located at the top left corner of the camera.
-
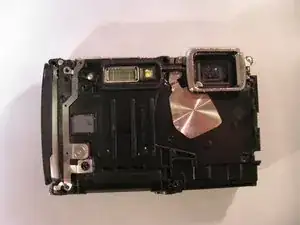
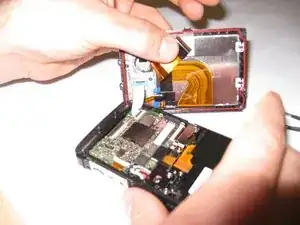
Using a spudger, separate the black plate from the camera.
-
To reassemble your device, follow these instructions in reverse order.
