Einleitung
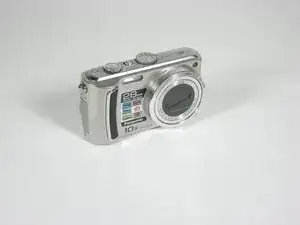
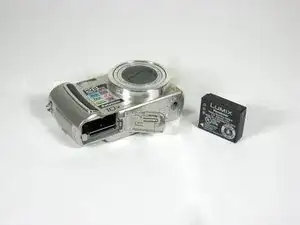
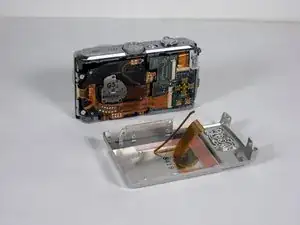
Since this is step one, you will just need to start with your camera.
Werkzeuge
-
-
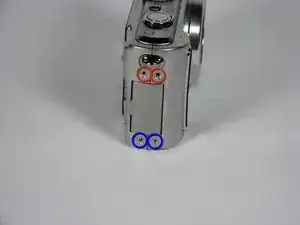
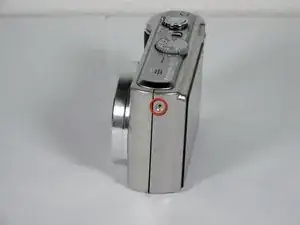
Remove 4 screws from the right side of the camera.
-
There are two 3.4mm screws at the top.
-
There are two 2.2mm screws at the bottom.
-
-
-
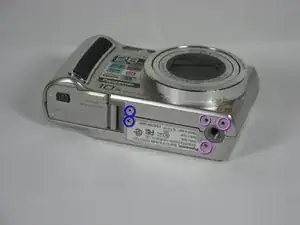
Remove 5 screws from the base of the camera.
-
There are two 2.2mm screws next to the battery compartment.
-
There are three 4mm screws around the tripod mount.
-
-
-
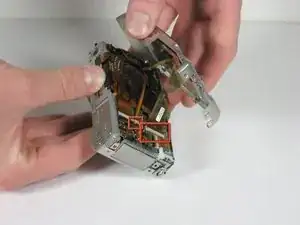
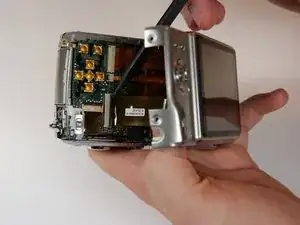
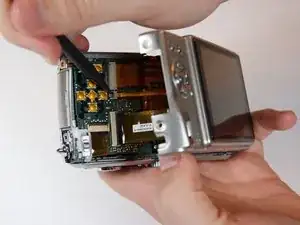
Detach both ribbon cables using a spudger.
-
Use the tip of the spudger to lift the black clip upward, unlocking the ribbon cable.
-
To reassemble your device, follow these instructions in reverse order.
Ein Kommentar
That is not a disassembly! All is shows is taking the back of the camera off. How about showing how to disassembly the camera down to its individual components and make repairs, like getting the lens to extend of fixing a sticking shutter.
JR Tan -
