Einleitung
Werkzeuge
-
-
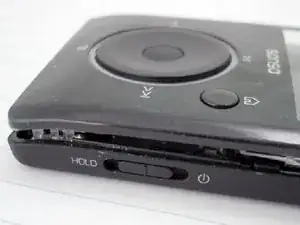
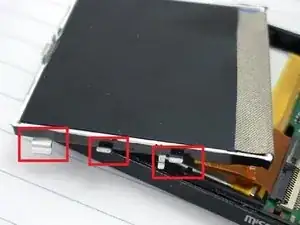
Pry open and pop the clips. Note that the bottom two clips are held in with a little bit of rubbery glue. Don’t rip the face off too quick since there is a ribbon cable you need to disconnect.
-
-
-
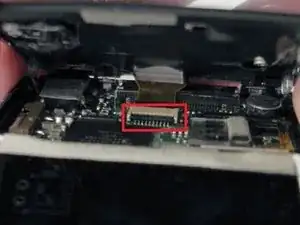
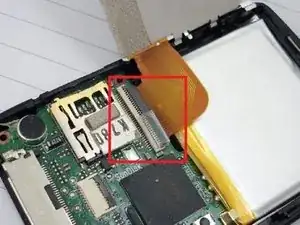
Remove ribbon cable connect to the face plate. Lift the face off and flip the brown ribbon release flap on the connection on the board. (The flap in this picture is black, opposite the cable. Lift the edge that is closest to you in the picture in order to release the cable.)
-
-
-
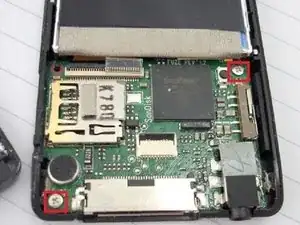
Remove LCD by releasing the 4 clips on each side of the LCD, be carefully to not damage the LCD
-
-
-
Remove battery. The battery is taped down with a little double sided tape
-
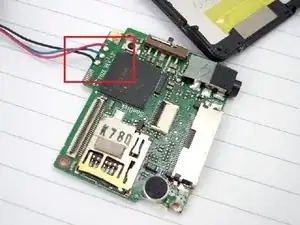
If you are replacing the battery just apply a soldering iron to the battery connections on the board and gently pull them off..
-
To re-attached the new battery by reheating the old solder and reconnecting the new battery wires
-
Link to a battery Battery Clerk - Sansa Fuze battery
-
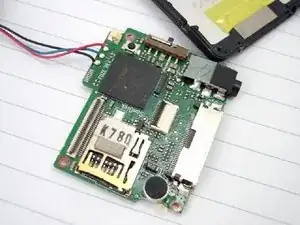
PLEASE NOT IF REPLACING THE BATTERY YOU DO NOT NEED TO REMOVE THE BOARD :)
-
To reassemble your device, follow these instructions in reverse order.
5 Kommentare
Hi,
I've lost the brown ribbon release flap. So my ribbon cable has no connection most of the time. Is there any chance to replace this with something else? Or get a new connector?
Thanks,
Simon
moony -
Sep 7 is backwards - device power button is on the right side, release motherboard on that side first. Otherwise thank you for the guide!
Hi; I can't reconnect the ribbon cable in step 2, please help anyone. I tried regular tweezers, they are too big and the cable is too short.
Pat -
