Einleitung

  1. JQAmQmIQ2xWE2ZoA
    • Turn the camera off by pressing the small, square button embedded in the top rim of the camera.

    • Locate the battery hatch on the bottom-right side of the camera and slide it outwards to open.

    • In the compartment, move the small notch and push down on the battery to remove it.

    • During reassembly, there is an arrow on the battery hatch indicating which way it goes in.

  2. WIItTvlMZg1OUy1P
    WIItTvlMZg1OUy1P
    6ZqrjenQQ3VV3EFl
    KIFKLmBh2IjBOoJg
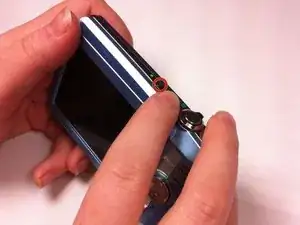
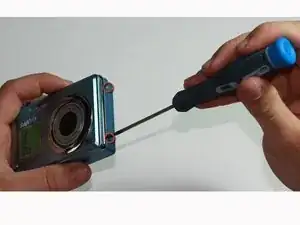
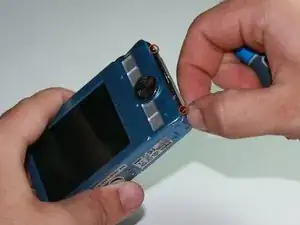
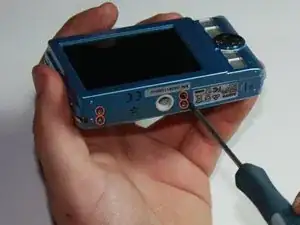
    • Remove the eight screws around the sides and bottom of the camera using a Phillips #00 screwdriver.

  3. gNTxxZeJX1js3XWl
    gNTxxZeJX1js3XWl
    sKWJL4iYREUNnubo
    ytCjln5r5qR43RNV
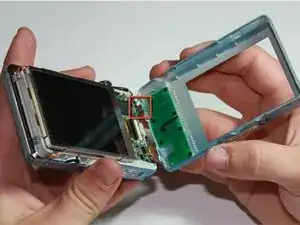
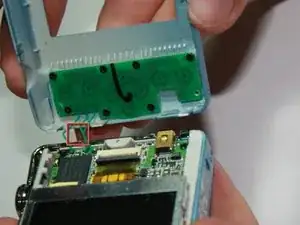
    • Using the spudger, gently pry the rear panel away from the left side.

    • Be careful not to damage the three green cables as you remove the rear panel of the camera.

  4. rnAikH4gVYeOxUdh
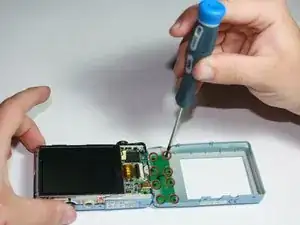
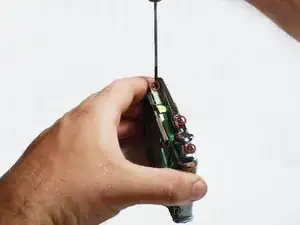
    • Using the Phillips #00 screwdriver, remove the eight black screws connecting the green keypad chip to the rear panel.

    • Do not put any excessive force on the green wires.

  5. ptCf3vjCyrZugghe
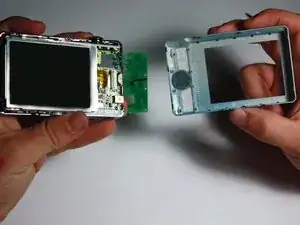
    • Separate the rear panel from the rest of the camera.

  6. XLgQVrd6qGGs5WXa
    XLgQVrd6qGGs5WXa
    5LRENJIF5gaLu6oo
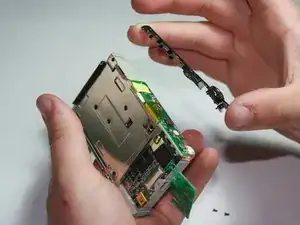
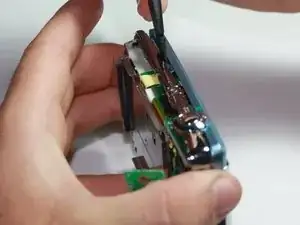
    • Using the Phillips #00 screwdriver, remove the 3 screws located across the top of the camera.

    • Separate the black plastic panel from the camera. The camera button will be attached, so be gentle.

  7. JSdWsypfyAkAnaSt
    JSdWsypfyAkAnaSt
    SRCpnDIn6ffwnpki
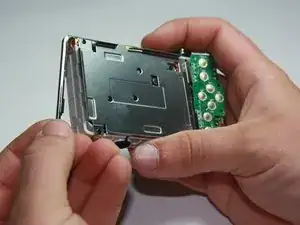
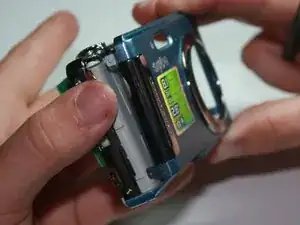
    • Carefully pull off the side covers wrapped around the camera.

  8. QPkgDbnuCleNMecc
    QPkgDbnuCleNMecc
    Kpl1DdEfhQiPB6Kx
    yldWe5WfxwabFBGo
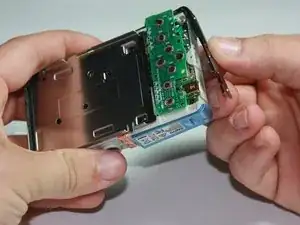
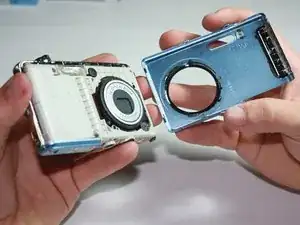
    • Using the spudger, gently lift off the front cover of the camera.

    • The front cover is fragile, so be gentle when removing it. It can easily break if not removed carefully.

Abschluss

To reassemble your device, follow these instructions in reverse order.
Jonathan Yau

Mitglied seit: 11/04/10

26 Reputation

0 Kommentare