Einleitung
Werkzeuge
-
-
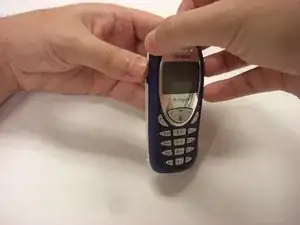
Firmly grasp the white casing of the phone with one hand and the blue cover with the other hand as seen in the first picture.
-
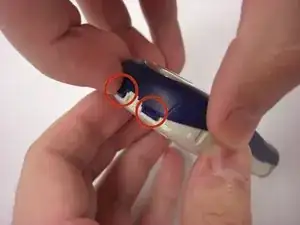
Pull up on the two plastic clips at the top of the phone.
-
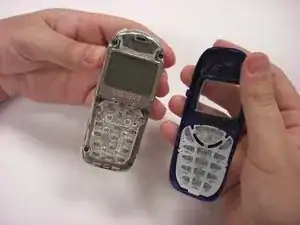
While the clips are pulled up, pull the blue cover away from the white casing to remove it.
-
-
-
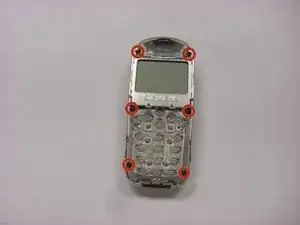
Along the side of the metal frame of the phone, locate the six screws.
-
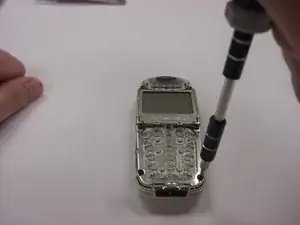
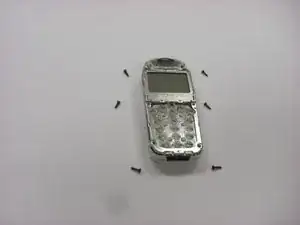
Using a T5 screwdriver bit, unscrew the six 1/4 inch screws and store them in a safe place.
-
-
-
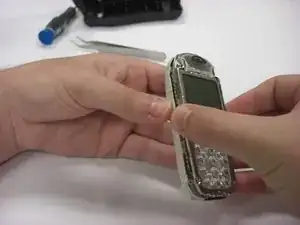
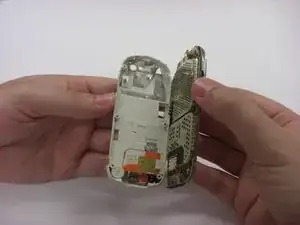
To remove the back plastic cover, grasp the device with both hands as seen in the first picture.
-
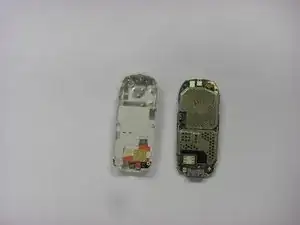
Gently remove the motherboard from the back plastic cover.
-
-
-
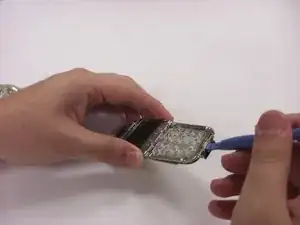
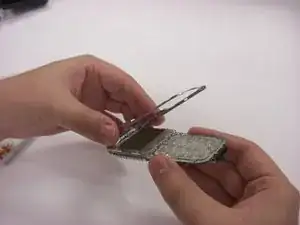
Turn over the keypad interface and using the blue plastic opening tool, gently pry the bottom of the metal frame.
-
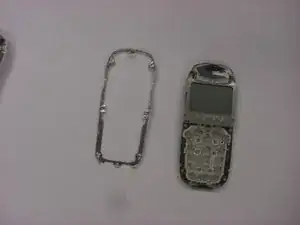
Once loosened, the metal frame should be able to be lifted from the motherboard.
-
To reassemble your device, follow these instructions in reverse order.
