Einleitung
Werkzeuge
-
-
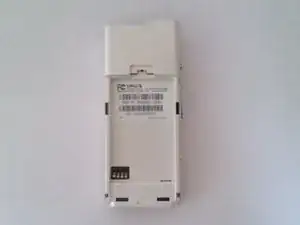
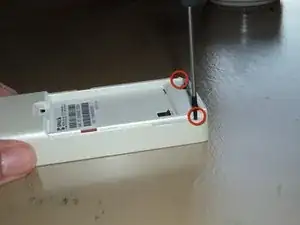
Remove the battery (which also functions as the back cover) from the device. This step is not explicitly shown, but a picture without the battery cover shows the device post-battery removal.
-
-
-
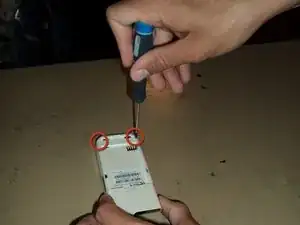
Use a Philip's head screw driver to remove the screws from the case.
-
Place the screws in a small container to avoid losing them.
-
-
-
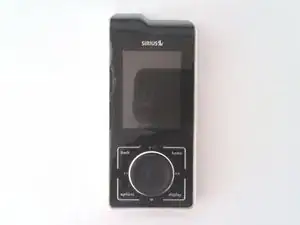
Remove the front cover.
-
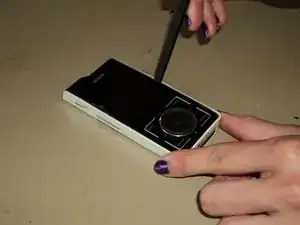
First, insert a small pry bar where the black front cover and white back cover meet.
-
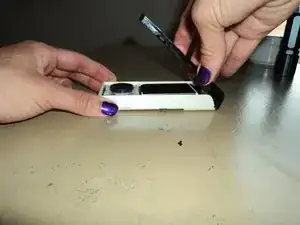
Begin prying the black plastic up, slowing moving around to the bottom and other side.
-
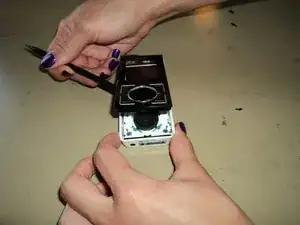
At an angle, carefully pull up on the front cover separate the two pieces.
-
Excellent! Now you have removed the front cover!
-
-
-
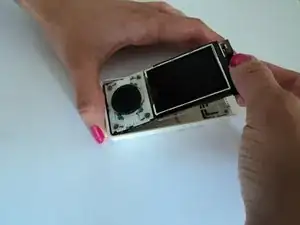
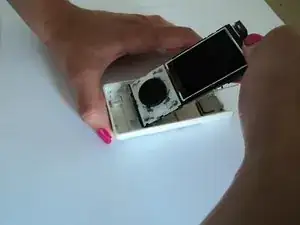
While looking down at the device, place your index finger at the top of the circuit board and your thumb on the device screen.
-
-
-
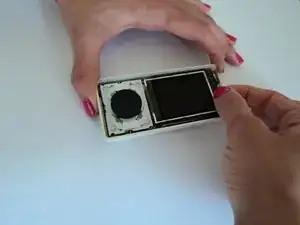
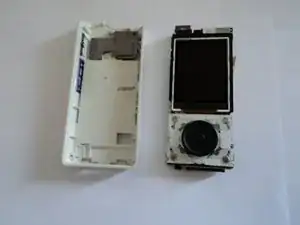
Using your fingers, gently pull the top of the circuit board up toward you while also sliding the bottom of the circuit board away from the bottom of the Sirius Stiletto 100 back cover.
-
-
-
Congratulations! You have successfully removed the internal circuit board from the Sirius Stiletto 100 back cover.
-
To reassemble your device, follow these instructions in reverse order.
