Einleitung
You will take apart the camera case to access the circuit board after removing the battery. Be ready to handle small parts and screws.
Werkzeuge
-
-
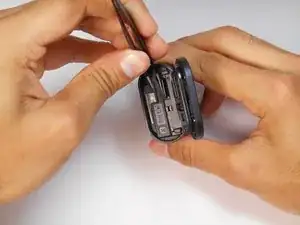
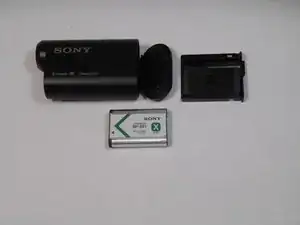
Using a pair of tweezers, firmly grip the protrusion where the PULL signifies and remove the tray and battery.
-
-
-
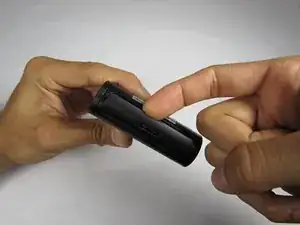
Open the bottom tab with your finger or a plastic opening tool.
-
Pull the tab out, not up, to remove it completely.
-
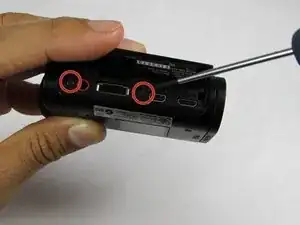
Remove the two screws from the device.
-
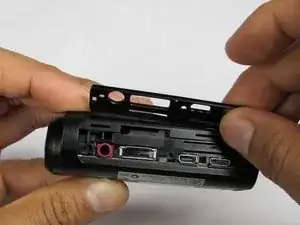
Use your fingers to remove the plastic plate.
-
-
-
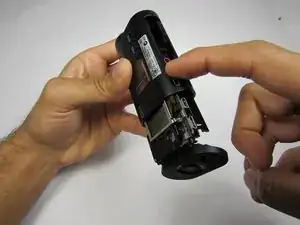
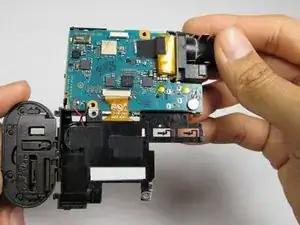
Separate the outer casing from the electronics by pushing on one of the ports toward the back end of the case. The electronics should slide right out.
-
-
-
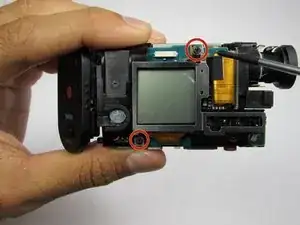
Remove the two 6.4 mm screws on the LCD side of the device using a Phillips #00 screwdriver.
-
Flip the LCD display downward to reveal the circuit board.
-
To reassemble your device, follow these instructions in reverse order.
