Einleitung
This guide shows you how to disassemble a Sony Clie PEG-SL10 through an easy step-by-step process. All you need to perform this repair is a Phillips #0 screwdriver and no additional special skills are required.
This is a precursor to any other repair you may want to do on this device and also allows you to get a good look at its internal workings.
Attached to this guide at the bottom of the page is the Sony Clie PEG-SL10 User Manual.
Werkzeuge
-
-
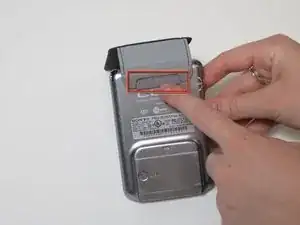
Turn your Sony Clie face-up.
-
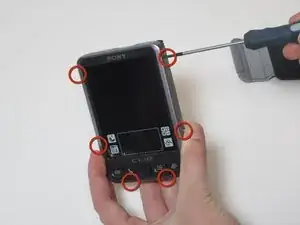
Using a Phillips #0 screwdriver, remove the six case screws on the sides and bottom of the device.
-
-
-
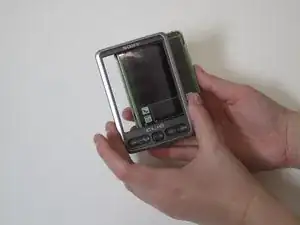
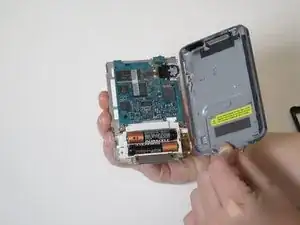
Turn the Sony Clie face down and open the back case by prying open the left side of the device.
-
-
-
Gently pry off the right side off the back panel and set it aside, leaving room for the scroll wheel at the upper right corner.
-
-
-
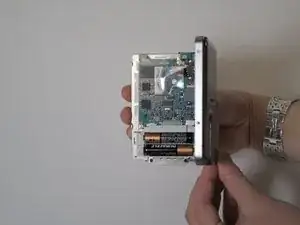
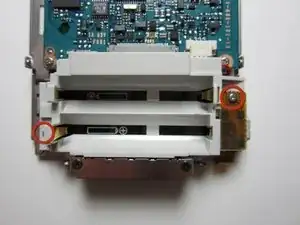
Using a Phillips #0 screwdriver, unscrew the two screws towards the bottom sides of the Sony Clie to remove the battery harness.
-
-
-
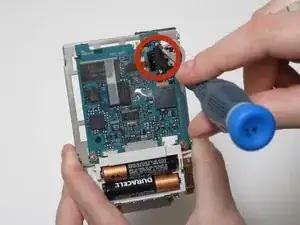
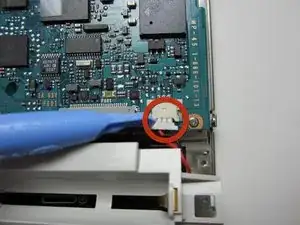
Pull the power cable from the socket located above the upper right side of the battery harness.
-
-
-
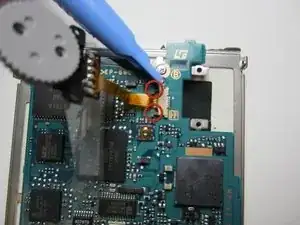
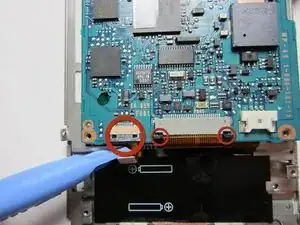
Gently pull out the clips to remove the bottom power cables from the motherboard after removing the battery harness.
-
-
-
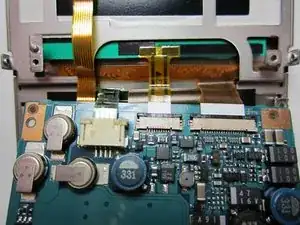
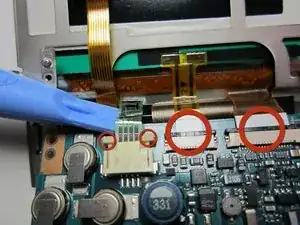
Rotate the motherboard 180 degrees so that it is upside down facing toward you to expose the power cables on the other side.
-
To reassemble your device, follow these instructions in reverse order.
