Einleitung
Werkzeuge
-
-
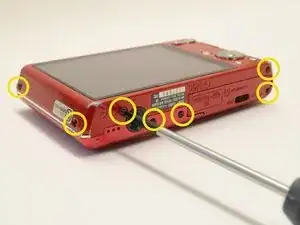
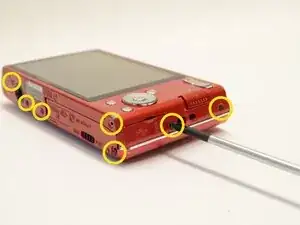
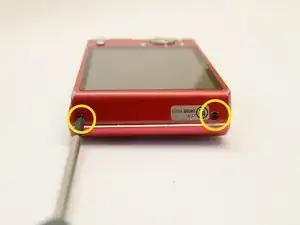
Begin by placing the camera flat against a surface and remove the nine (9) black screws. Each screw is of the same length and can be used interchangeably
-
-
-
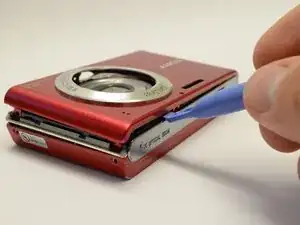
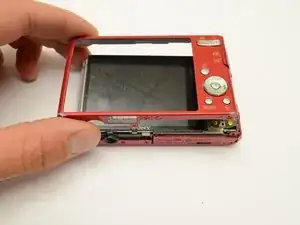
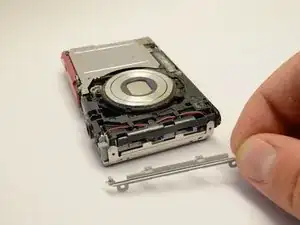
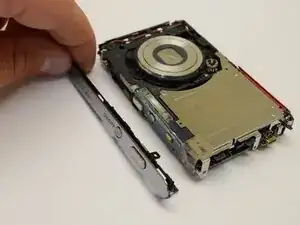
Once the outer casings have been removed, the silver side trim should come loose from the camera.
-
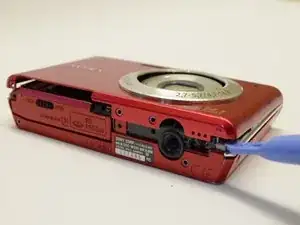
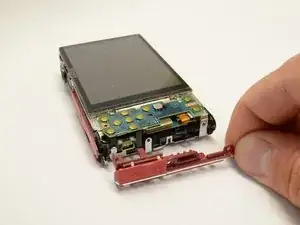
Place the camera with the lens facing down. Use the plastic opening tool to pry off the side panel with the USB plug.
-
-
-
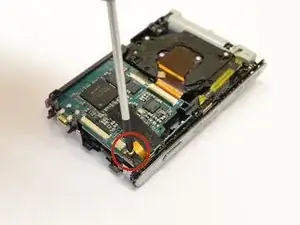
Place the camera with the lens facing down. Use the phillips head screwdriver to remove the silver screw in the corner near the photo capture button.
-
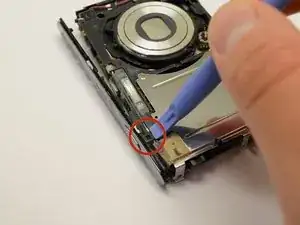
Flip the camera over. Use the plastic opening tool to detach the black clip near the capture button.
-
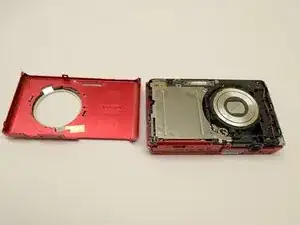
Grasp the top cover and gently remove it from the camera body.
-
-
-
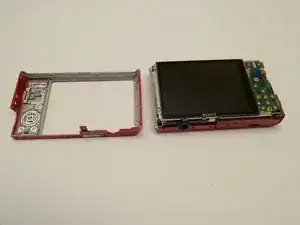
After the outer casing is removed, lay the device display side up
-
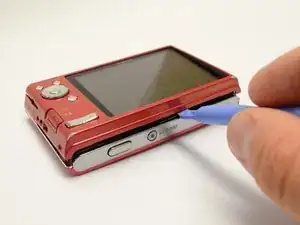
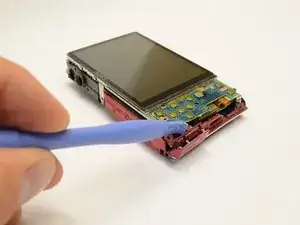
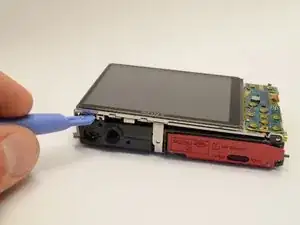
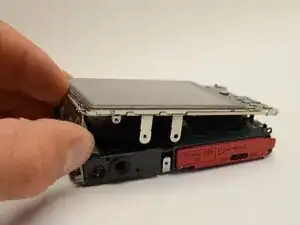
Gently pry the LCD screen from the body of the camera.
-
-
-
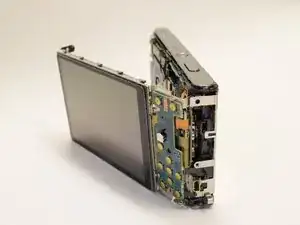
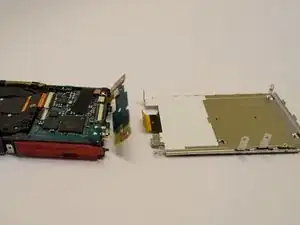
Flip the LCD Assembly around the edge of the camera
-
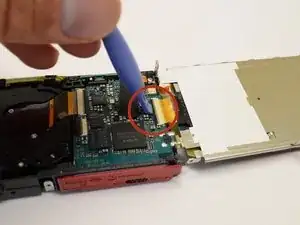
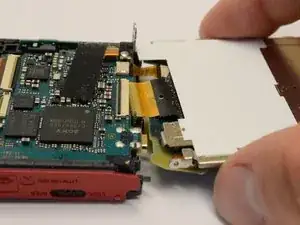
Use the plastic opening tool to gently pry up the black tab locking the large ribbon cable to the battery housing.
-
Grasp the LCD display with your fingers and gently pull the large ribbon cable out of the connector.
-
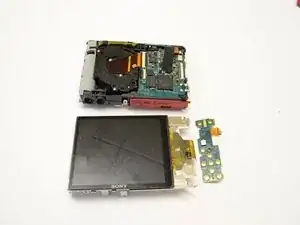
The LCD display is now detached from the camera.
-
-
-
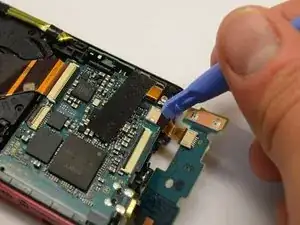
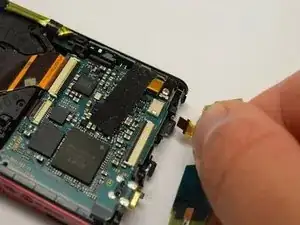
Gently pry the tab holding the ribbon cable connecting the cameras control board to the camera sensor and battery housing.
-
The camera control board is now removed and can be replaced if faulty.
-
To reassemble your device, follow these instructions in reverse order.
