Einleitung

This disassembly prerequisite is required to access most components in the phone, as the swivel assembly also secures the display section to its housing.

  1. 1vUGMCC4VeKXHtsa
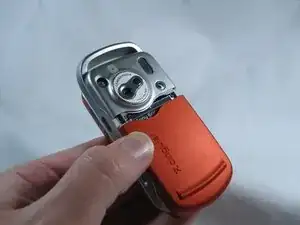
    • Grip the lower portion of the back of the phone and slide downwards.

    I really needed Sony Ericsson battery w600i Walkman phone orange color and u s b cable charger for Sony Ericsson Walkman phone I really needed them

    Bertram Richardson -

    So bad in need of

    Bertram Richardson -

    Everything just like that phone I have in need of battery and u s b cable charger for it sony Ericsson battery w600i Walkman phone orange color

    Bertram Richardson -

  2. tPq3pkNKPHE61g2C
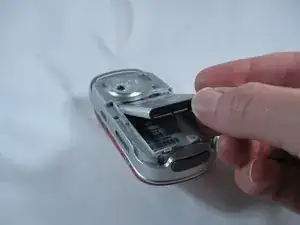
    • Lift battery at the rounded notch near the bottom of the phone.

  3. SHQwRcexabCQUZDk
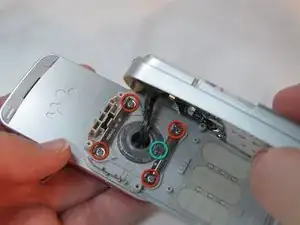
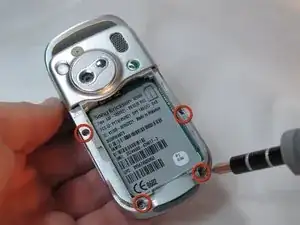
    • Unscrew the four Torx screws from the backplate.

    • The backplate may begin to separate from the keypad face. Do not try to remove it yet.

    • The screws are T5 Torx screws, 5.6mm.

  4. IthVYNjUICEL6oSR
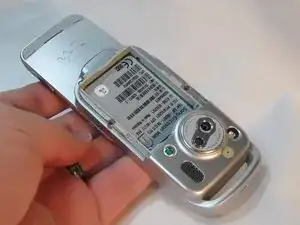
    • Swivel the phone open.

  5. 1KSmkU3PMtoDHVSJ
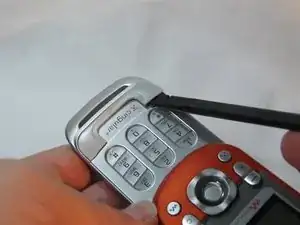
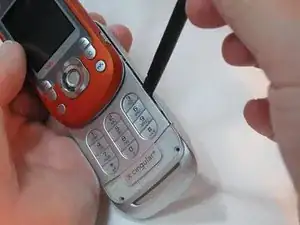
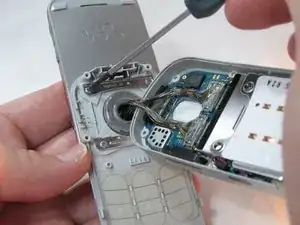
    • Using the Spudger, gently pry up the U-shaped grey cover below the keypad.

    • The cover is secured with adhesive tape. The gentler this is removed, the easier it will be to reassemble.

  6. EqRFEbjwQGBvagbS
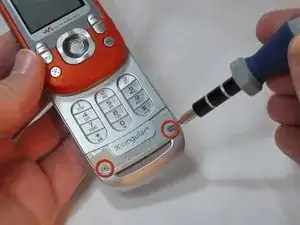
    • Remove the two Torx screws from below the cover.

    • These are T5 Torx screws, 8.6mm.

  7. dsoySuimtKmVJIIv
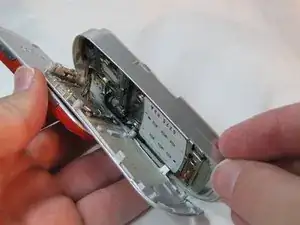
    • Gently work a spudger or a fingernail between the keypad face and the backplate.

    • The pieces are clipped together most tightly at the bottom loop section.

  8. eIy2H2HxdqHgnICN
    eIy2H2HxdqHgnICN
    ZsVZcWOpjSdeOEcN
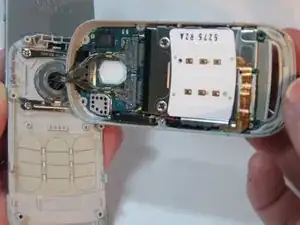
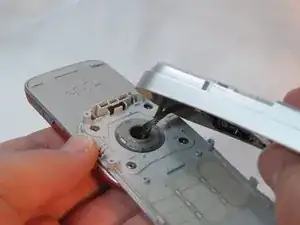
    • Separate the keypad face from the backplate.

    • The keypad keys and the button component are both loose inside the phone, so take note of their orientation in case they become dislodged.

    • Take note of the braided cord's state. Upon reassembly it should be returned to the same orientation.

  9. MOPoqOnVuvP6R24D
    MOPoqOnVuvP6R24D
    ODN5iHFnWnGFWctk
    ZSpwdTWJ3SQIOp63
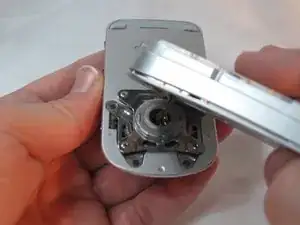
    • Holding the backplate away from the swivel, remove the 4 small Phillips screws and both stamped struts from the swivel assembly.

    • Note that only the bottom strut has a tab.

    • The screws are Phillips, 2.9mm

  10. gUwbLVAfeXIylXSf
    • The back housing is now disassembled, and the swivel assembly is revealed.

Abschluss

To reassemble your device, follow these instructions in reverse order.
Beau Blanchard

Mitglied seit: 30/09/12

20 Reputation

0 Kommentare