Einleitung
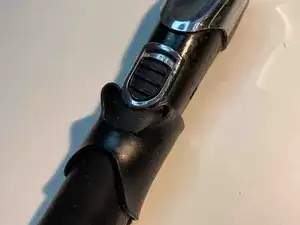
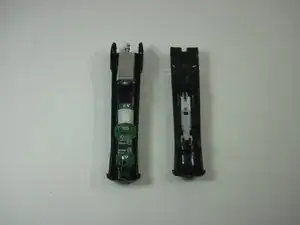
To replace the battery, you will very likely need a soldering iron and solder. Model number 9854L has the battery soldered to the + and - terminals.
Werkzeuge
-
-
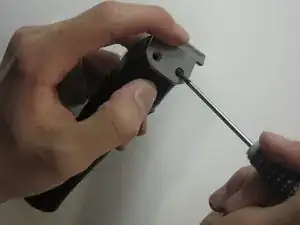
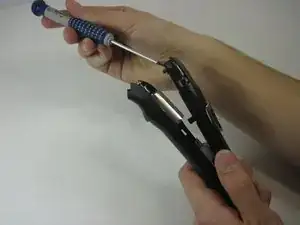
Pry open the plastic cover into two separate pieces. The plastic is very durable so don't worry about breaking it upon prying it open.
-
To reassemble your device, follow these instructions in reverse order.
3 Kommentare
Well this does not show how to properly remove the metal piece that surrounds the power button , which needs to be removed to access 2 screws ( that I can see it) that need to be removed to completely separate the plastic encasement of the intrrnals has
very helpful for the first two steps. I need like six more between the 2nd step and the last step. but otherwise, very helpful. Thank you so much
Thanks…worked well.
Magpie -


How do you take rubber piece off handle
Billy Joe Furr -
It appears the friction of your skin against the rubber grip can pull it down from the top enough that you can see how to peel it off.
Matt Benson -
How do you remove the rubber grip??
octavia197424 -
I have no rubber piece to remove
Charlie changed her kelly -
Pardon the analogy,
… but it's on there a little bit like a condom.
Start at the Top of the trimmer.
Use your fingernail to pry back the lip of the rubber.
Then start rolling it down the handle.
Toward the end you may just have to brute force - shove it off.
Mark Wingerd -
Check the model number. Mine looks exactly like the one pictured here.
Again, my trimmer model 9854L has the battery soldered in place. So, unless you have a soldering gun and tools, or want to buy one and do this job, don’t bother with the rest of the steps here as this is required for battery replacement.
Janek Kuchmistrz -