Einleitung
You should have a basic understanding of tool usage (ie. screwdrivers)
Werkzeuge
-
-
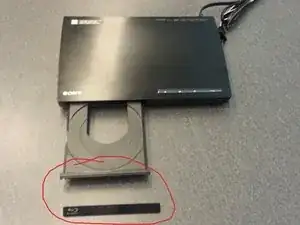
Remove the face plate by depressing the small plastic tab
-
*NOTE: eject disk tray first before dis-assembly to gain access.
-
-
-
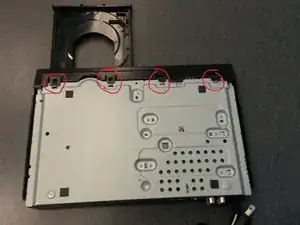
Release front 4 tabs in order to slide main cover forward.
-
*NOTE: slide only a few mils forwards before next step.
-
-
-
Release tabs on both left and right sides of unit while maintaining forward pressure to slide cover off.
-
*NOTE: The arrows depict where the tabs are located.
-
-
-
After cover removal, you should now have access to the internal components.
-
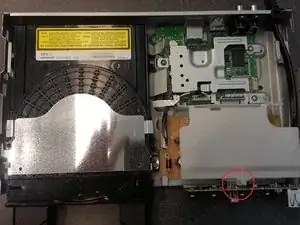
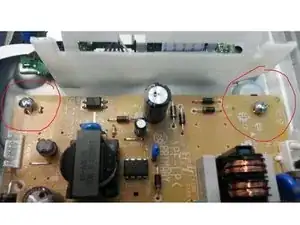
We will begin removing the power supply. Compress the center clip and open plastic shield.
-
-
-
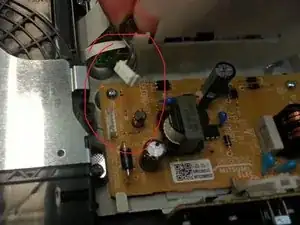
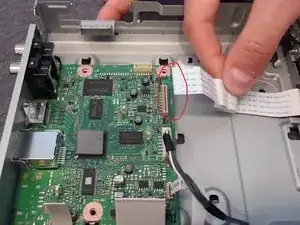
Pull on indicated ribbon cable to begin removal of front display.
-
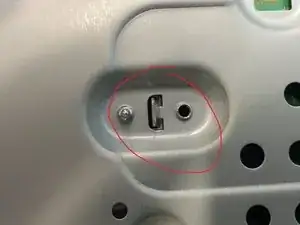
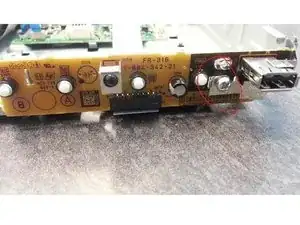
Now remove single screw to remove front display panel.
-
-
-
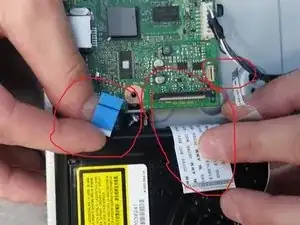
Next, remove all three ribbon cables attached to optical disc drive.
-
*NOTE: largest ribbon cable has small secure clamp, be sure to release it before pulling.
-
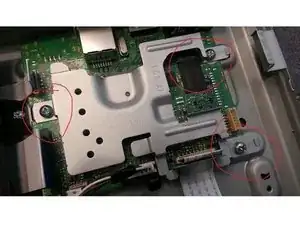
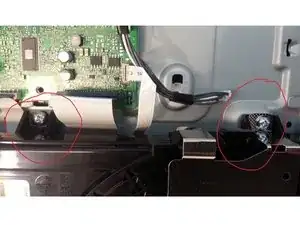
Now unscrew both mounting screw for optical disc drive for complete removal.
-
-
-
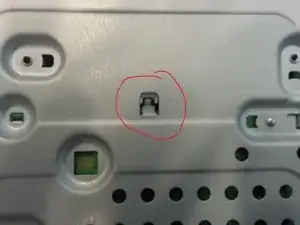
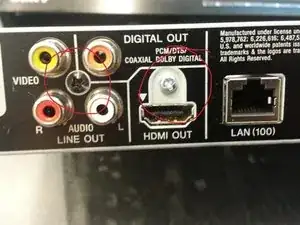
To completely remove the main board, locate screws on back of unit. Unscrew these 2 screws and then slide main board out.
-
-
-
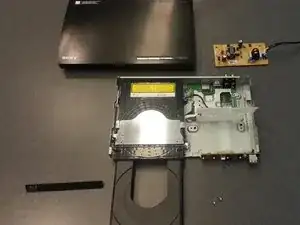
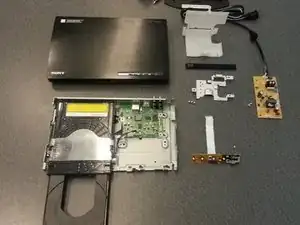
You should now be completely dis-assembled. For further dis-assembly of the optical disc drive, continue to step 15.
-
-
-
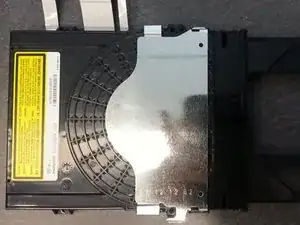
First remove metal shroud exposing tabs.
-
Peel back security tape and release all 4 tabs (2 on each side) for removal of top cover.
-
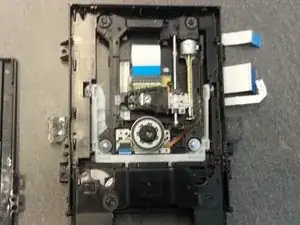
Now the internal components of the optical disc drive are now exposed.
-
To reassemble your device, follow these instructions in reverse order.
6 Kommentare
Hi! I have just a quick question! The front display panel of my Sony Blu Ray player had broken! The small board with the USB mounted onto it, remote sensor and buttons! What is the name of this board? I was looking to order a replacement
Nice info. Need to know how to get replacement bluray player. Any ideas? Do not want to buy new TV yet.
Keith -
now I know I'm missing lots of parts...lol


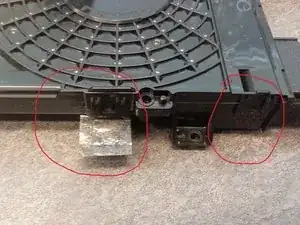
For my BDP-S185, there was a steel wire spring running through both the face plate and tray that came dislodged. I could not put it back in place, and two plastic tabs on the face plate broke. More detailed pictures of this step and the fine parts involved in the face plate to disk tray latching mechanism would be useful.
Tom Roden -
For my SONY BDP-BX18, the instructions regarding the face-plate were not sufficiently detailed. It took some time to find the nearly invisible TWO tabs for removing the face plate. A better picture, at least with some indicators of where the tabs are would be desirable. From the outside, it also appeared that perhaps the buttons were preventing removal of the cover. A note that the buttons were part of the cover assembly and not physically attached to the circuit board would also have been helpful.
My problem was a broken disk eject button. I managed to figure out how to remove the button assembly without breaking it further. The two plastic pieces which attached the eject-button were broken. I repaired them with BONDIC UV-Activated plastic... We shall see how long the repair holds.
CB PlummerGuy -