Einleitung
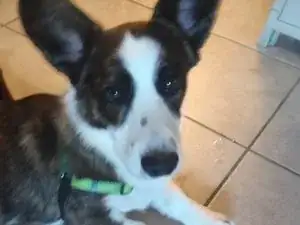
This guide explains how to replace one of the straps in a dog harness. When he was a puppy, my dog loved to chew on the nylon webbing, so he ruined a few straps. Rather than buy a new harness, I figured it would be better to repair his current harness.
The harness can be sewn with either a heavy duty sewing machine or by hand with a heavy upholstery needle and thimble.
This guide will work for dog, cat, lizard, snake, etc. harnesses.
I am a rookie sewing machine user, and the images in this guide will show that.
Werkzeuge
Ersatzteile
-
-
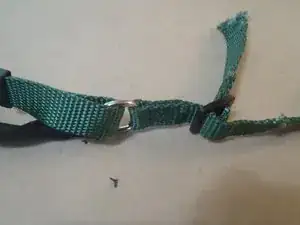
To record how to route the new nylon webbing through any buckles or couplings, take a picture of the section of harness that you wish to replace.
-
-
-
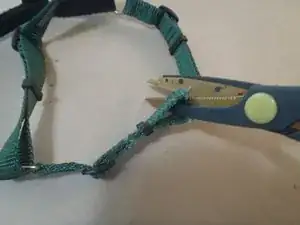
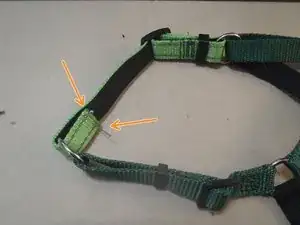
Cut out the damaged webbing as close to the ends (by the metal rings) as possible. Doing so will preserve as much material as possible and will make measuring easier. Use it for a future project.
-
-
-
Separate the webbing from any buckles and loops.
-
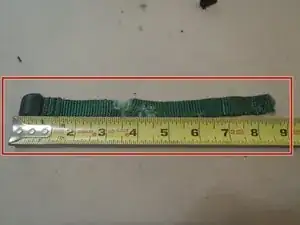
Measure the length of the webbing.
-
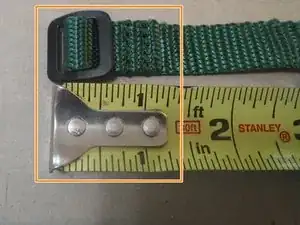
Be sure to add the length of any buckle overlaps to your measurements. In this image, there is about 1 1/4 inch overlap.
-
Since a dog harness is adjustable, it is okay to add 1/4 -1/2 inch to measurements to ensure proper fit.
-
-
-
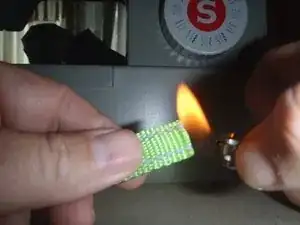
After cutting the new nylon webbing to length, melt the ends with a flame to prevent fraying.
-
-
-
Using the picture or diagram as reference, route the new webbing through the rings and buckles.
-
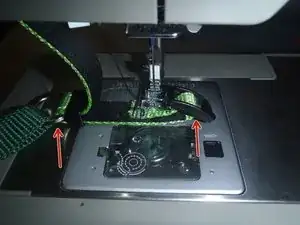
Fasten the new webbing to the harness by sewing it. In the image, note that the webbing has been routed through the buckles before sewing.
-
Since this is thick nylon webbing, it will be difficult to pin it down before sewing.
-
-
-
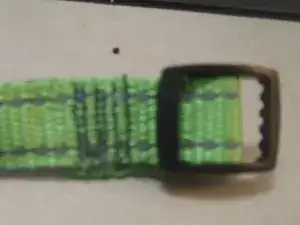
This image is blurry. Sorry. The original harness was sewn with "X" patterns, though the limitations of my sewing matching prevented that, so I sewed with three "I" patterns.
-
-
-
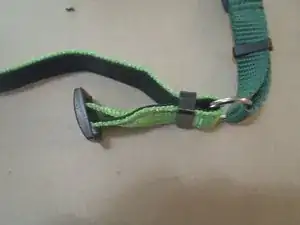
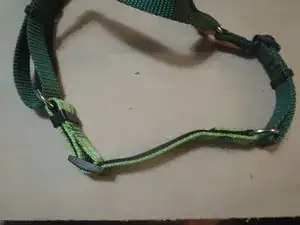
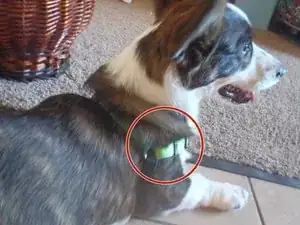
After sewing, the dog harness should be functional. That is, the loops and buckles should work to loosen and tighten it.
-
Keep in mind that the harness can be sewn by hand or with a sewing machine.
In this guide, I sourced my nylon strap from a puppy-sized dog collar with a broken buckle.
