Einleitung
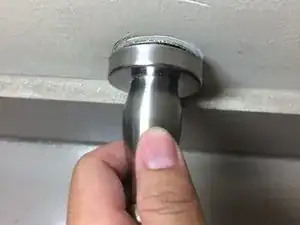
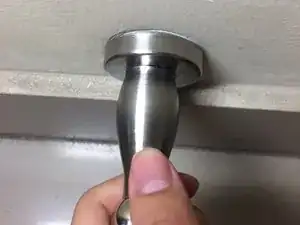
This page will help you to replace the broken door stop with a new door stop. The door stop is a useful attachment, and can prevent damage to any walls the door handle may come into contact with. If you or someone in your household is accustomed to slamming doors, you may want to use a door stop.
You will find the necessary components of the door stop (including screws) in a door stop package.
Werkzeuge
-
-
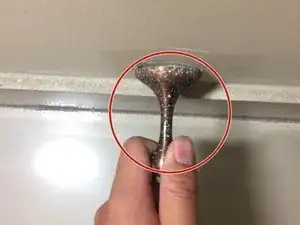
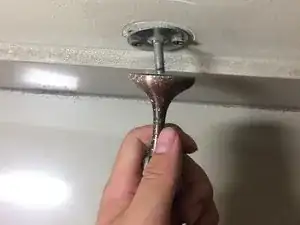
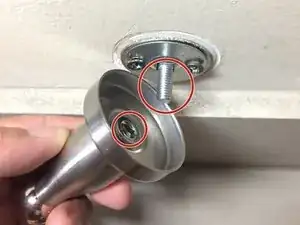
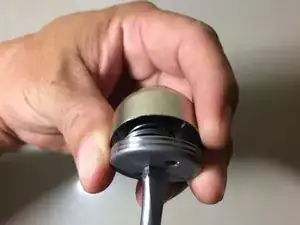
Twist the anchor fitting of the old door stop in counter clockwise direction.
-
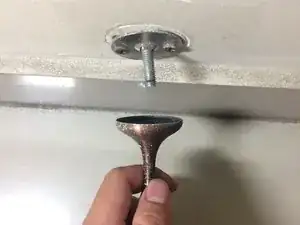
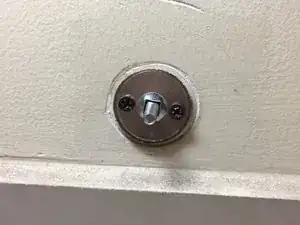
Remove the anchor fitting from the mount.
-
-
-
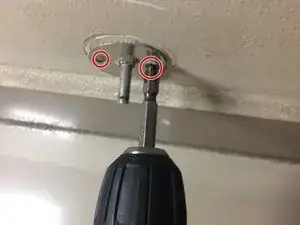
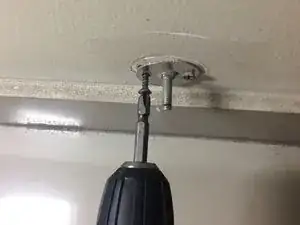
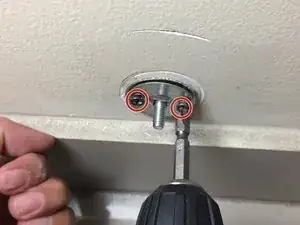
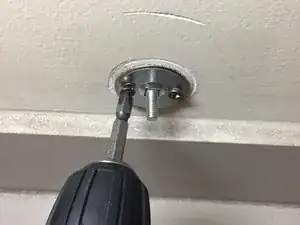
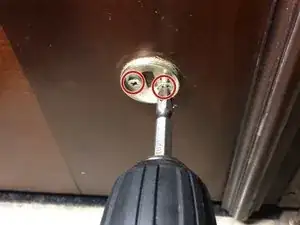
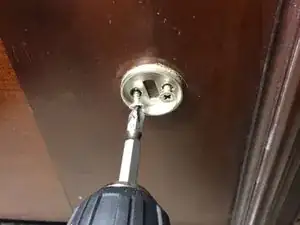
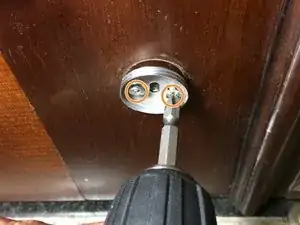
Use a drill (or a screwdriver) to remove the two screws from the mount base.
-
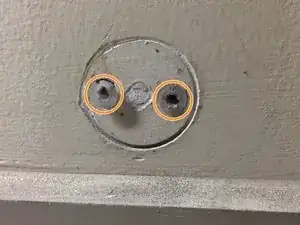
After you remove the mount base, use the hammer to reposition these two screws.
-
-
-
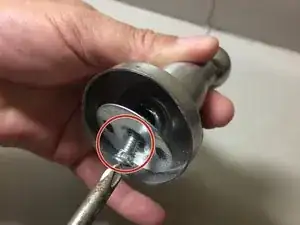
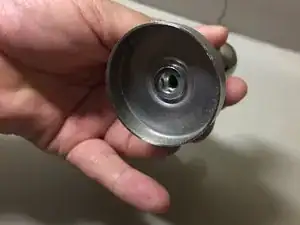
Use a screwdriver to remove the mount base out of the new anchor fitting by spinning the screwdriver counter-clockwise.
-
-
-
Using a screwdriver or a drill, attach the new mount base to the wall with the two screws.
-
-
-
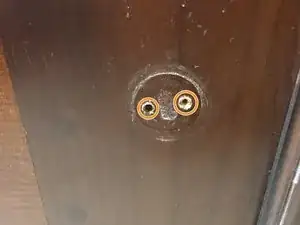
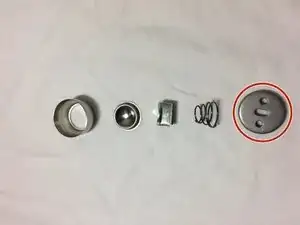
Use the drill to remove the two screws out of the threaded insert.
-
Clean the screws holes (if necessary) before putting a new screw in.
-
-
-
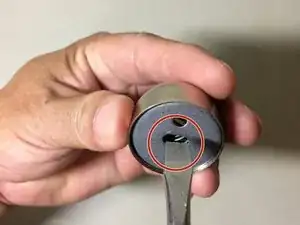
Insert a screwdriver into the bottom hole of the threaded insert and rotate it counter-clockwise to remove the threaded insert.
-
-
-
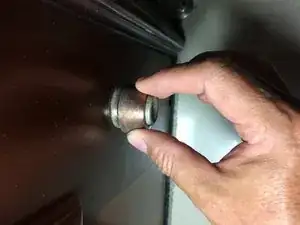
Place the threaded insert onto the door.
-
Using a screwdriver or a drill, attach the threaded insert to the door with two screws.
-
-
-
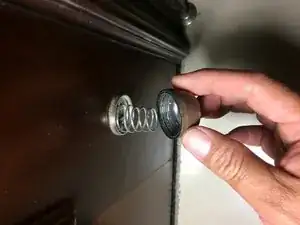
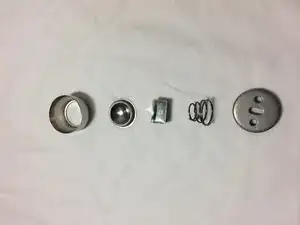
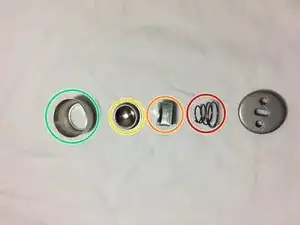
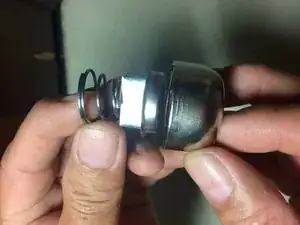
Assemble the rest of the door stop in the following order:
-
Spring.
-
Rectangular compartment.
-
Door stop button.
-
Outer shell.
-
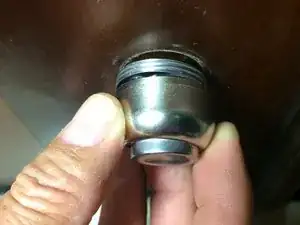
Place the door stopper onto the threaded insert and and attach it by rotating it clockwise.
-
To reassemble your device, follow these instructions in reverse order.
