Einleitung

  1. EGMqfCG6AdPmT6mA
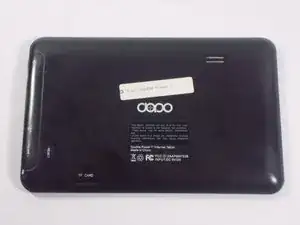
    • The rear panel is secured to the front case and can simply be pried apart without damage.

  2. 4cbUBZG6tG16WLPs
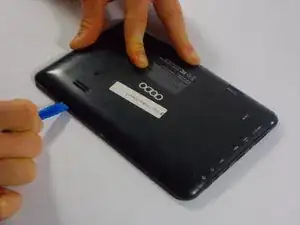
    • Carefully, wedge the plastic opening tool in-between the seam that separates both halves of the tablet.

  3. ZONBl1DAUyoFOOMn
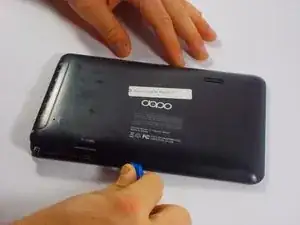
    • Run the plastic opening tool along the seam looking for the clips and lift up on the rear panel.

  4. JFiVHPl3Qiedm1Cn
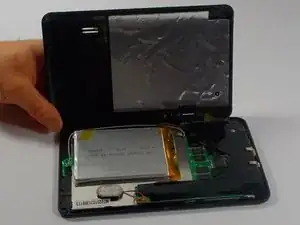
    • The rear panel should come completely off.

  5. RXFelM5Erg3x5JQH
    • Remove any static tape covering the motherboard.

  6. n1fWFKrB5v12mhJv
    n1fWFKrB5v12mhJv
    eKtXGRkKFgjAgZdJ
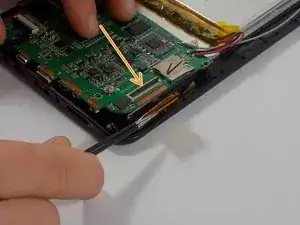
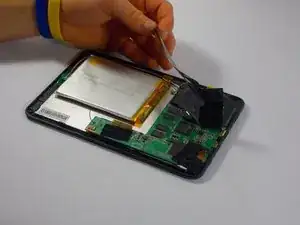
    • Using the flat end of a spudger or tweezers, remove the three cables connected to the motherboard.

    • The cables can be disconnected by lifting up on the black section of the socket, as shown by the arrow.

    • Once the lever is lifted, pull out the cable by gently tugging on it.

  7. oxp4K4eUbFlOFgHL
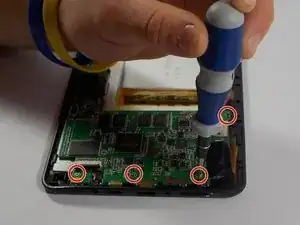
    • Using a Phillips Head Screwdriver size 0, remove the four screws attaching the motherboard.

  8. UOmQML5pLGVPwXQQ
    UOmQML5pLGVPwXQQ
    MGyJ5BYgjLxR6LdH
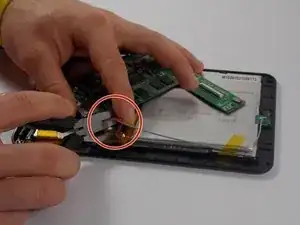
    • Using wire cutters, cut the red, black, and grays wires. Leave enough wire to be re-soldered back if possible.

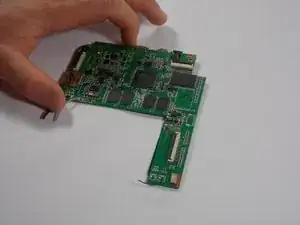
    • The motherboard can now be removed

Abschluss

To reassemble your device, follow these instructions in reverse order.
mike pelosi

Mitglied seit: 30/10/15

682 Reputation

0 Kommentare