Einleitung
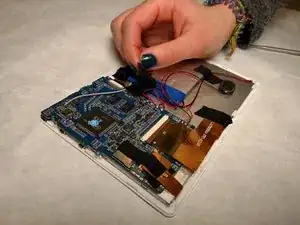
Having issues with your motherboard? This guide will provide instructions on how to remove the existing motherboard on your device.
Werkzeuge
-
-
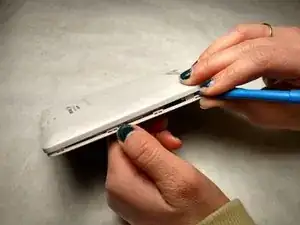
Wedge a plastic spudger between the back panel and the screen to begin lifting the back cover.
-
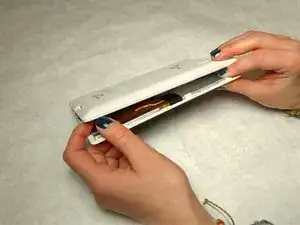
Wedge around all edges until the back cover pops off entirely.
-
-
-
Remove tape covering wire joints
-
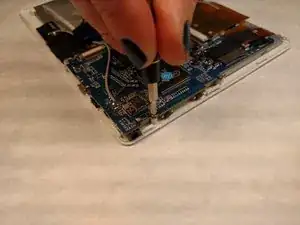
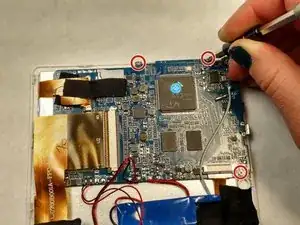
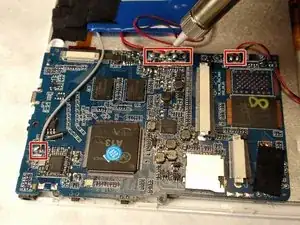
Remove (3) 2.5mm screws using a PH001 screw driver.
-
The screws locations are highlighted in the image to the left.
-
-
-
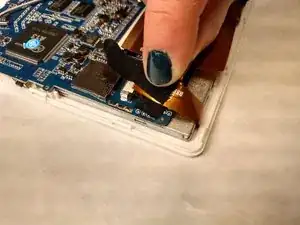
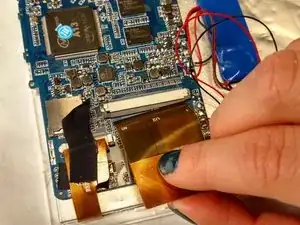
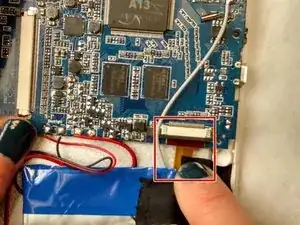
Remove black tape and using your fingers, pull the orange ribbon labeled BSR028-V3-KDX out of its port.
-
-
-
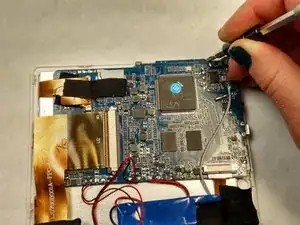
Desolder the wires attached to the mother board with a soldering iron.
-
Then pull the wires from the joints.
-
Abschluss
To reassemble your device, follow these instructions in reverse order.
