Einleitung
Bewegt sich die Figur, ohne dass der Analog Stick des Elite Series 2 (model 1797) Xbox Controllers bewegt wird? Dann liegt höchstwahrscheinlich ein "analog stick drift" vor.
Für diesen Drift gibt es verschiede Ursachen. Manchmal kann Beschädigung die Ursache sein, zum Beispiel ein Sturz, aber auch durch normale Benutzung und Verschleiß. Glücklicherweise wird der Drift in den meisten Fällen durch Staub und Dreck verursacht.
Diese einfache Anleitung erfordert keine speziellen Fähigkeiten und führt dich Schritt für Schritt durch den Prozess.
Werkzeuge
Ersatzteile
-
-
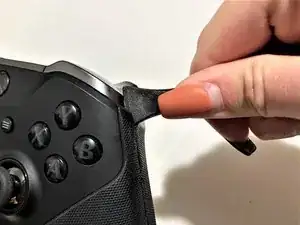
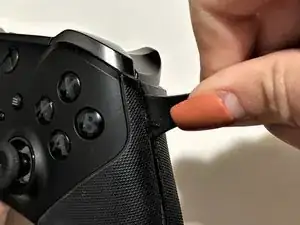
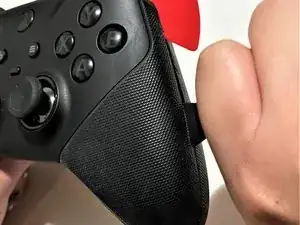
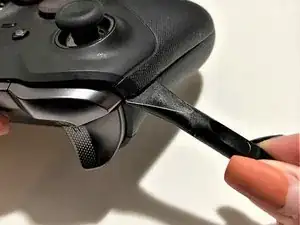
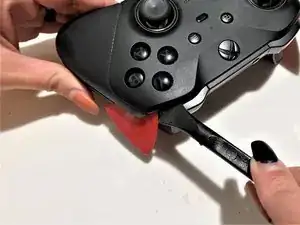
Setze ein Hebelwerkzeug in die Spalte an der rechten Seite des Controllers an.
-
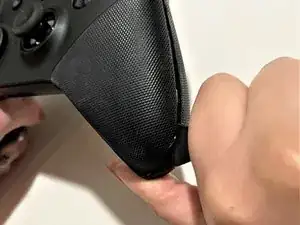
Führe das Werkzeug nach unten, bis der Controller beginnt sich zu öffnen.
-
-
-
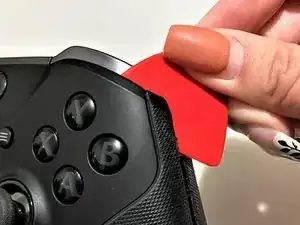
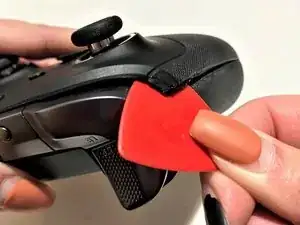
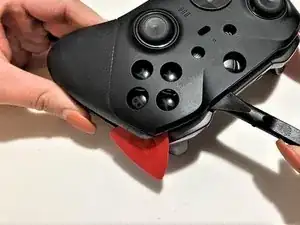
Setze ein Öffnungswerkzeug oder Plektrum in den Spalt ein, um zu verhindern, dass sich der Controller wieder verschließt.
-
-
-
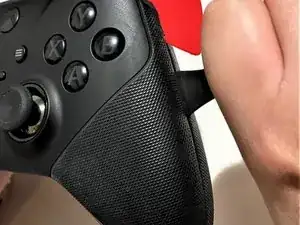
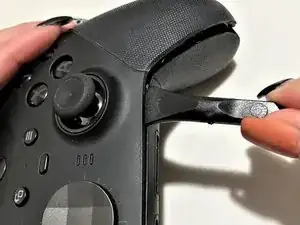
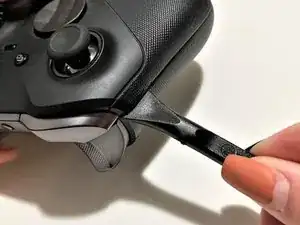
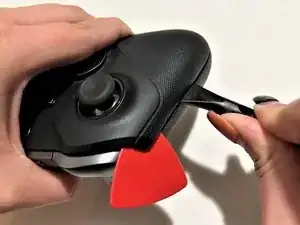
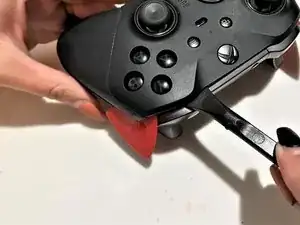
Platziere das Hebelwerkzeug in der Naht an der linken Seite des Controllers.
-
Bewege das Werkzeug, bis der Controller sich öffnet.
-
-
-
Setze das Öffnungswerkzeug oder Plektrum ein, damit sich der Controller nicht wieder verschließt.
-
-
-
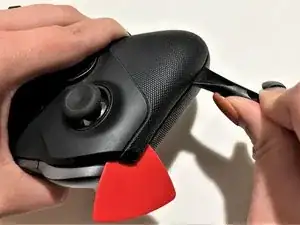
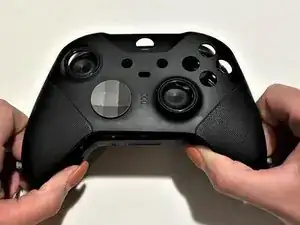
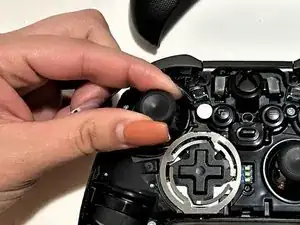
Setze das Hebelwerkzeug in die Spalte am oberen Ende des Controllers.
-
Führe das Werkzeug weiter zur Mitte, bis die obere Hälfte geöffnet ist.
-
-
-
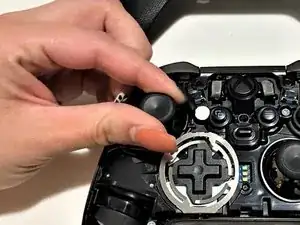
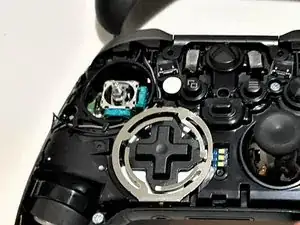
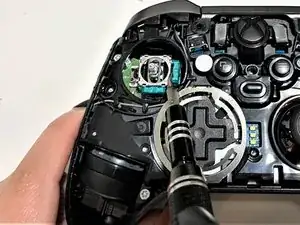
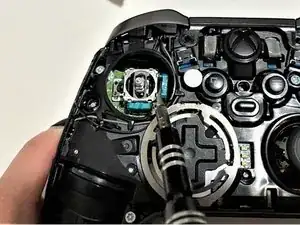
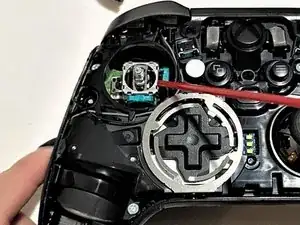
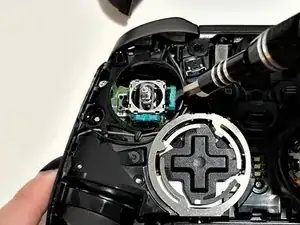
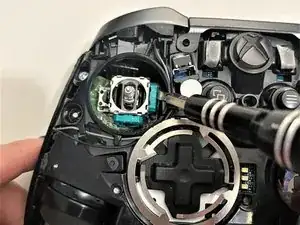
Platziere die Spitze des Strohhalms einer Dose mit Druckluft an den Spalt nahe des Sensors.
-
Sprühe Druckluft auf den Sensor, bis dieser frei von Staub und Dreck ist.
-
-
-
Setze die obere Abdeckung des Controllers auf die untere.
-
Drücke beide Hälften zusammen, bis sie einrasten.
-
10 Kommentare
very good guide way easier to follow then others i’ve seen :) Thanks
munch483 -
Maybe im just too scared to totally ruin/ rip/ snap or otherwise DESTROY this thing or stab myself with a pry tool but it seems like this is WAY harder then the pictures/guide make it out to be. The top face plate is FAR FAR FAR harder to release then the guide says.. Its not like a regular controller AT ALL.. I have cut myself to the point of blood now with the sheer effort of trying to push a pry tool between the seam EXATLY where the picture shows.. It did NOT help at all.
Napster6 -
Hey Napster, You are very right. I bought this controller preowned and there are slice marks in the rubber where the person tried to open it and failed. I was able to open with out a terrible amount of difficulty by using the thin metal wedger tool thingy from the ifixit kit while simultaneously holding portions open with the blue triangle. Try pushing the tip of whatever your using to the bottom half of the controller then in a little more and then pry up. (near the b button). If it pops the top half out a little then wedge a placeholder in there then try the other side. Once you get both sides try a little lower near the vibrator then same for the other side and by then it should be easy enough to open with your hands. I struggled heavily the first time but found this was the easiest way. Good luck!
Jake H -
This is such an awesome guide! Fixed my controller drift and a saved me a ton of money in the long run. Thanks so much!
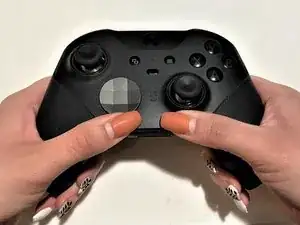
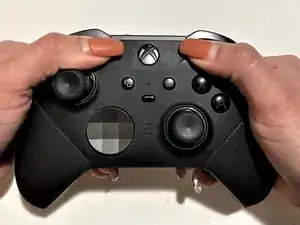
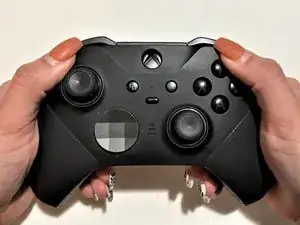
Seriously.. No.. this is CRAZY hard to get a pry tool into.. Explain more!
Napster6 -
You have to put a little force to get it into the crease and pry the bottom away from the body while gently pulling up on the face.
It's good to note that the tabs are on the front cover and pointing toward the outside of the cover for this part.
Jacob Buffington -
Die Nägel könnten mal wieder gemacht werden. ;-)
anonymous 7992 -
I came here to say that.
Megen Ashley -