Einleitung

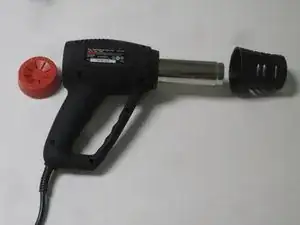
This is a simple repair for your heat gun that can be accomplished by any level of DIY skill. Just be sure to have the listed tools and, of course, don't have your heat gun plugged in.

  1. mDxPXiEIXbwbT1OH
    • Be sure the heat gun is unplugged before starting this process.

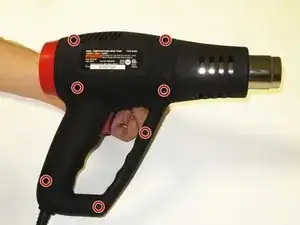
    • Remove the seven 14mm screws from the side of the drill using the PH#0 screwdriver.

    • You will need a screwdriver extension.

  2. YlMjUL2tRKUHf3Ys
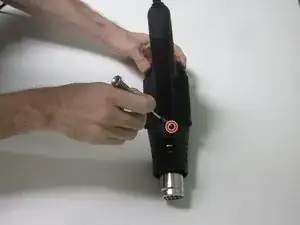
    • Remove the 8mm screw from underside of barrel using the PH#0 screwdriver.

    • Don't try to open the casing just yet.

  3. KaifmHRe2YBpUKSY
    KaifmHRe2YBpUKSY
    1IXcLRtSSoO32gXf
    JmwprTVutLTFWNRQ
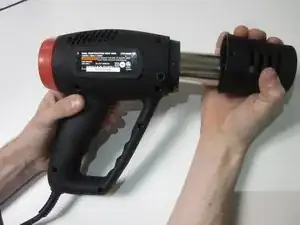
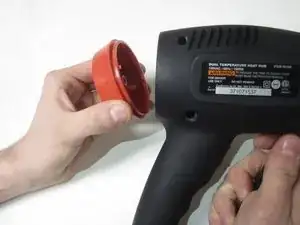
    • Remove the barrel casing on either end by twisting and pulling each side off.

  4. udiJAMPnCGtngdS5
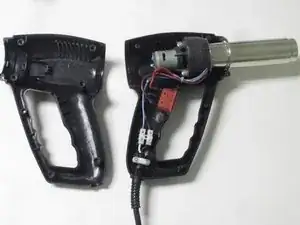
    • Remove the top casing to reveal inside of drill. You might have to tug a little harder for this one.

  5. AcBxPVVBghnTVQMc
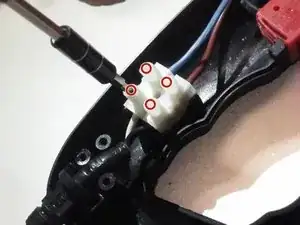
    • Loosen four screws on the wire connector using the flathead 2.5 screwdriver.

    • Screws do not come out of connector.

  6. 6EysJSJRrcviIfKS
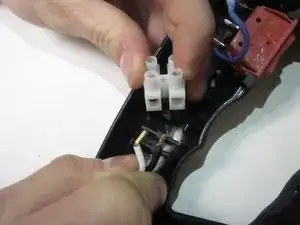
    • Disconnect the power cord wiring from the wire connector.

  7. Jalb1CSHEHqUdlpE
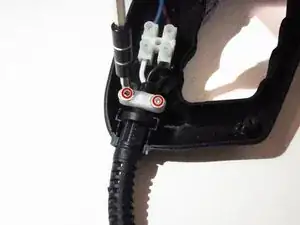
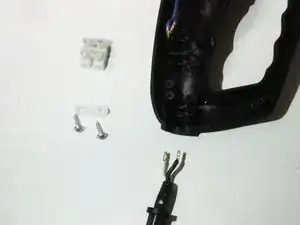
    • Remove the two 12mm screws from the base of power cord using the PH#0 screwdriver.

  8. qvMLJOAfDbijuDYZ
    • Remove the power cord from the heat gun.

Abschluss

To reassemble your device, follow these instructions in reverse order.
Mikayla Kim

Mitglied seit: 31/01/17

517 Reputation

0 Kommentare