Einleitung
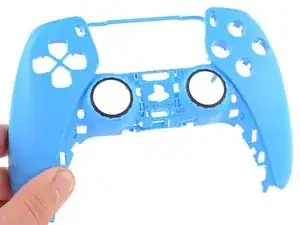
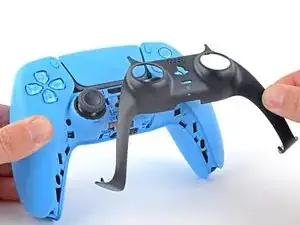
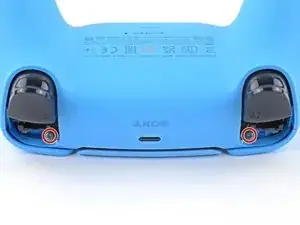
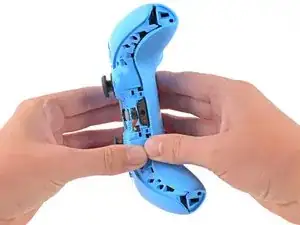
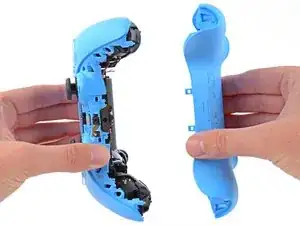
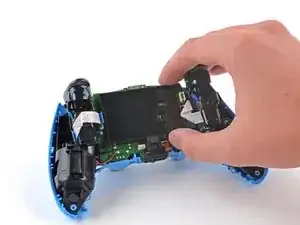
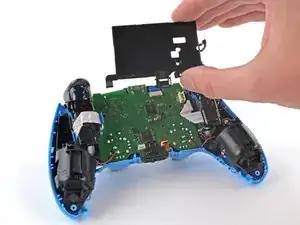
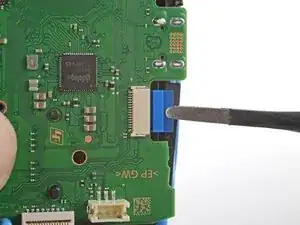
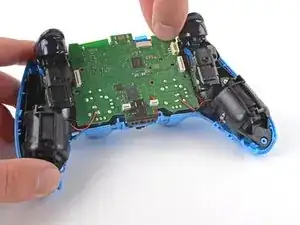
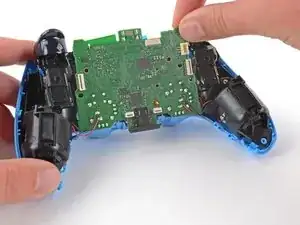
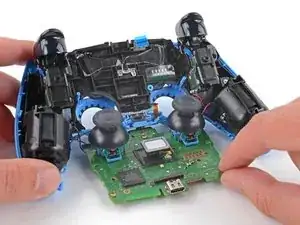
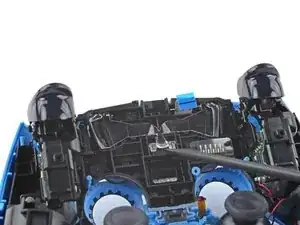
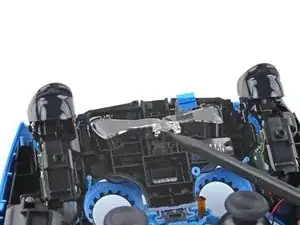
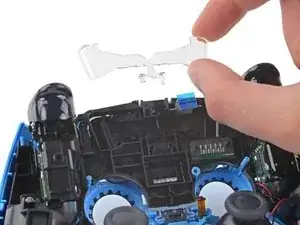
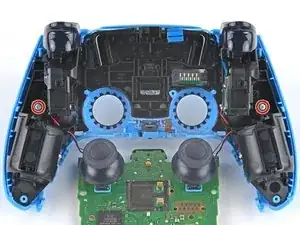
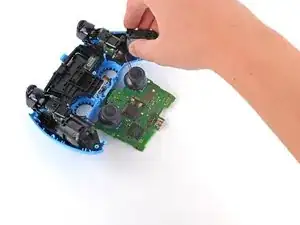
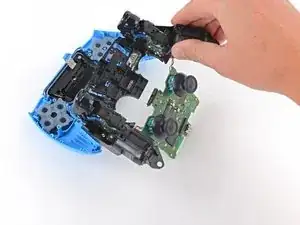
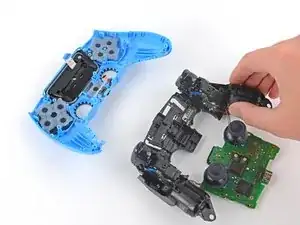
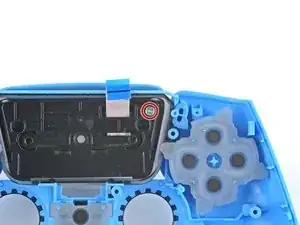
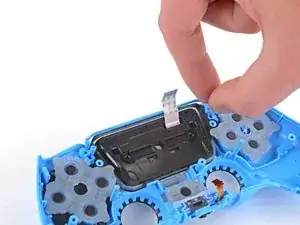
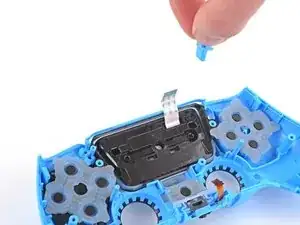
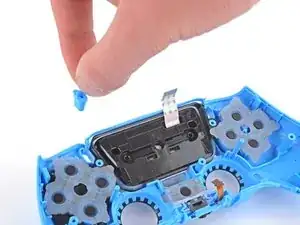
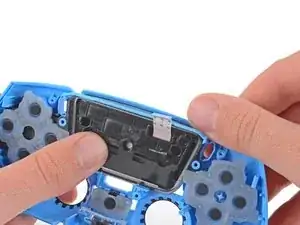
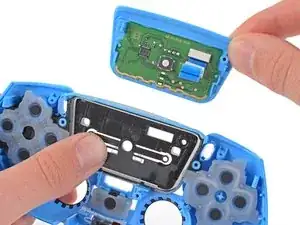
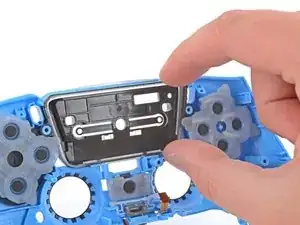
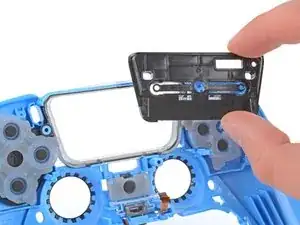
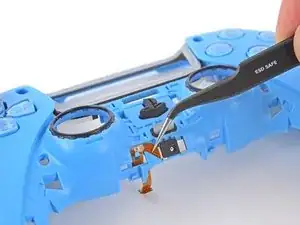
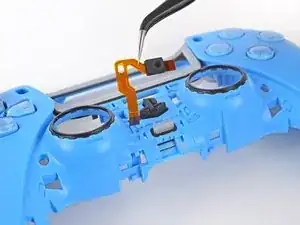
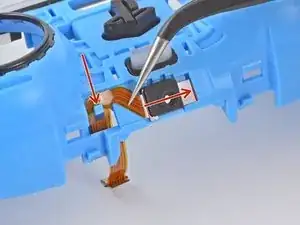
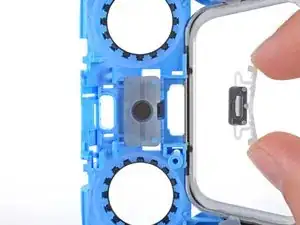
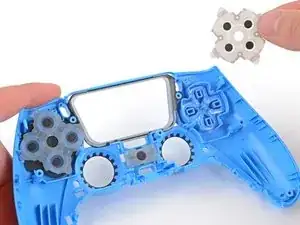
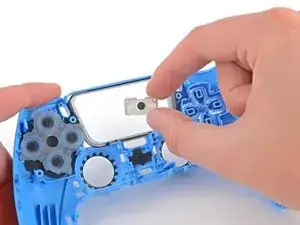
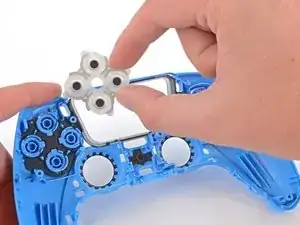
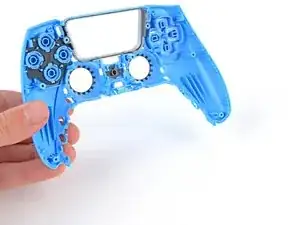
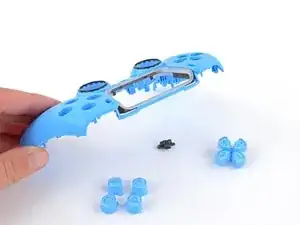
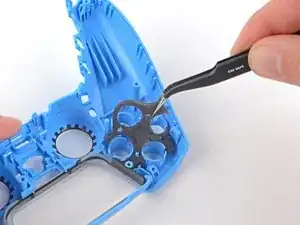
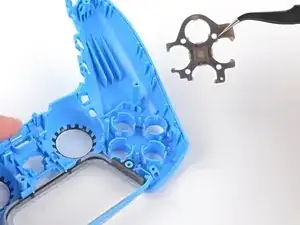
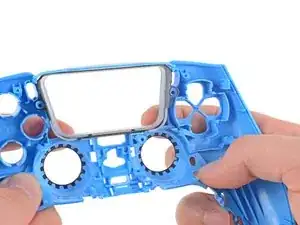
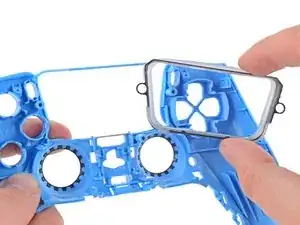
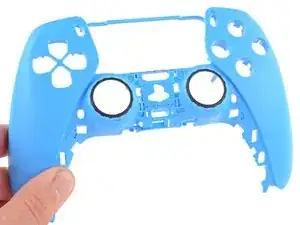
Follow this guide to replace the front case on your Sony DualSense controller.
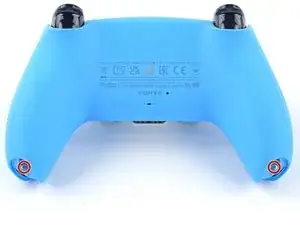
Note: This guide is for current DualSense controllers with FCC IDs that end with A. Check the back of your controller to verify your model. If yours ends in a 1, it is an early model and there will be internal differences. Follow these guides for the earlier version.
Werkzeuge
-
-
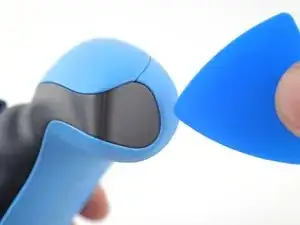
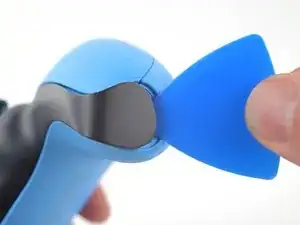
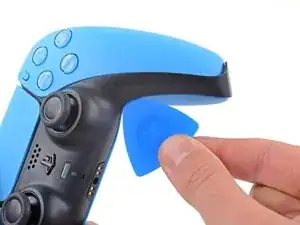
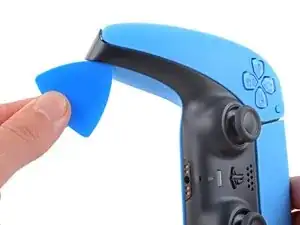
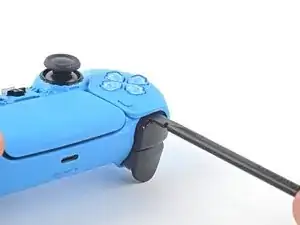
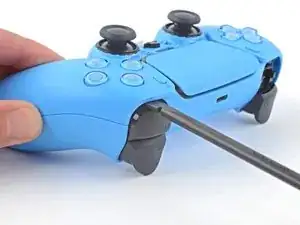
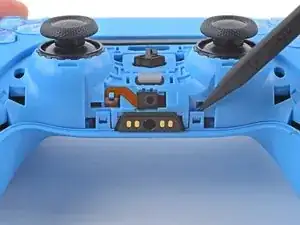
Insert an opening pick underneath the middle trim at the bottom-right corner of the controller to release the clips securing it to the case.
-
-
-
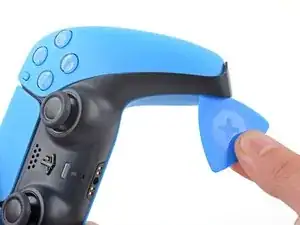
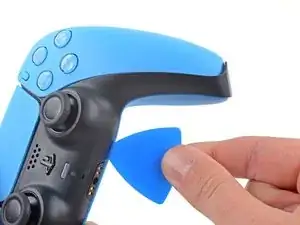
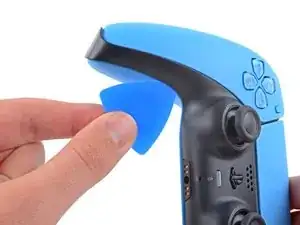
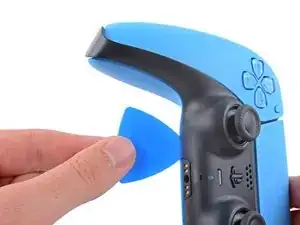
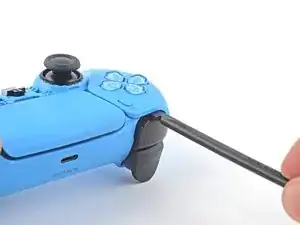
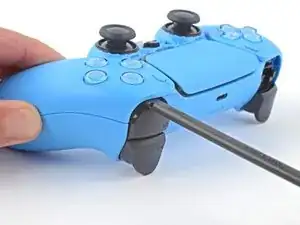
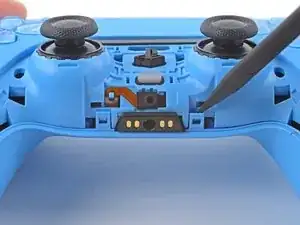
Slide the opening pick along the lower-right edge of the middle trim to release the clips securing it to the case.
-
-
-
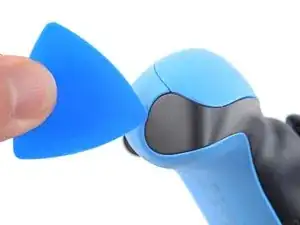
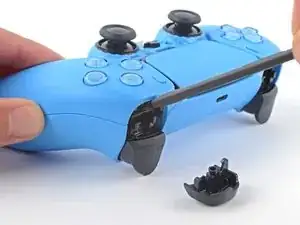
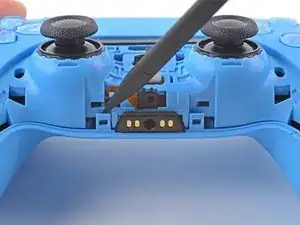
Insert an opening pick underneath the middle trim at the bottom-left corner of the controller to release the clips securing it to the case.
-
-
-
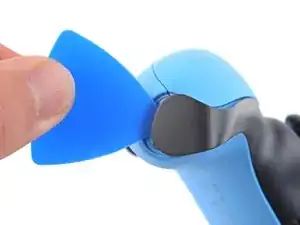
Slide the opening pick along the lower-left edge of the middle trim to release the clips securing it to the case.
-
-
-
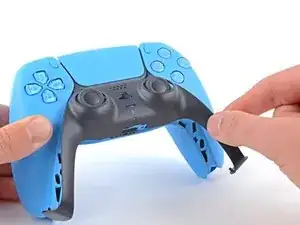
Use your fingers to lift up the bottom edge of the middle trim to release the remaining clips.
-
Lift the middle trim over the joysticks to remove it.
-
-
-
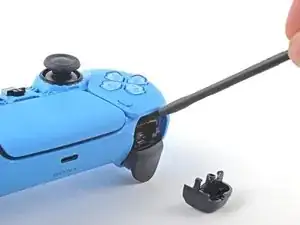
Insert the flat end of your spudger into the gap above the L1 button.
-
Pry the spudger upward to remove the L1 button.
-
-
-
Insert the flat end of your spudger into the gap above the R1 button.
-
Pry the spudger upward to remove the R1 button.
-
-
-
Use a Phillips screwdriver to remove the two 6.5 mm screws securing the bottom corners of the lower case.
-
-
-
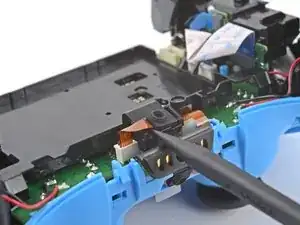
Use the pointed edge of a spudger to unclip the two clips on either side of the headset jack.
-
-
-
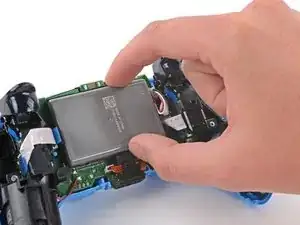
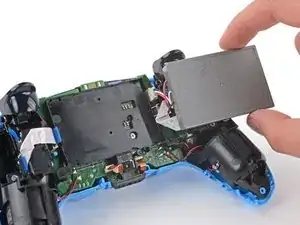
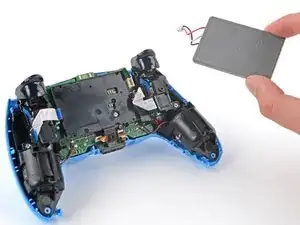
Lift the battery out of its bracket and reposition it to the right for better access to the battery connector.
-
-
-
Use the pointed end of your spudger to remove the lower microphone from its bracket next to the battery.
-
-
-
Grab the lower microphone ribbon cable pull tab with your fingers or a pair of tweezers and disconnect it from the motherboard.
-
-
-
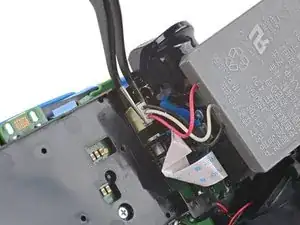
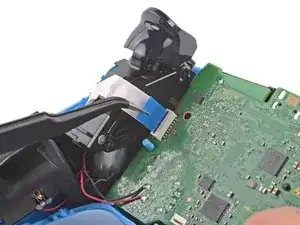
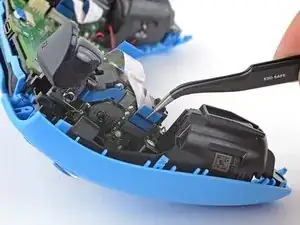
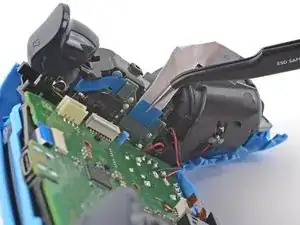
Grip the right trigger assembly cable with a pair of tweezers or your fingers and disconnect it from the motherboard.
-
Don't completely remove the ribbon cable yet.
-
-
-
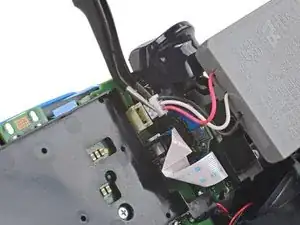
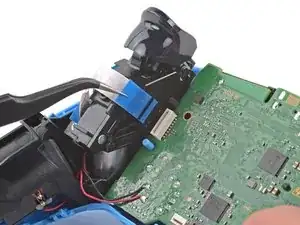
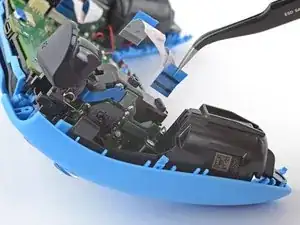
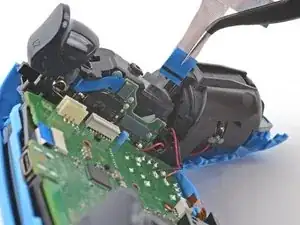
Grip the right trigger assembly cable with a pair of tweezers or your fingers, and disconnect it from the trigger assembly.
-
Remove the ribbon cable.
-
-
-
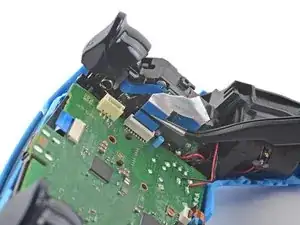
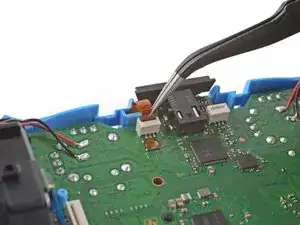
Grip the left trigger assembly cable with a pair of tweezers or your fingers to disconnect it from the motherboard.
-
Don't completely remove the ribbon cable yet.
-
-
-
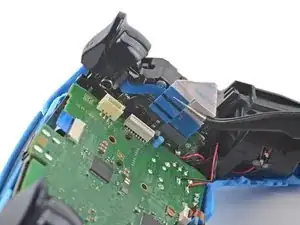
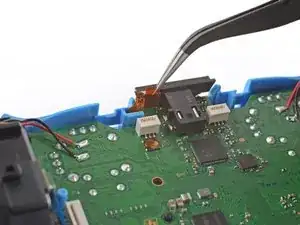
Grip the left trigger assembly cable with a pair of tweezers or your fingers to disconnect it from the trigger assembly.
-
Remove the ribbon cable.
-
-
-
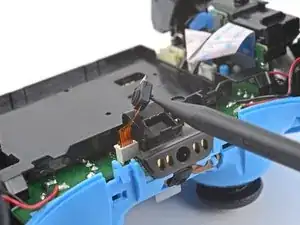
Use a pair of tweezers or your fingers to disconnect the upper microphone from the motherboard.
-
-
-
Use a pair of tweezers or your fingers to disconnect the touchpad cable from the motherboard.
-
-
-
Use the pointed end of your spudger to lift the center of the light guide out of the controller.
-
Remove the light guide.
-
-
-
Use your Phillips driver to remove the two 6.5 mm screws securing the midframe to the front case.
-
-
-
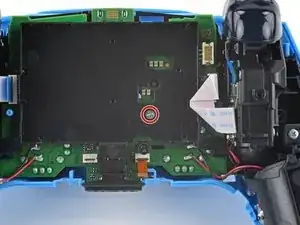
Use your Phillips screwdriver to remove the 6.5 mm screw securing the touchpad to its bracket.
-
-
-
Grip the top right corner of the touchpad (near where the screw was) and gently pry it off of its bracket.
-
Hold the bracket in place with your thumb as you separate the touchpad.
-
-
-
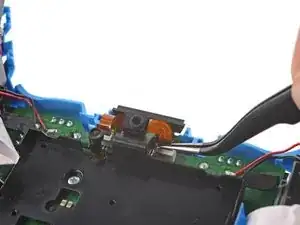
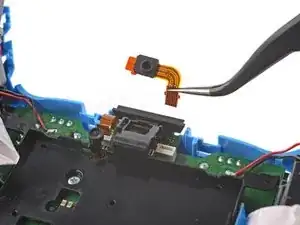
Use a pair of tweezers to carefully thread the microphone cable out through the front case.
-
Remove the microphone.
-
-
-
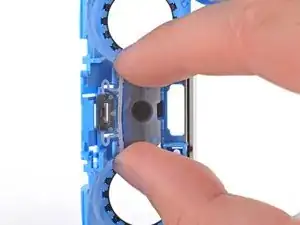
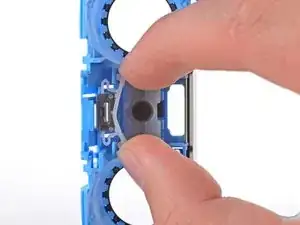
Use your fingers to lightly pinch the plastic clip securing the microphone mute button to the front case and remove it.
-
-
-
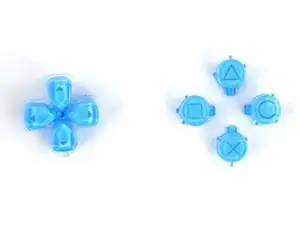
Hold the front case close to the surface of your table and slowly turn the front case over to let the buttons fall out.
-
-
-
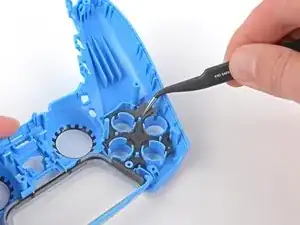
Use a pair of tweezers or your fingers to remove the rubber insulation pad from the front case.
-
To reassemble your device, follow these instructions in reverse order.
Take your e-waste to an R2 or e-Stewards certified recycler.
Repair didn’t go as planned? Try some basic troubleshooting, or ask our Answers community for help.
