Einleitung
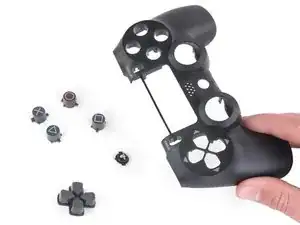
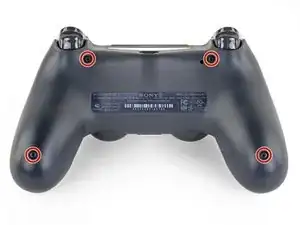
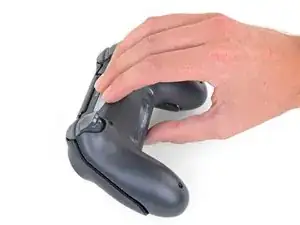
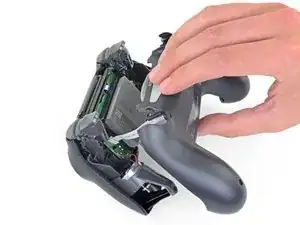
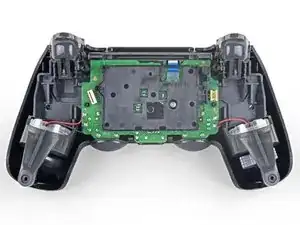
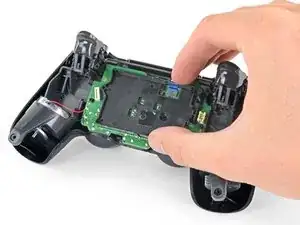
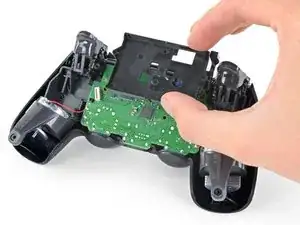
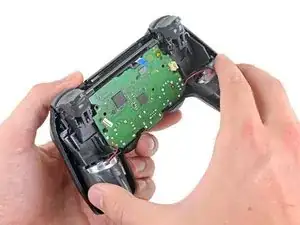
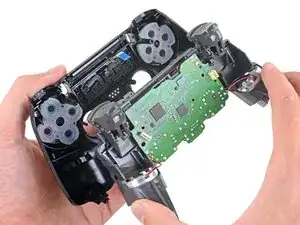
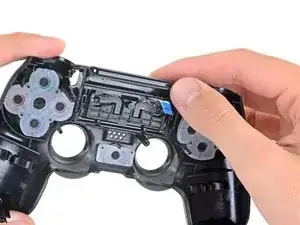
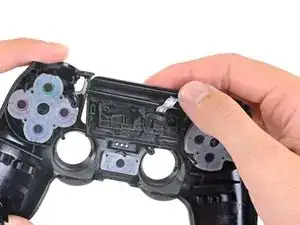
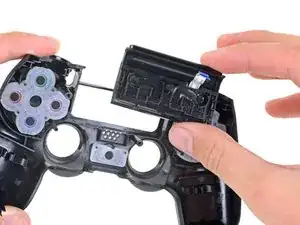
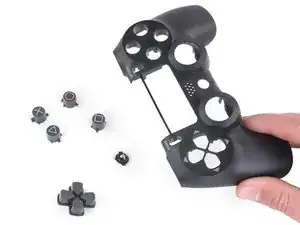
Follow this guide to replace the front panel on a Sony Dualshock 4 CHU-ZCT2U PlayStation controller.
Werkzeuge
Ersatzteile
-
-
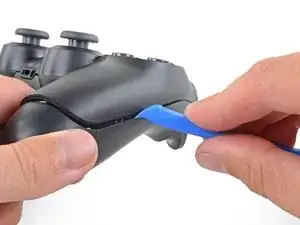
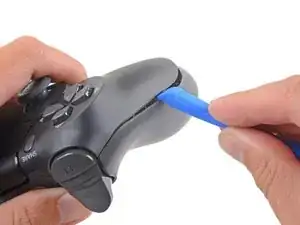
Insert an opening tool into the crease where the front and rear panel meet, starting from the outside edge of either handle.
-
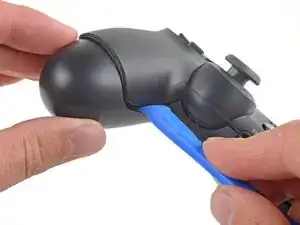
Gently pry the rear panel off of the front panel until they become partially separated.
-
-
-
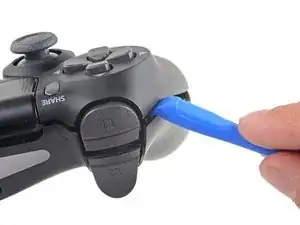
Use the opening tool to separate the panels by releasing the plastic clips around the perimeter of the controller.
-
-
-
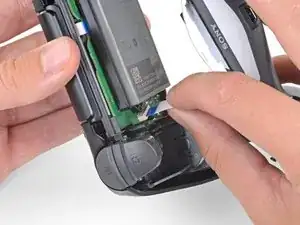
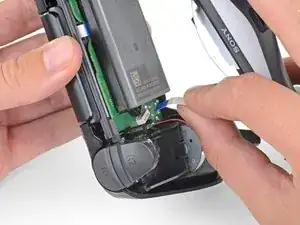
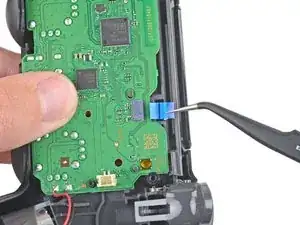
Use your fingers to gently pull the ribbon cable straight out of its connector on the motherboard.
-
-
-
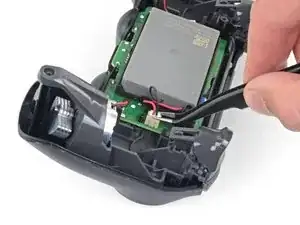
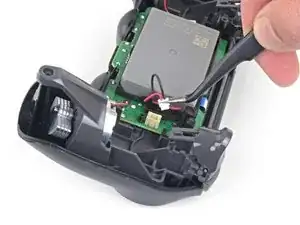
Use a pair of tweezers to pull the battery's power connector straight up from the motherboard.
-
-
-
Push the bottom of the touchpad in from the front side of the controller to separate it from the front case.
-
Remove the touchpad from the bezel holding it to the front case.
-
-
-
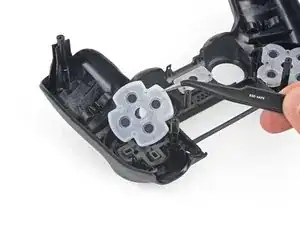
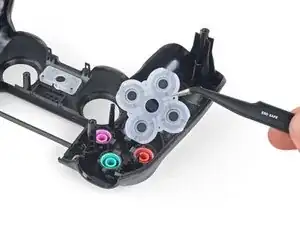
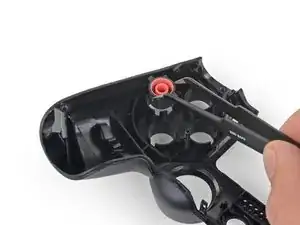
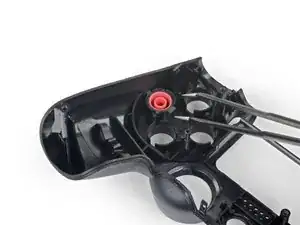
Use your fingers or a pair of tweezers to remove the three silicone conductive rubber pads from the controller buttons.
-
-
-
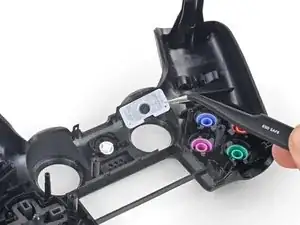
Slowly turn over the front panel to let the buttons fall out.
-
Only the front panel remains.
-
-
-
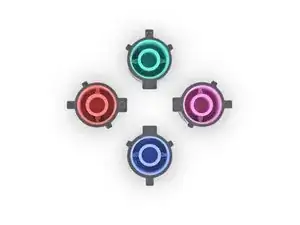
Align the button notches to ensure each one is fully inserted and in the correct location.
-
To reassemble your device, follow the above steps in reverse order.
Repair didn’t go as planned? Check out our Answers community for troubleshooting help.
